Radioddity Extended manual for Radioddity DB25-D, DB40-D & GD-88 v3.0
© Radioddity 2023 page 114 of 252
11 Prepare for using the CPS
The most convenient way to setup your radio is my using the CPS supplied by
Radioddity.
11.1 Install device driver
This programming cable shipped with your Radioddity DB25-D, DB40-D or GD-88
adds an additional virtual COM-port to your system. It does include a small chip
that converts signals to and from the USB-side into serial signals to and from the
K1 / RJ45 style connector.
As soon as you plug in the USB side of the cable to your PC, you should hear the
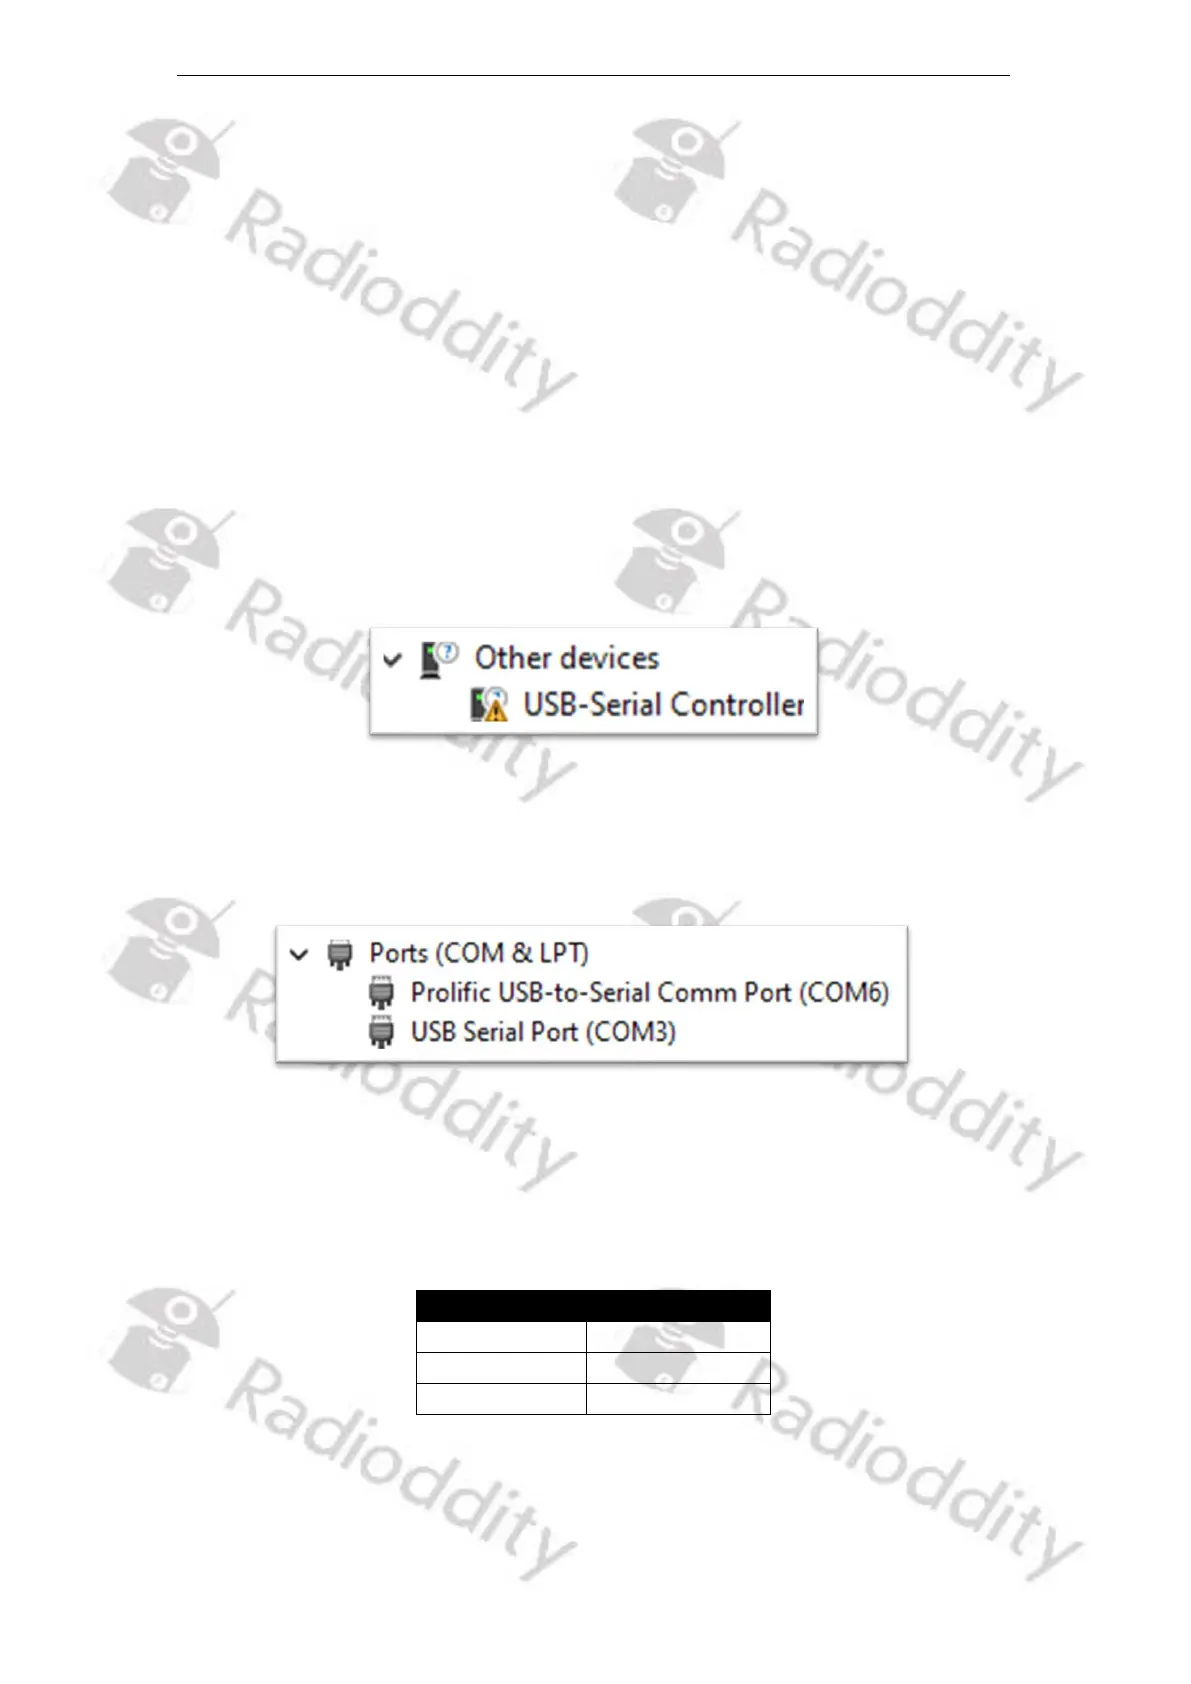
‘USB device connected’-sound on your PC. In case your Windows system is not
able to automatically install the required driver, you will see an entry, similar to
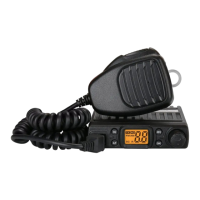
within Windows device manager. However normally after a few seconds, Windows
has automatically loaded and installed the required driver and you should see an
entry, depending on the chip used within the programming cable, similar to
In case the device driver did not install automatically, we have prepared a
download link on our Radioddity DB25-D, DB40-D and Radioddity GD-88 support
pages.
Internally the signals of the cable are connected as follows: