PHOTOCONDUCTOR UNIT (PCU)
B291/B295/B296/B297 3-32 SM
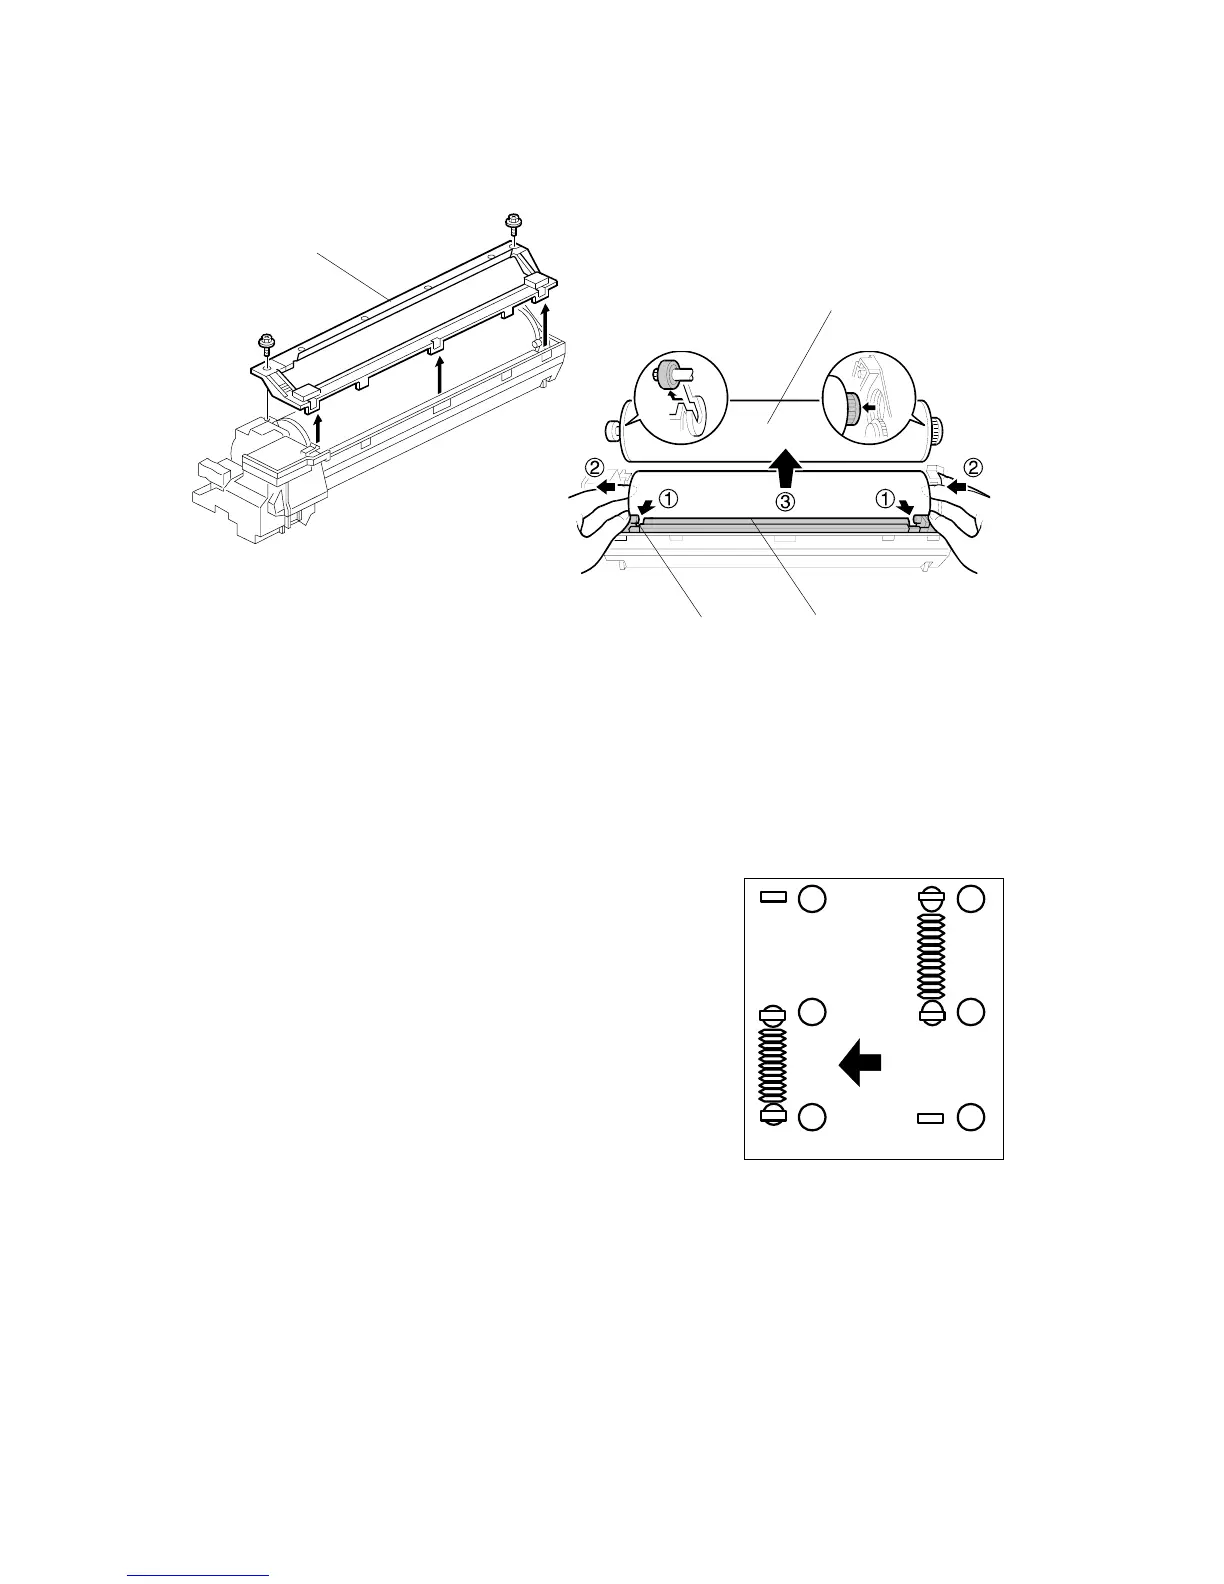
6. Turn the PCU upside-down, and remove lower PCU cover [A] (! x 2, 3 pawls).
7. Pull the drum [B] towards the front ( (the left side in the illustration) while
releasing the charge roller [C] using the release lever ' [D], and then remove
the drum ).
CAUTION: Never touch the drum surface with bare hands.
8. Replace the drum and re-attach the lower PCU cover.
9. Detach the spring from (, )and re-attach to ',
(
.
CAUTION: You must return re-attach the spring
to ', ( in order for the cleaning
blade to operate correctly.
If you fail to re-attach the spring to ', ( the
movable cleaning blade will not contact the
drum for cleaning, but the machine will operate
without generating an error. However, copies
will gradually become dirty due to toner
collecting on the drum.
10. Re-attach the spring on the left side of the PCU.
11. After replacing the drum, perform the ID sensor initial setting using SP3001
002.
B195R936.WMF
B195R97.WMF
1
2
3
1
2
3
B195R938.WMF
[A]
[B]
[C]
[D]
 Loading...