99
• The shape of the power plug varies depending on the region in which it was
purchased.
• This printer is also designed for IT power distribution system with phase-to-phase
voltage 230 V.
Using the Optional Battery Mount Kit/Battery
Connecting the Battery Mount Kit
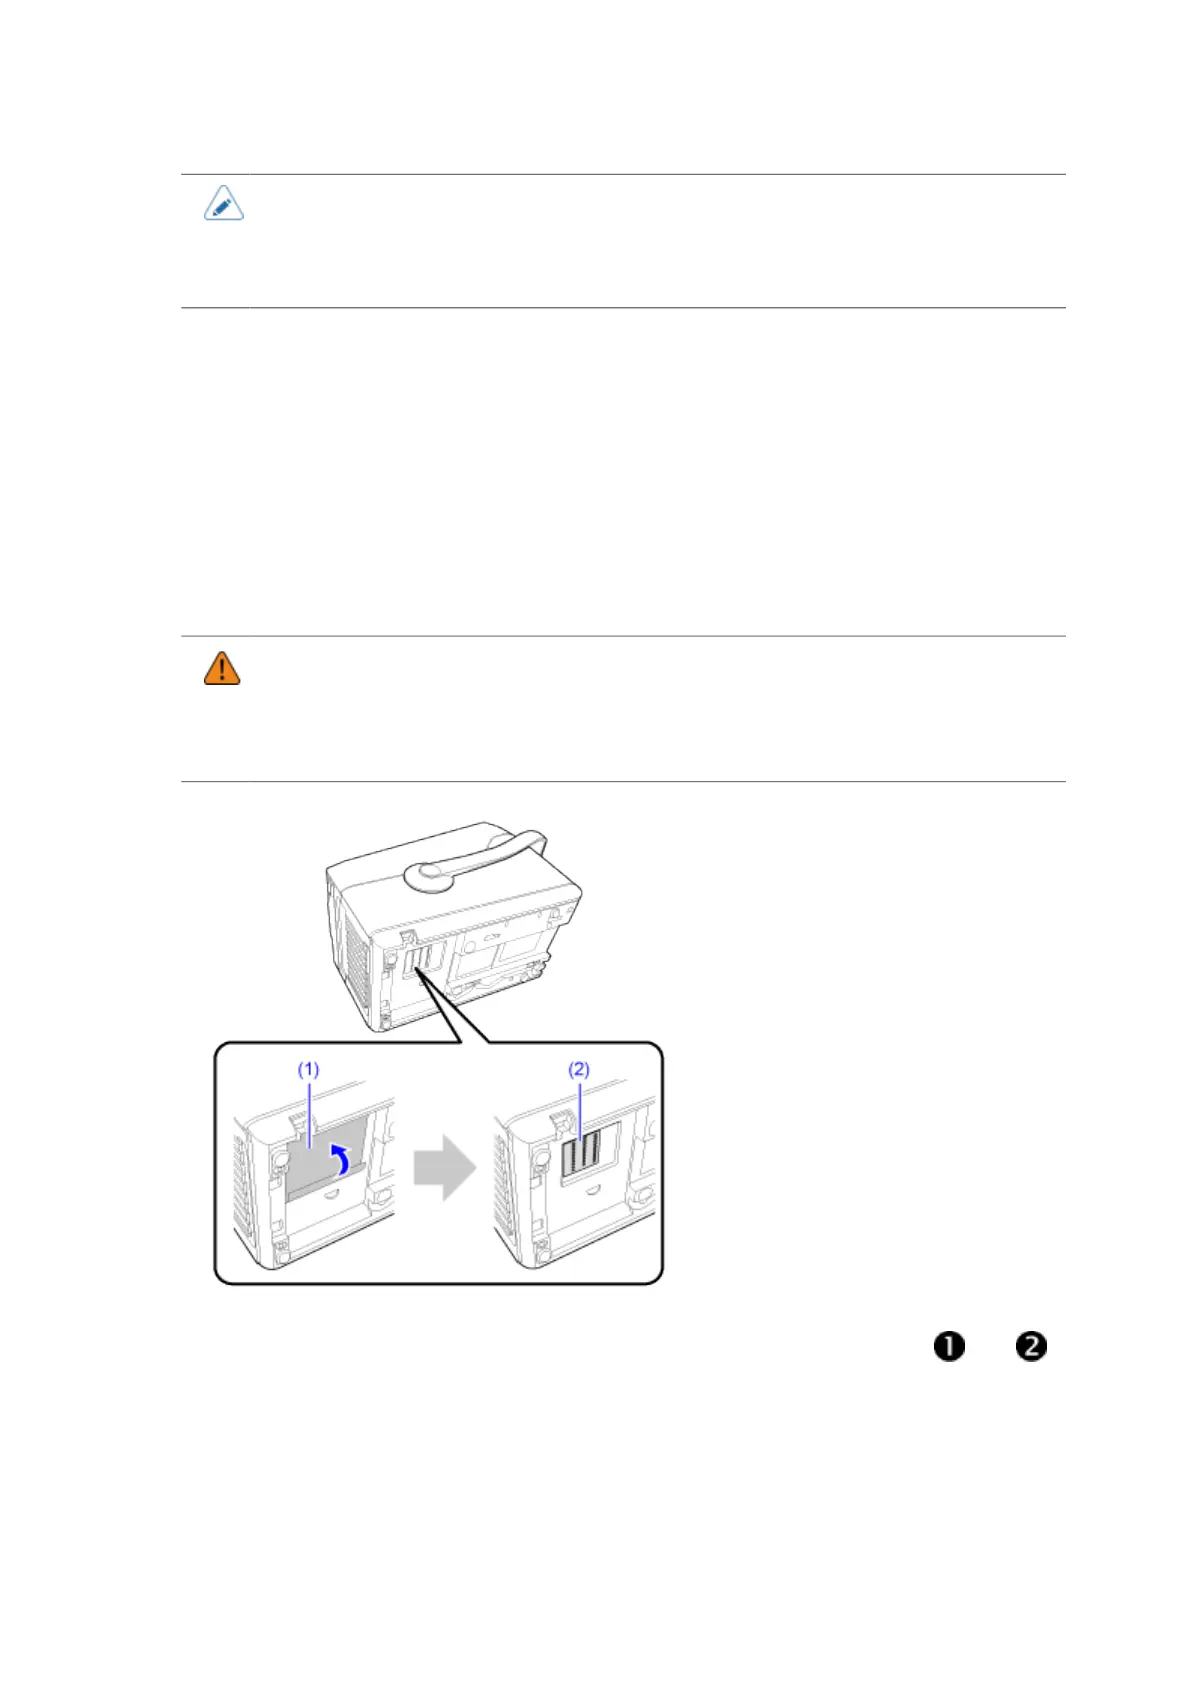
1. Remove the terminal protection seal (1) on the bottom of the printer.
You can now see the charging terminal (2).
• Do not touch the charging terminal with wet hands.
• If the charging terminal is dirty, clean the dirt using a dry cloth or a cotton swab.
• Do not remove the terminal protection seal on the bottom of the battery mount kit if you
will not be using the optional cradle kit.
2.
Mount the printer on the battery mount kit and slide it as indicated by and in
the illustration to lock it.