Page 194
STAT
IM
2000/2000S Service Guide
96-108639 Rev 3.0
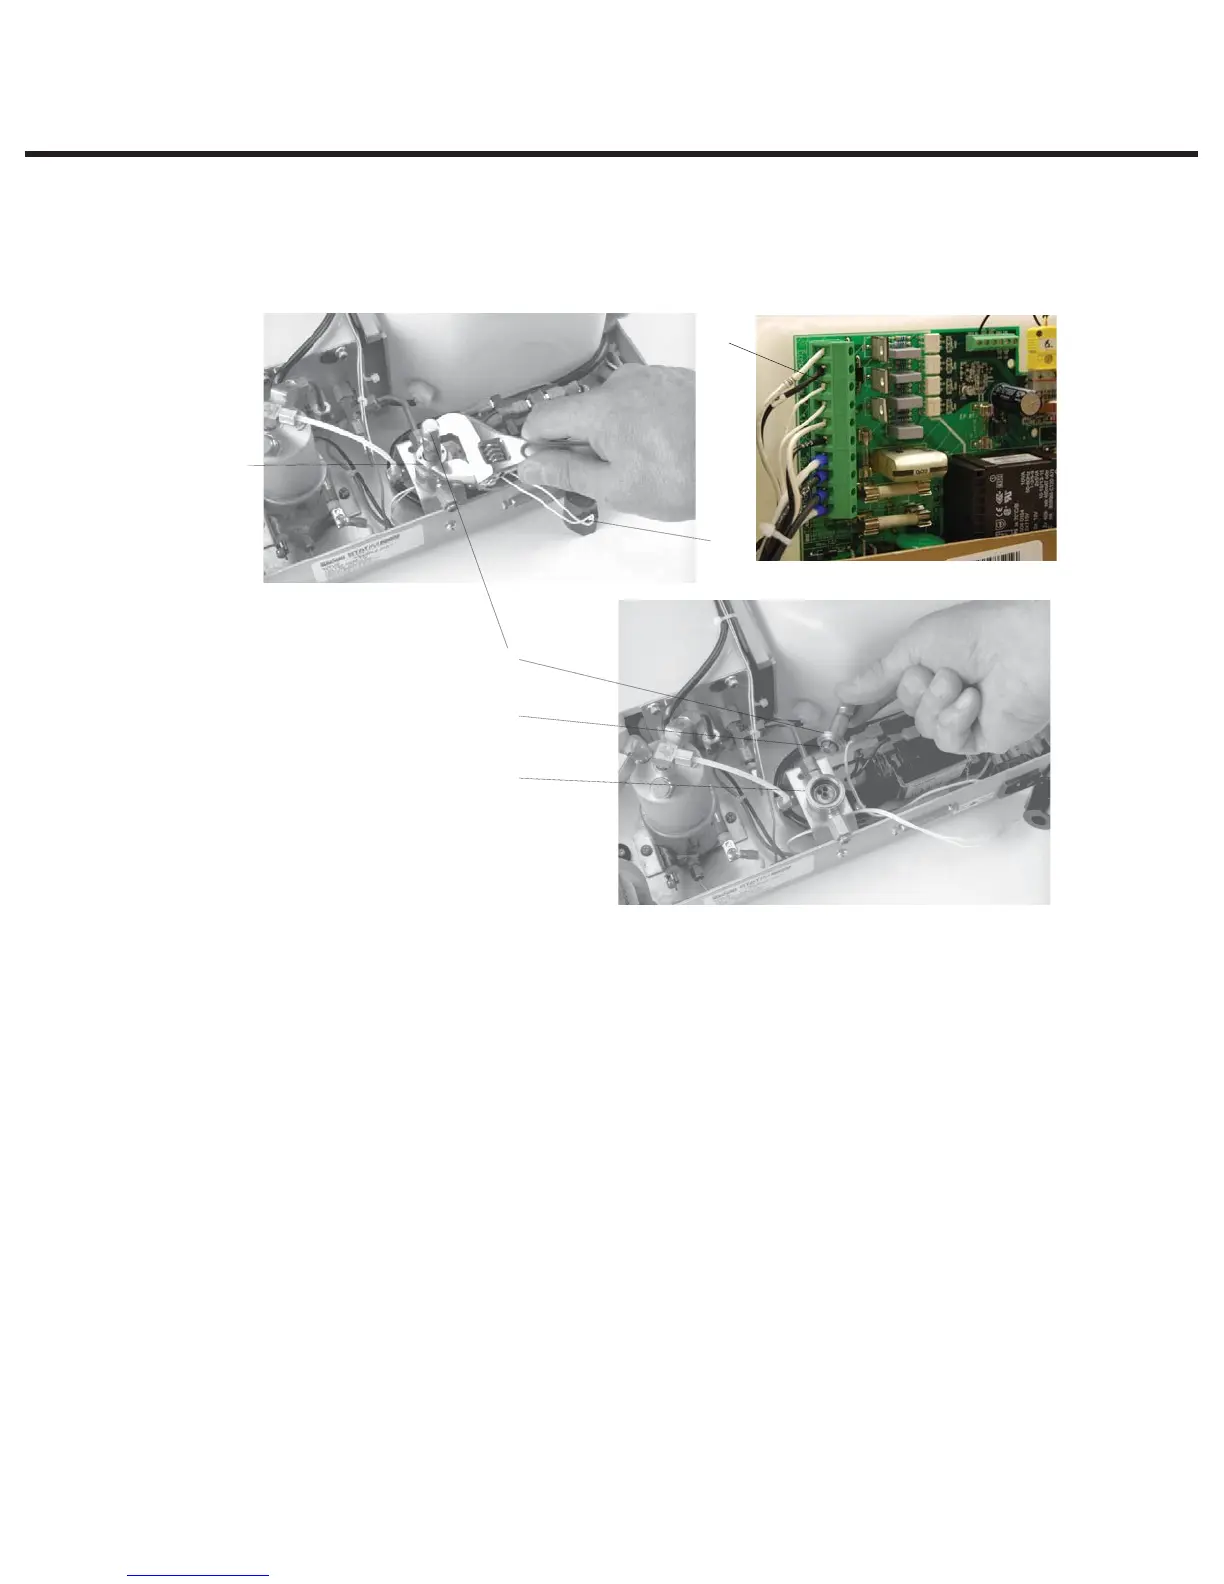
9. Solenoid Valve and Pressure Transducer
2. Turn the power switch OFF, and unplug the unit. If the solenoid is activated during
disassembly, the coil will be damaged.
3. Disconnect the solenoid leads from the Controller Board terminal block positions labelled
J1-7 LINE and J1-8 NEUTRAL. Use a multimeter in diode setting to determine whether or not
the coil has failed. If the measured values are approximately equal in each direction, the coil
has not failed. If there is no measured value or the values are other than approximately equal,
replace the coil assembly.
4. Remove the nut (1) from the top of the solenoid valve assembly using an 11/16 inch wrench.
5. Pull the yoke (2) and coil (3) off the plunger tube (4) in an upward direction. Note the orientation
of the yoke and coil for reassembly. To allow the coil to rest outside the unit, cut any cable ties
required.
6. Unscrew the plunger tube from the valve body using the solenoid plunger tube wrench (5) and
a ¾-inch wrench or adjustable wrench.
TIP: When lifting the plunger tube clear of the valve body, place your finger under the
plunger before it drops from the tube and lift the complete sub-assembly off the body to
retain the plunger in the tube for checking free movement. Check that the plunger is moving
freely in the valve body.
Figure 2
4
3
5
6
11
3. Coil
4. Plunger tube wrench
5. Plunger tube wrench
6. Plunger
11. Valve body
12. Solenoid leads
12
STATIM 2000/2000S/2000 G4 Service Guide