Page 126
STAT
IM
2000/2000S Service Guide
96-108639 Rev 3.0
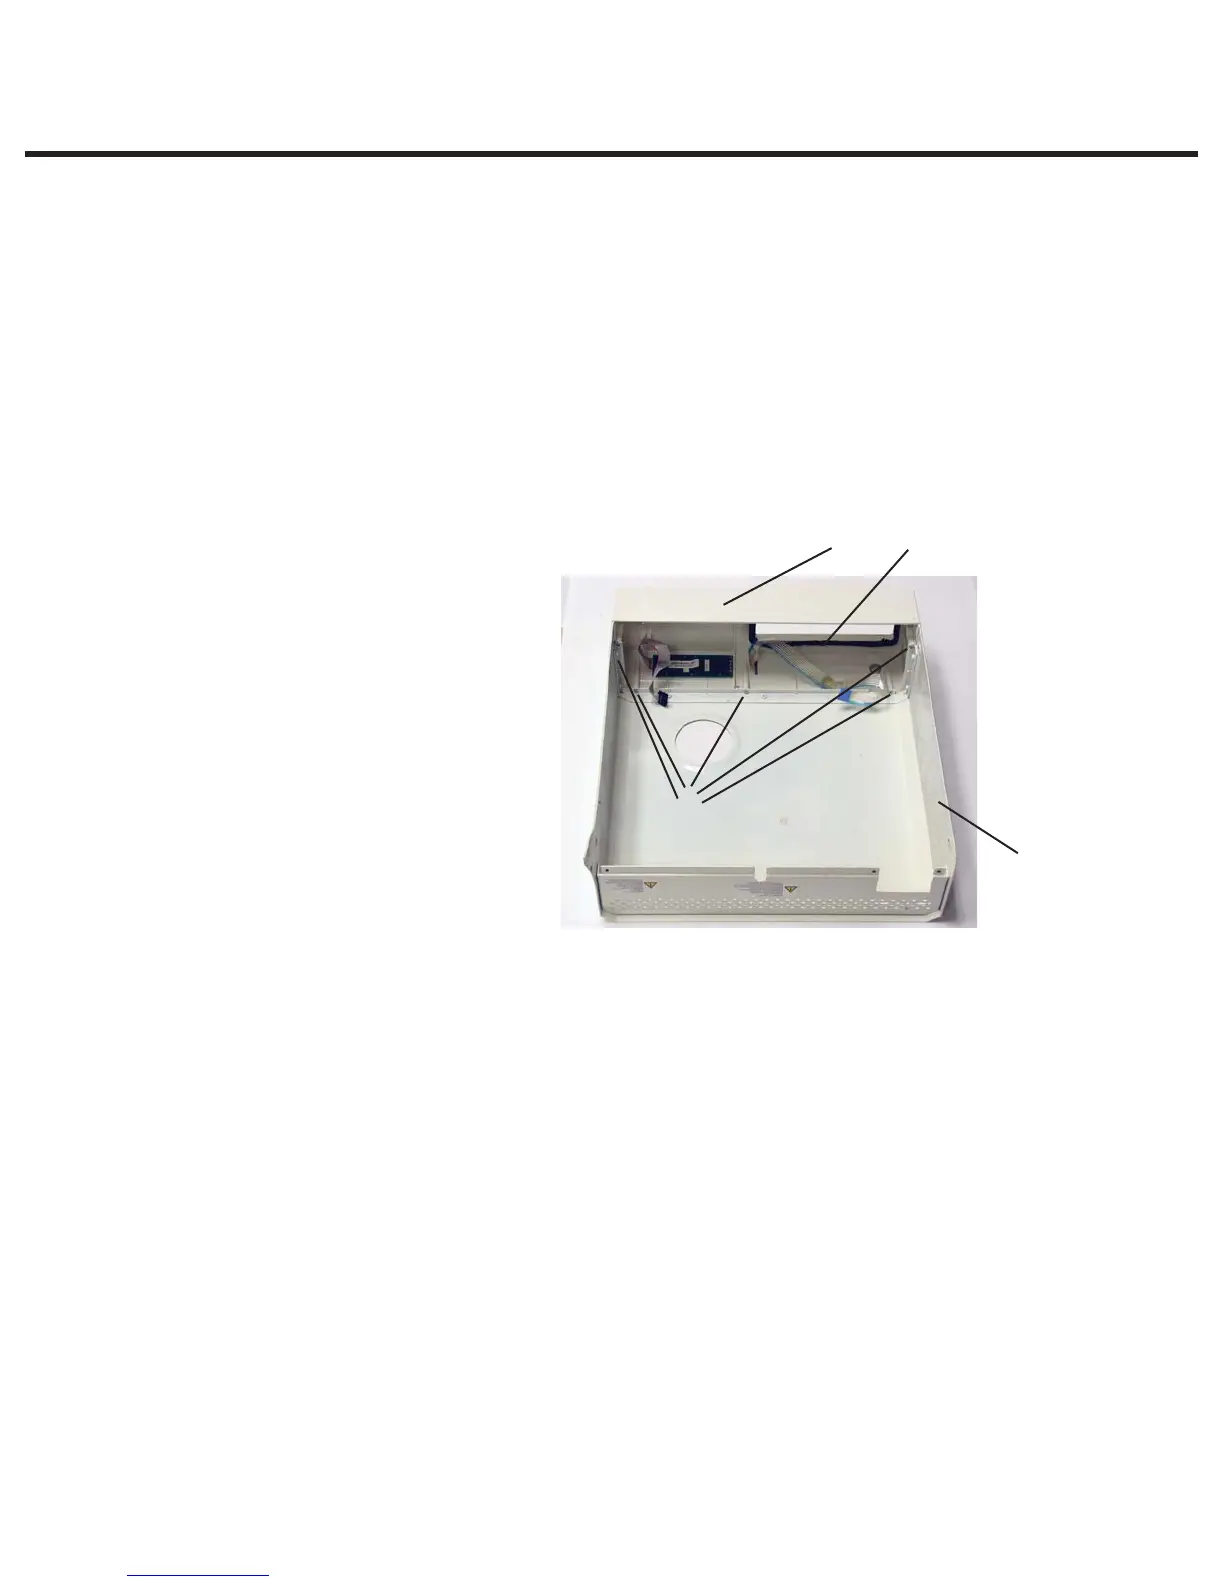
6. Cover Assembly
Removing and Replacing the Armature Gasket
To replace the armature gasket (2), proceed as follows (see Figure 2):
1. Remove all traces of the gasket and gasket adhesive from inside the fascia (1). Note that the
fascia is made of a thermoplastic. DO NOT USE AROMATIC SOLVENTS THEREFORE ON
THE FASCIA as this will damage the surface. To prepare for installation of the new gasket (2),
roughen the inside surface of the fascia where the gasket sits, using a fine grit abrasive paper.
2. Leave the carrier paper on the adhesive side of the gasket and perform a trial fit. Note that
the widest part of the gasket fits at the bottom of the opening and that the gasket does not
protrude into the opening.
3. Remove the carrier paper from the adhesive side of the gasket. Carefully install the gasket
making sure it is seated firmly in place.
Removing and Replacing the Fascia
To remove the fascia (1), proceed
as follows (see Figure 2):
1. The fascia is attached to the
cover (3) using five Plastite™
screws (4). Remove and retain
the screws.
2. A bead of silicone was used
to provide a water-tight seal
between the fascia and cover
during manufacturing. Remove
the fascia and any silicone
residue remaining on the cover.
3. The fascia is made of
recyclable plastic. If the fascia
is to be discarded please
recycle wherever possible.
To replace the fascia (1), proceed as follows (see Figure 2):
1. Apply a bead of silicone between the facsia and cover (3) to provide a water-tight seal.
2. Install the new fascia using the 5 screws (4) retained from the disassembly procedure.
Removing and Replacing the Membrane Keypad (LCD overlay)
To remove the membrane keypad (1), proceed as follows (see Figure 3):
Note: There are two types of membranes. Depending on the age of the unit, it may be a two-
part membrane (LCD overlay + Keypad membrane) or a one-piece overlay with integrated
keypad membrane. Ensure you have the appropriate new overlay before commencing the
replacement.
1. The keypad’s flexible cable and the LCD ribbon cable may be secured together with double
sided adhesive tape. Carefully separate the cables.
2. Using a sturdy sharp instrument, carefully lift one corner of the keypad section only or one
piece overlay and CAREFULLY peel away from the fascia (2). EXERCISE CAUTION, there may
be adhesive on the edges of the LCD. Pass the connector through the slot (5) in the fascia.
1. Fascia
2. Armature gasket
3. Cover
4. Screws
3
2
4
1
Figure 2
STATIM 2000/2000S/2000 G4 Service Guide