Page 261
STAT
IM
2000/2000S Service Guide
96-108639 Rev 3.0
13. Installation
STATIM 2000/2000S/2000 G4 Service Guide
Filling the STATIM Reservoir
When filling the reservoir, ensure you only use steam processed distilled water containing less
than 5 ppm total dissolved solids (having conductivity of less than 10 µS / cm). The impurities
and additives in other water sources will cause an error reading on the LCD. If you have a water
conductivity meter (available from SciCan, order number 01-103139S) check each new water
container before filling the reservoir. If your unit is equipped with a Rev. 7.x controller board or
higher (software SxxxR6xx), you can read the water conductivity by referring to the ‘Water Quality’
sub menu in the main user menu.
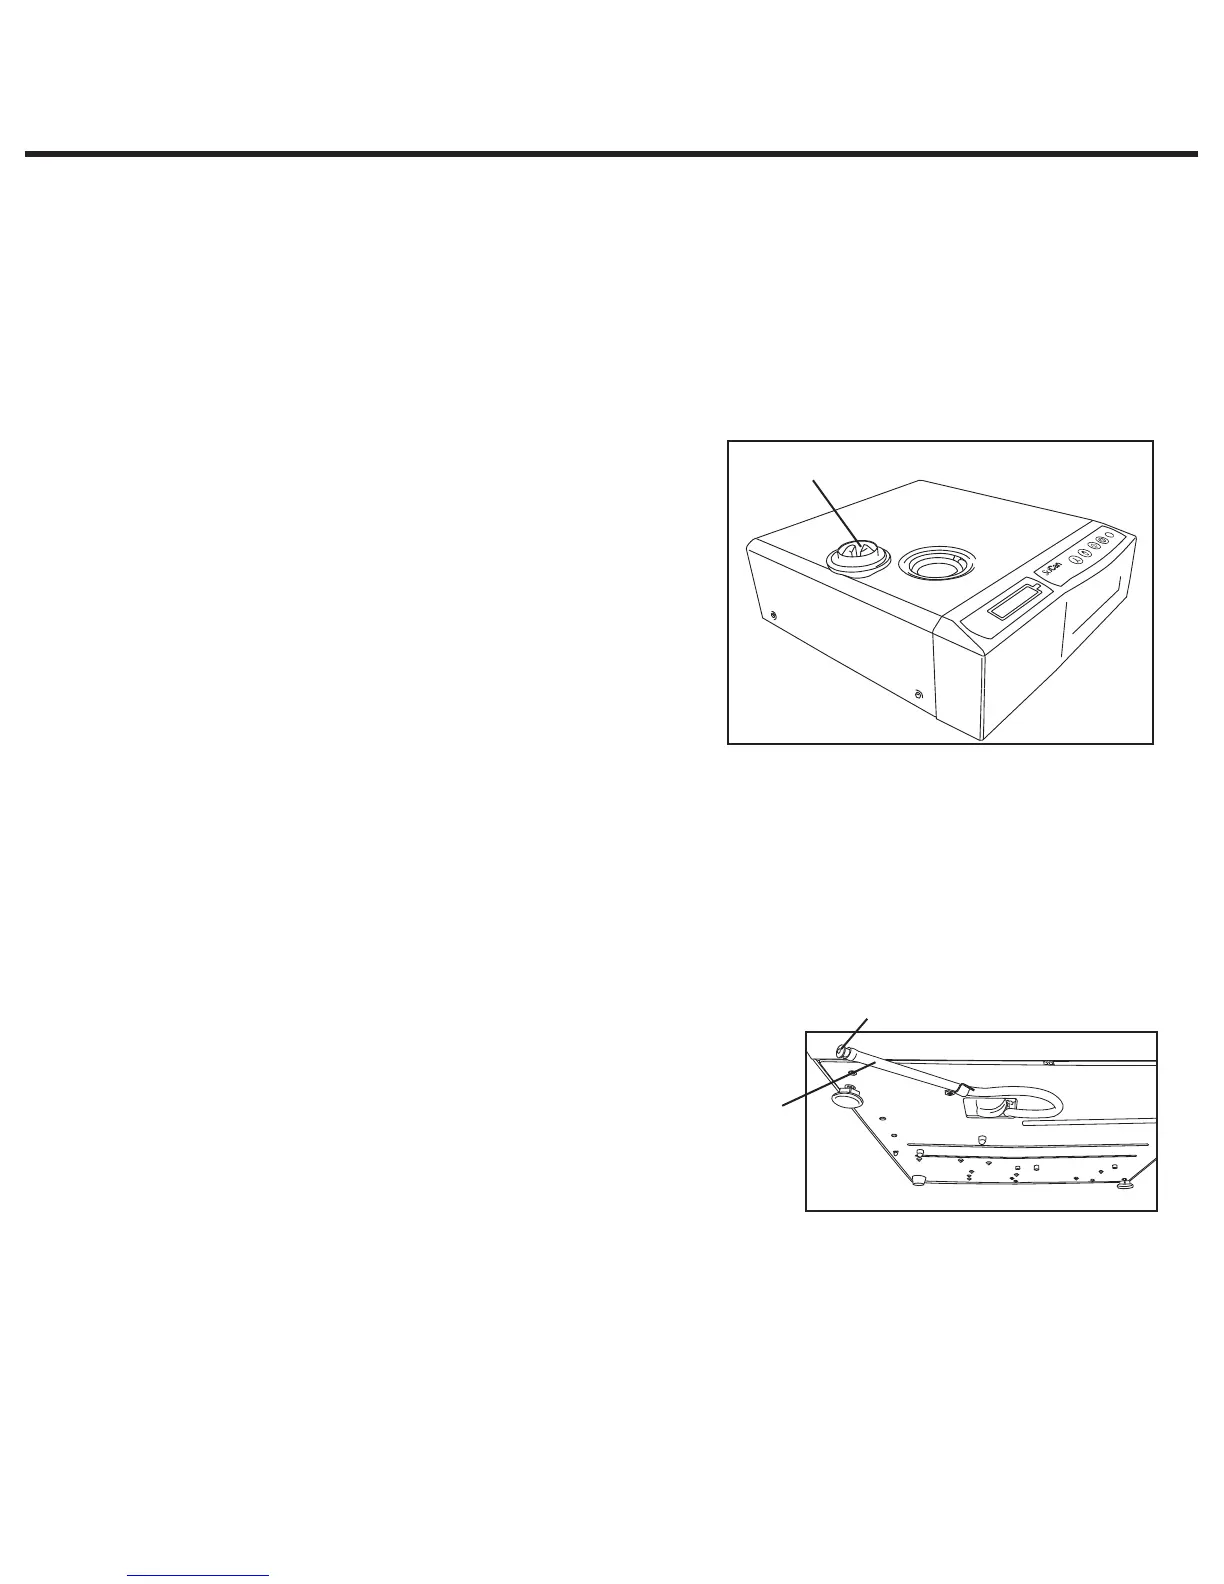
To fill the reservoir, follow these steps (see Figure 3):
1. Remove the reservoir cap (2)
2. Pour steam-process distilled water into the
reservoir until almost full (a maximum of 4L/1 U.S.
gal). Use a funnel to avoid spillage.
3. Replace and secure the cap.
Priming the STATIM Pump
To prime the STATIM pump, follow these steps (see
Figure 4):
1. Move the unit to the edge of the work surface.
The front leveler feet should be approximately 12
mm/0.5˝ from the edge.
2. Lift the front left corner of the unit upward and remove the drain tube (3) from the clip located
on the underside of the unit.
3. Pull the drain tube outward so the free end can be positioned over a water container.
4. Fill the reservoir with steam-process distilled water.
5. Remove the plug (4) from the end of the drain tube and allow water to drain from the tube into
a container for 30 seconds. When the water flows in a
steady stream, replace the stopper.
6. Lift the front left corner of the unit upward and reinsert
the tube into the clip on the underside of the unit.
Push the excess length of tubing back into the space
provided.
Make sure the plug in the drain tube is secured.
After installation, and before sterilizing any instruments, run
two cycles.
Powering up and setting up the unit
1. Attach the main power cable to the unit and to the outlet socket.
2. Switch on the outlet socket (if appropriate) and then the unit via the power switch on the rear
of the unit.
3. Check that the display illuminates.
3
4
2
Figure 4
Figure 3