Page 249
STAT
IM
2000/2000S Service Guide
96-108639 Rev 3.0
12. Printer and Data Logger
STATIM 2000/2000S/2000 G4 Service Guide
Installing the external printer on your STATIM unit
Setting the STATIM unit
Locate the printer port on the rear of the unit and proceed as follows:
1. Ensure the STATIM is powered OFF
2. Press and hold the STOP button and power ON the
STATIM unit to access the USER menu.
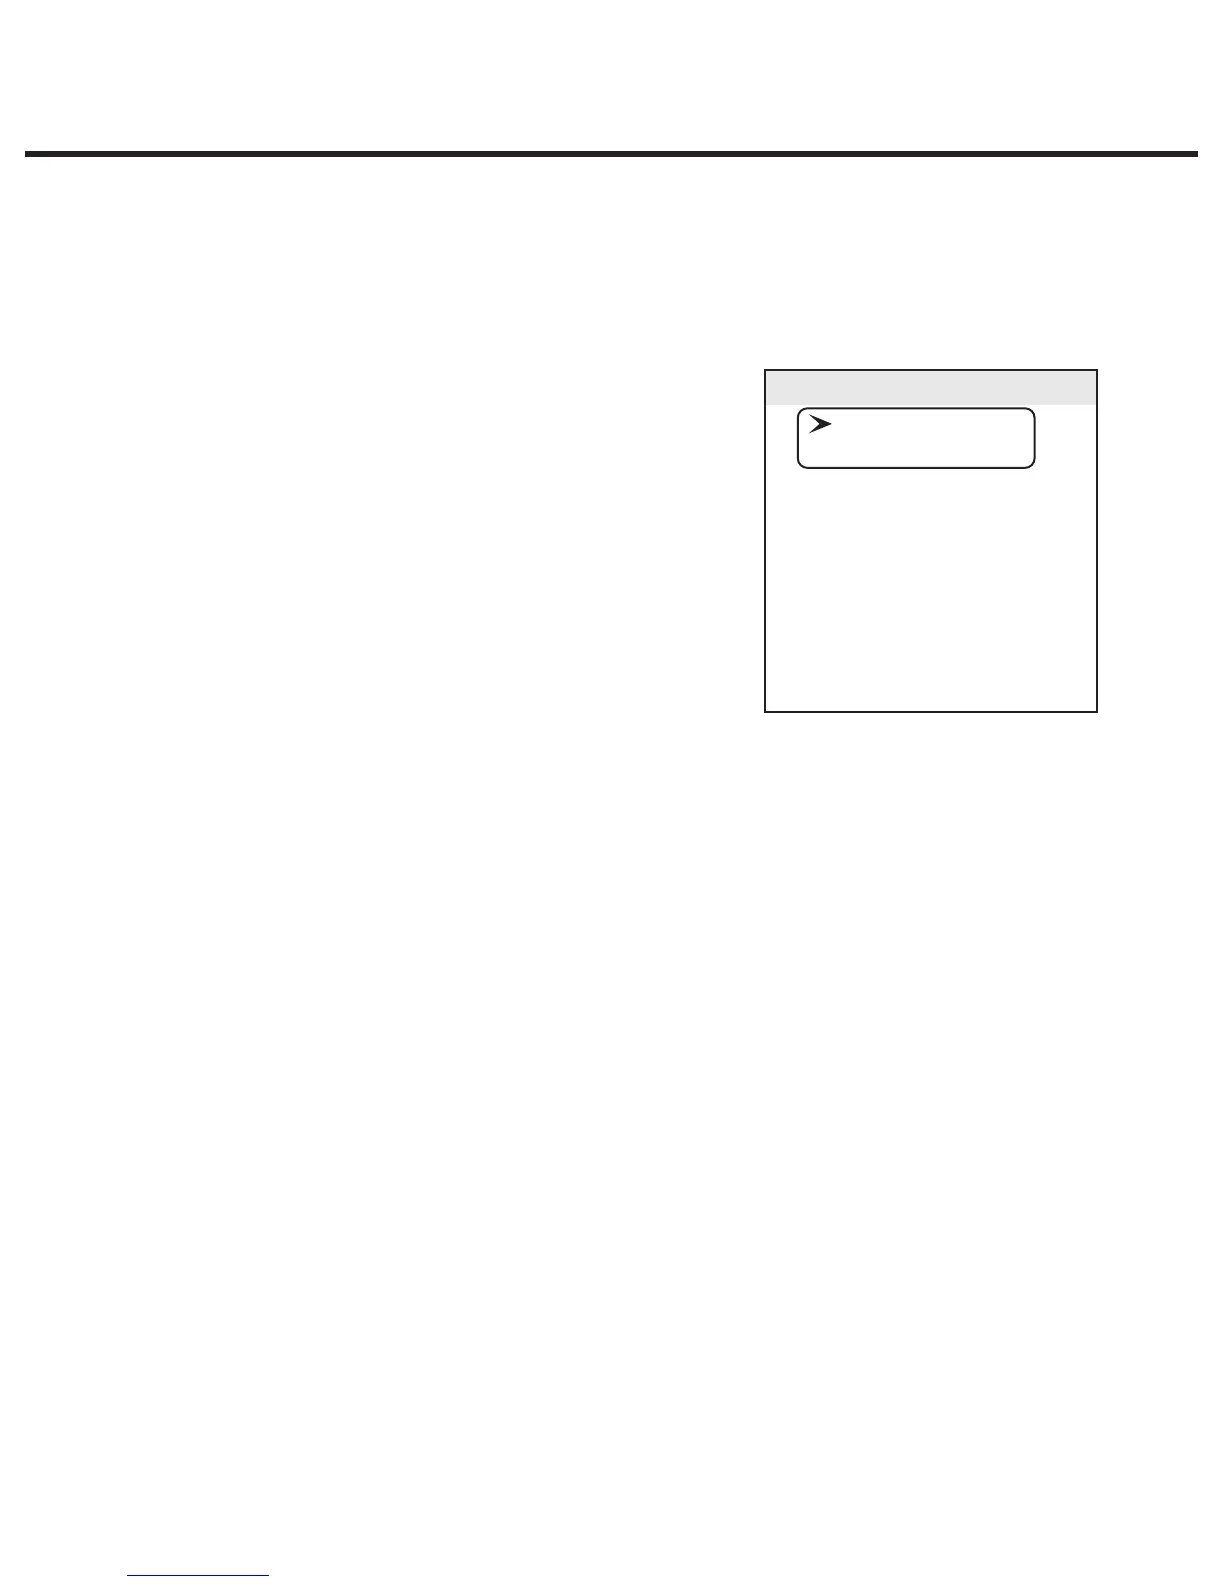
The following menu is now available and the display on the
LCD screen should be as highlighted.
3. Using the UNWRAPPED and WRAPPED buttons, scroll
until the cursor is next to “RS232” and select it by
pressing the RUBBER & PLASTICS button.
4. You should now have the option of “N/A”, “USB/Flash
MSD” or “Serial Printer” which can be scrolled through
by using the UNWRAPPED and WRAPPED buttons.
5. Scroll to “Serial Printer” and press the RUBBER & PLASTICS button to select and return to the
user menu.
6. Using the UNWRAPPED and WRAPPED buttons, scroll until the cursor is next to “End of Line
CR/LF” and press the RUBBER & PLASTICS button to access the options.
7. Using the UNWRAPPED and WRAPPED buttons, scroll until reaching the desired CR/LF value
in the table above (or from the printer’s user manual) and press the RUBBER & PLASTICS
button to select and return to the user menu.
8. Using the UNWRAPPED and WRAPPED buttons, scroll until the cursor is next to “Serial Port
Bitrate” and press the RUBBER & PLASTICS button to access the options.
9. Using the UNWRAPPED and WRAPPED buttons, scroll until reaching the desired Bitrate value
in the table above (or from the printer’s user manual) and press the RUBBER & PLASTICS
button to select and return to the user menu.
10. Using the UNWRAPPED and WRAPPED buttons, scroll until the cursor is next to “Printer uses
DIBSwBOEQSFTTUIF36##&31-"45*$4CVUUPOUPBDDFTTUIFPQUJPOT
11. Using the UNWRAPPED and WRAPPED buttons, scroll until reaching the desired Hex value in
the table above (or from the printer’s user manual) and press the RUBBER & PLASTICS button
to select and return to the user menu. Important note: the UNWRAPPED button will increase
the displayed value by 1, and the WRAPPED button will increase that displayed value by ten.
User Mode
Time/Date Setup
Language Setup
Unit ID Setup
Last Printout
RS232
End Of Line CR/LF
Serial Port Bitrate
Printer user ° char
Save and Exit
Exit