Commissioning and service
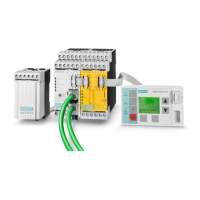
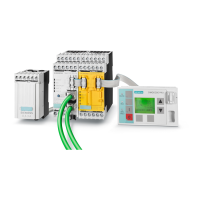
SIMOCODE pro
14-12 GWA 4NEB 631 6050-22 DS 03
Replacing an expansion module or a decoupling module
Proceed as follows:
Table 14-10: Replacing an expansion module or a decoupling module
Replacing a DM-F
Proceed as follows:
Table 14-11: Replacing a DM-F
Step Description
1 Switch off the main power for the feeder and the supply voltage for the basic
unit.
2 If necessary, pull the PC cable, the cover or the connecting cable out of the
system interface.
3 Remove the removable terminals. You do not need to detach the wiring.
4 Demount the expansion module or the decoupling module.
5 Remove the removable terminals of the new expansion or decoupling module.
6 Mount the new expansion module or decoupling module.
7 Plug in the wired removable terminals.
8 Plug the connecting cable into the system interface.
9 Switch on the supply voltage for the basic unit.
10 Switch on the main power for the feeder.
Step Description
1 First, switch off the main power for the feeder and then the supply voltage for
the basic unit and the DM-F.
2 If necessary, pull the PC cable, the cover or the connecting cable out of the
system interface.
3 Remove the removable terminals. You do not need to detach the wiring.
4 Demount the DM-F.
5 Remove the removable terminals of the new DM-F.
6 Mount the new DM-F.
7 Plug in the wired removable terminals.
8 Plug the connecting cable into the system interface.
9 Only DM-F PROFIsafe:
Set the DIP switch setting for the PROFIsafe address according to the
configuration in the F-controller (see "Configuring the DM-F PROFIsafe and
integrating it into the failsafe automation system" in the system manual
"Failsafe Digital Modules SIMOCODE pro SAFETY").
10 Switch on the supply voltage for the DM-F and the basic unit.
11 Only DM-F Local:
Configure the DM-F Local correctly (see chapter "Configuring the DM-F Local"
in the system manual "Failsafe Digital Modules SIMOCODE pro SAFETY")
12 Switch on the main power for the feeder.