'($ ''" "(& '(#" " (#)'&" '#(-'
All of the functions found within the bus configuration screens can be assigned to Centre Section and Touchscreen
s
oftkeys. They can also be linked to GPI circuits for control and/or tallies from external equipment (see Section 7).
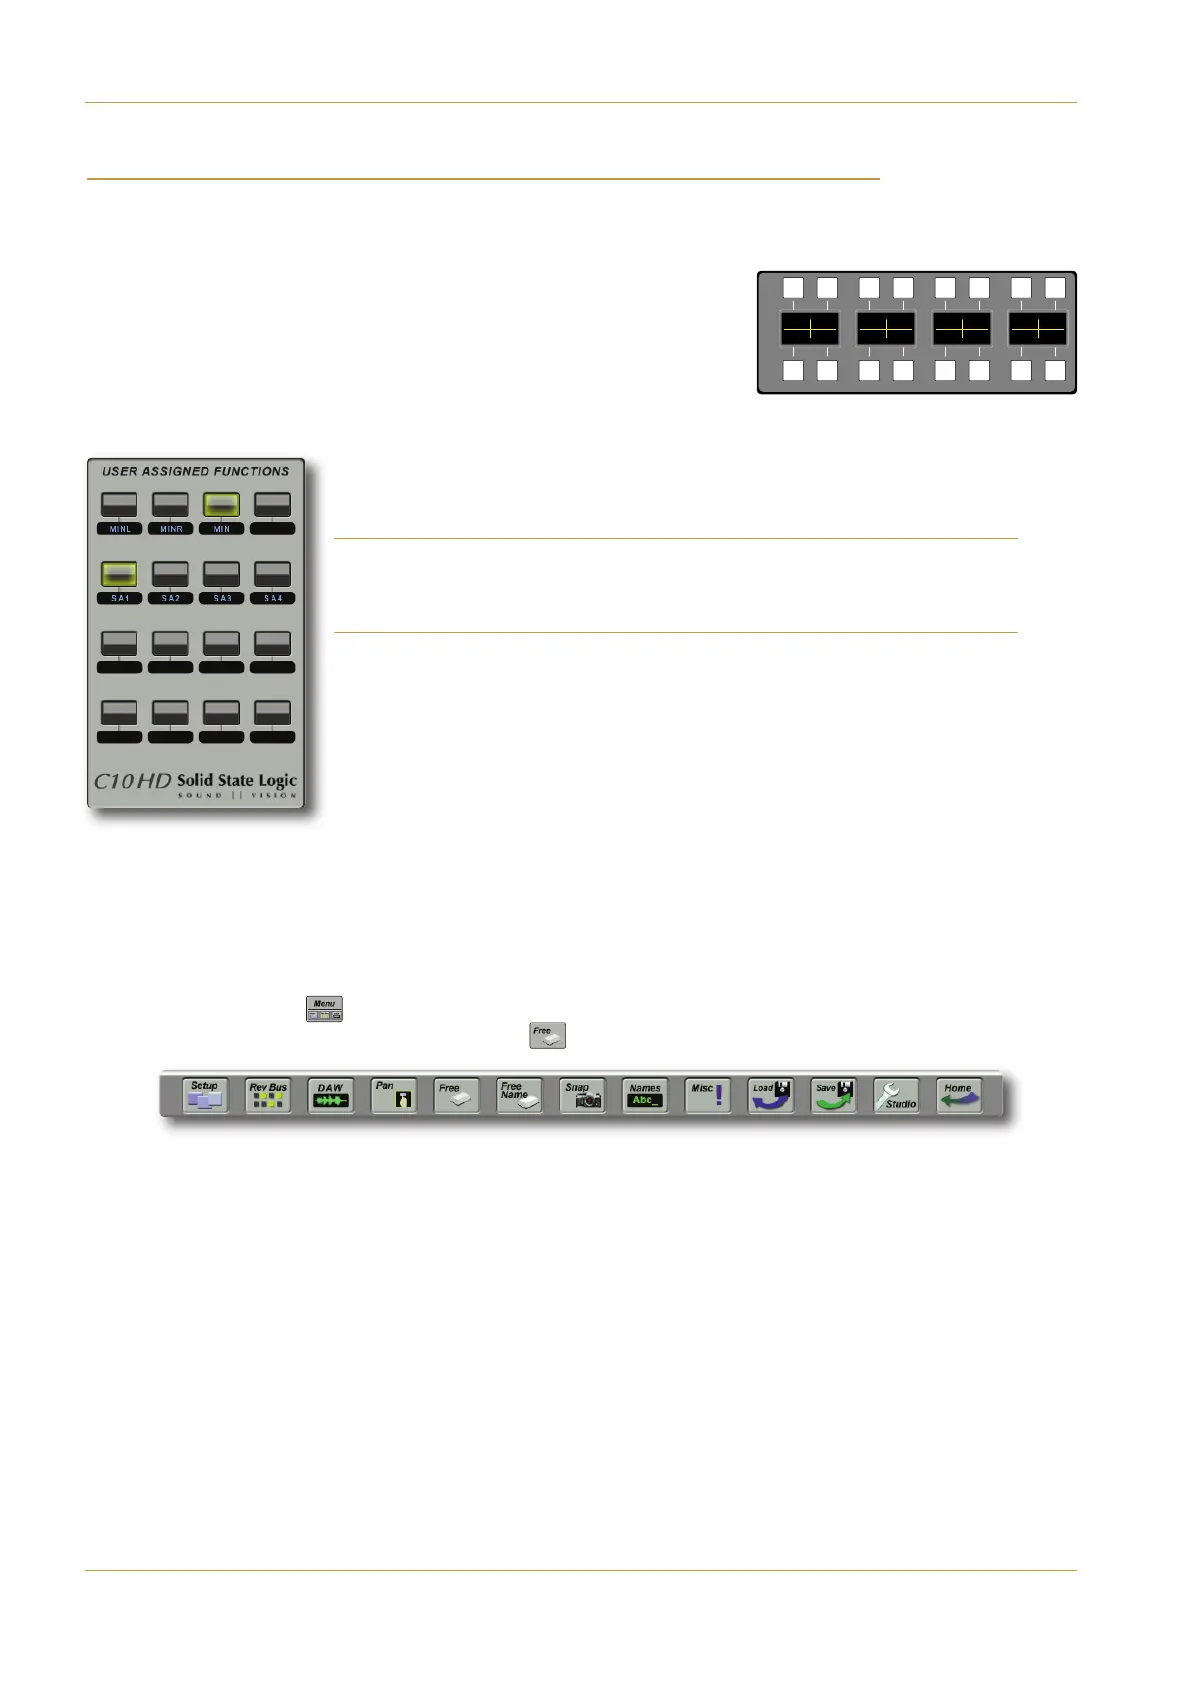
In the left-hand side of the Centre Section there is a panel containing 16 softkeys
divided into two rows of eight. The current function of each button is shown in
t
he display between the button rows. These softkeys can be run in two modes:
Banked or Unbanked: When Unbanked, the 16 softkeys can each be assigned a
single function. When Banked, there are six banks of softkeys available, each
containing 10 softkeys. The six right-most buttons in the lower row become
bank selectors, while the remaining buttons can be assigned.
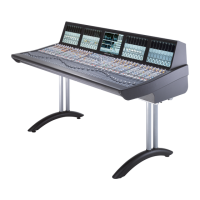
In addition to the Centre Section softkeys, the )'&''")"(#"' area
in the right-hand side of the Touchscreen provide a further 16 softkeys. The function of
each button is displayed immediately beneath it.
Note that, if using the Banked configuration for the Centre Section softkeys, you may want
to duplicate important functions, such as layer selection, in the Touchscreen softkeys, in order
to provide permanent indication their status.
) ( $&#( '#(- ''"!"('
In the Default Project, the top row of the first bank of Centre Section Softkeys includes
Layer Select keys for Layers 1, 2 and 3 ( , , ) towards the left, and the Softkey
bank/unbank switch ('5B) towards the right. The bottom row includes a multi-channel spill
button ('?8;) towards the left. When the softkeys are in Banked mode, most of the rest of
the row is taken up with bank selector keys (=: to =:). If Unbanked, softkeys 3 and
4 route talkback to Stereo Comms bus 1 (!) and Stereo Comms bus 2 (!). The
remaining softkey banks are unused.
In the )A4@AA86=43C=2B8>=A area of the Touchscreen, softkeys 3 and 4 on the first
row are assigned as power supply indicators for the main and backup PSU ($')and $')).
To assign softkey:
‰ Touch the !") ( ) button, located towards the right-hand end of the Project Information Strip near the
bottom of the Touchscreen, followed by the & ( ) button in the User Toolbox which appears:
The displays associated with each Free button flash followed by a 4-character legend indicating the current function
(or blank if none assigned).
‰ Press the softkey that you want to assign (selecting a new bank if required). Once pressed, Centre Section softkeys
will flash and will appear in their display, or Touchscreen softkeys will flash yellow.
‰ Touch the on-screen function that you want to assign to that button. The displays associated with each Free button
will return to flashing followed the current function name, including the newly assigned key.
Touchscreen softkeys
Page 4-24 | Section 4: Configuration C10 HD Installation Guide
B: Console Configuration
2 ASG 3 ASG 4 ASG 5 ASG 6 ASG 7 ASG 8
4
1 PGM 2
4
1
S
2
4
1
M
3
A
4
A 5
A
6
A 7
A
8
A
Centre Section Softkeys