Stonex R2 PLUS Total Station - User Manual 110
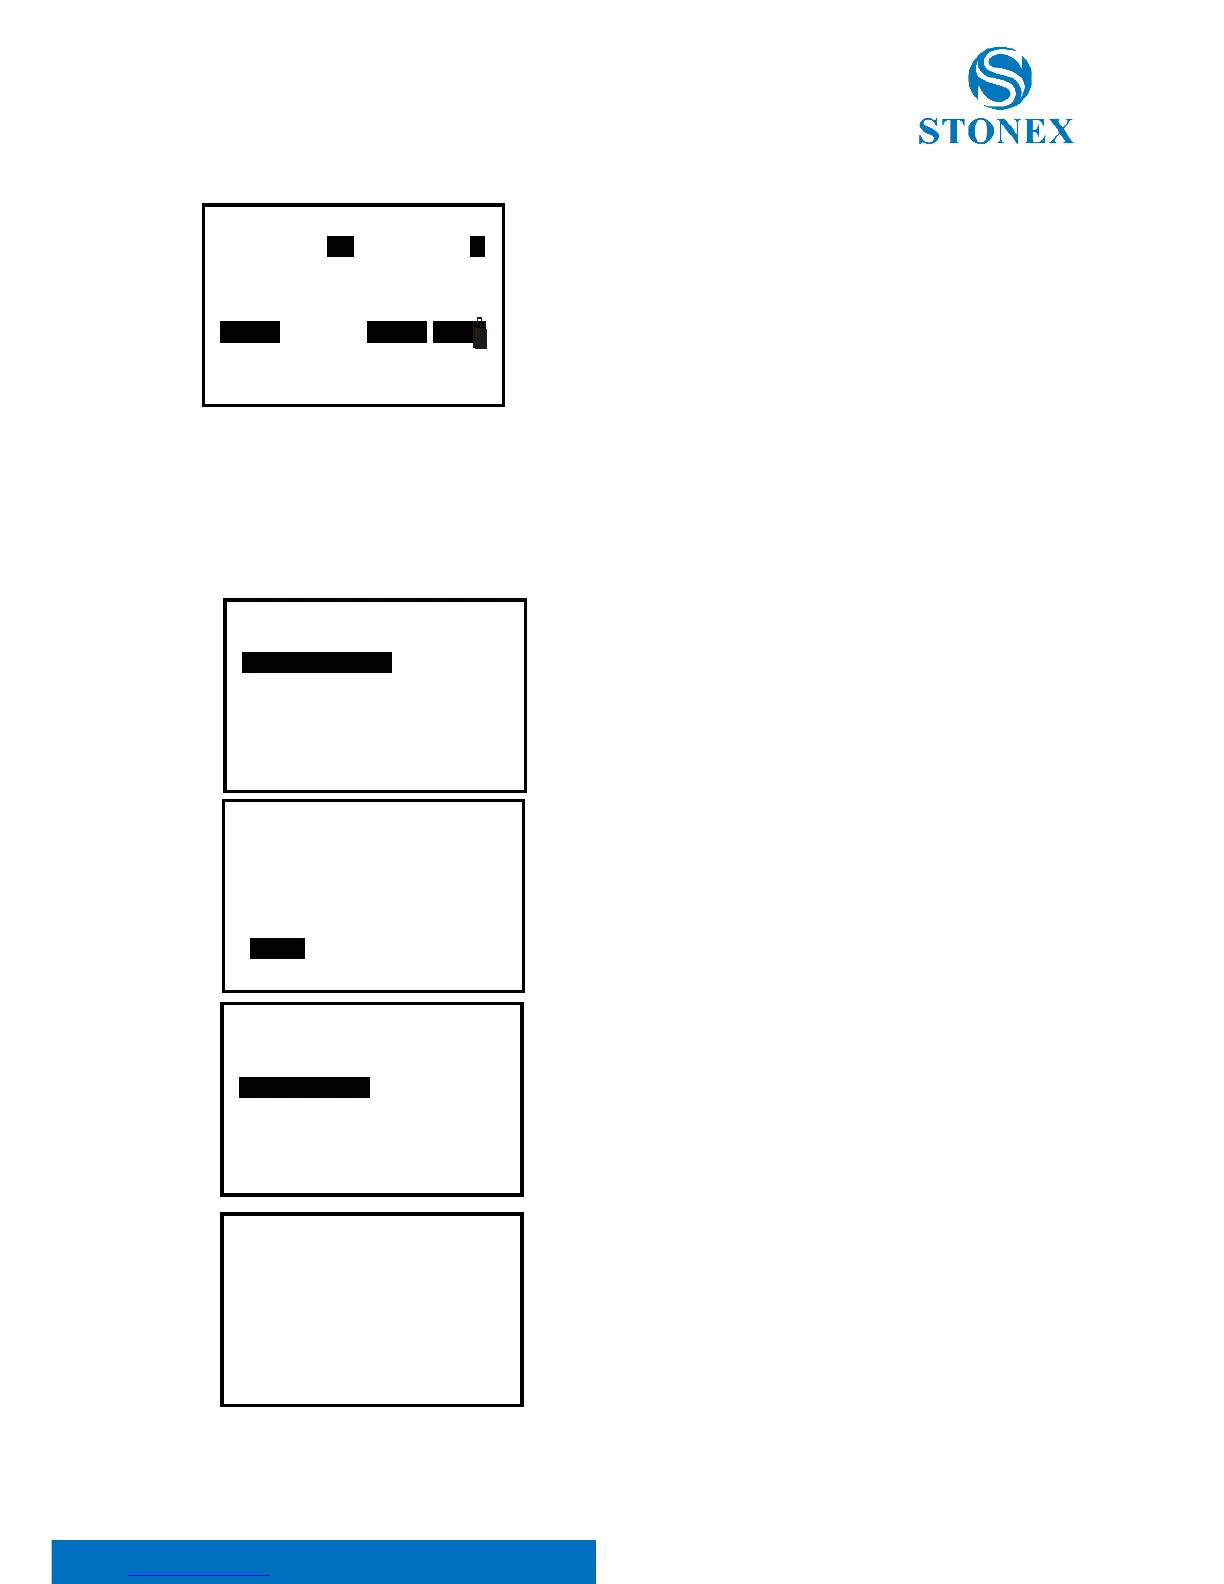
5. Once the Pt# is the same as an existed one, it will display
as shown left:
Press F3: [NO] to re-input;
Press F4: [YES] to overwrite;
Press F1: [ADD] to save, and the original one will not
Be deleted.
23.2 Input Known Point Coordinate via RS-232C
【Procedure of Inputting known points coordinate】
1. Connect instrument and PC via RS-232C
communication cable. Press F3: [MEM] in the status
mode to enter into memory management.
2. Select “2.Known data”, job list will display. Select one
Job you want to operate, press [ENT] key to confirm,
known data menu will display, you can see the active
JOB on the second line..
3. Select “2.Com input”.
4. Run STONEX Exchange software PC, see the help file
of STONEX Exchagne to upload known data to current
JOB, the chapter is “2.1.2 Upload Known data from PC to
R1 internal memory”.
When data transferring, the number following Receiving
will upgrade continually, at last it will back to known
data mode after finishing.