Stonex R2 PLUS Total Station - User Manual 10
2.1.2 Replace the Battery
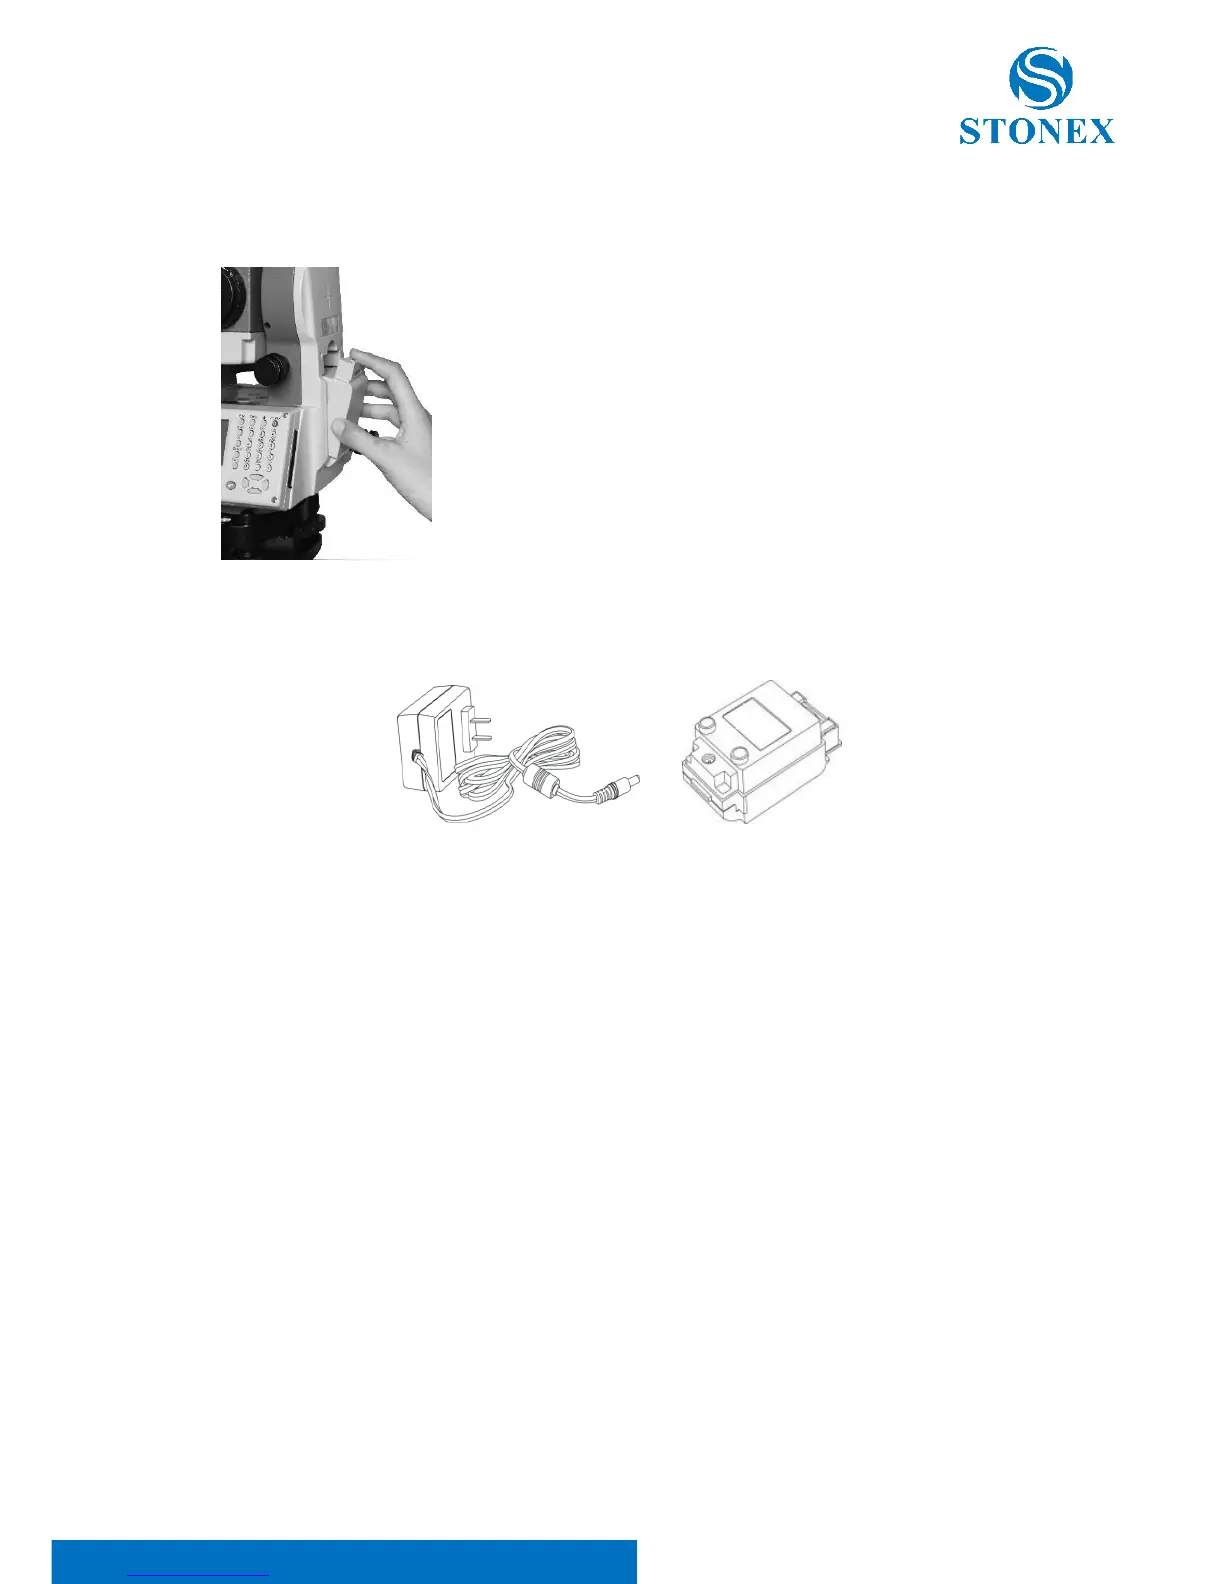
1) Remove the battery
① Press the button downward as shown left
② Remove the battery by pulling it toward you
2) Mount the battery
① Insert the battery to the instrument
② Press the top of the battery until you hear a Click.
2.1.3 Recharge the Battery
As above figures show, connect the charger and the battery, then plug the charger
into the outlet of 100V-220V AC power supply, recharging will begin.
NOTE:
For a new (or long time no use) battery, in order to fully extend its capacity, it
is absolutely necessary to carry out 3 to 5 complete charging/discharging
cycles, and the charging time must be 10 hours at least each time.
The indicator light on the charger will illuminate three separate colors for
varies mode conditions:
- Solid Red Light — indicates that the charger is working;
- Solid Green Light — indicates that the charge has finished;
- Flashing Red Light — indicates no battery on charging, poor connection
or some problems exist.
It is recommended to continue charging for 1 or 2 hours after the light turn
green.
Once the red light flashes constantly after the charger is plugged into the
outlet of 100V-240V AC power supply, please remove the battery and
reconnected it after 3 or 5 min.