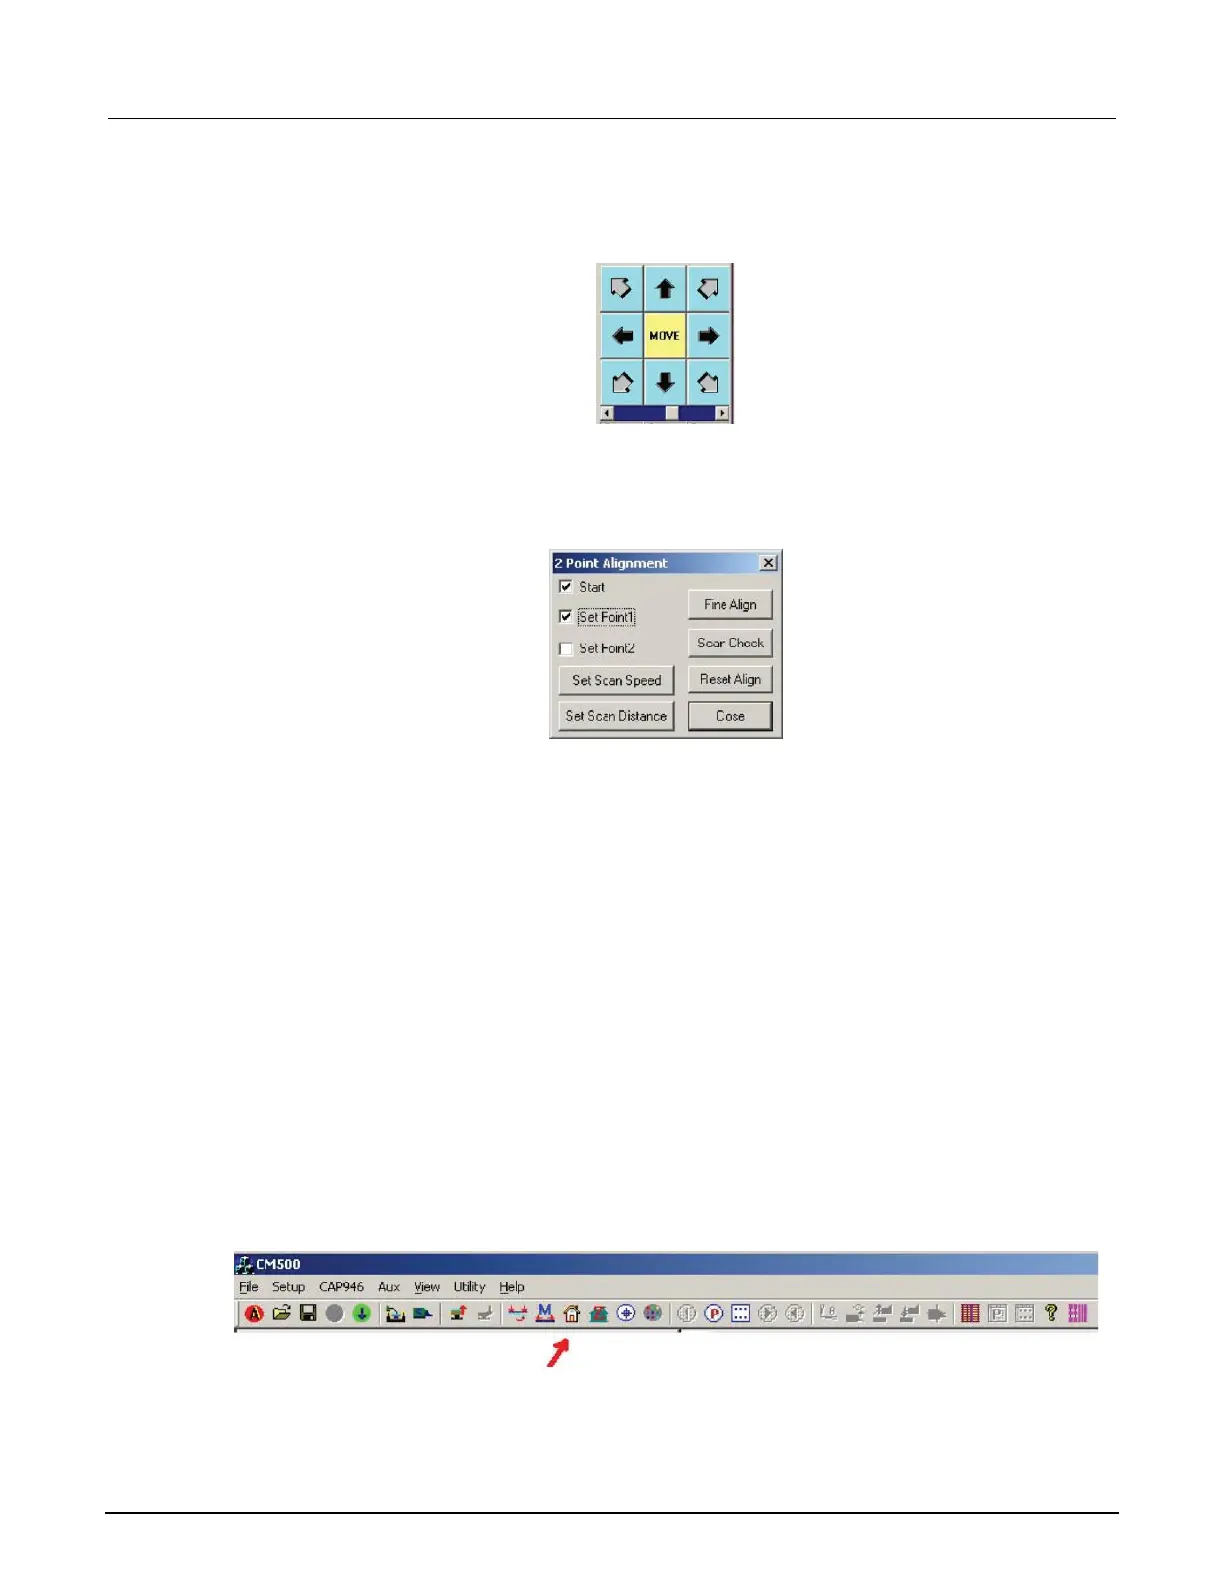
3. Click the Arrow buttons on the window to move the wafer stage to reference point 1.
Figure 300: CM500 Prober manual MOVE buttons
4. Select Set Point1.
Figure 301: CM500 Prober 2 Point Alignment 3
5. The Wafer stage moves to the other side as set by the scan distance.
6. Click the Arrow buttons on the window to move wafer stage to reference point 2.
7. Select Set Point2.
8. The Prober software rotates the theta motor for the proper alignment.
9. Click Scan Check to verify that the wafer is aligned correctly.
10. Click Fine Align to make a minor alignment.
11. After the wafer is aligned, set the HOME die of the wafer and wafermap.
Set the Home die of the wafer
Set the Home die of the wafer:
1. Move the wafer stage to the actual location that needs to be set as HOME.
2. When completed moving the wafer stage, click the Set Home icon on the toolbar.
Figure 302: CM500 Prober Set Home icon

 Loading...


