These and other KCon switch matrix settings result in simplified matrix connections. Initially, you
need to:
• Add the test fixture or probe station.
• Configure the Instrument Connection Scheme and Switch Cards areas.
• Specify the physical instrument-to-card and card-to-prober/fixture connections.
• Physically make the specified instrument-to-card and card-to-prober/fixture connections.
After the initial setup, you can specify instrument-to-prober/fixture connections by specifying the
corresponding terminal and prober/fixture pins in a Clarius user test module (UTM). You do not need
to specify matrix cross points. The 4200A-SCS automatically routes the signals through the matrix.
For additional detail on KCon, refer to the Model 4200A-SCS Setup and Maintenance User's Manual.
The Series 700 Switching System must be set to DDC compatibility mode to be used with the
4200A-SCS. Refer to the Series 700 documentation for information on how to make this setting.
Step 1. Exit Clarius and open KCon
To exit Clarius and open KCon:
1. Exit Clarius.
2. On the Windows desktop, select the KCon icon.
Step 2. Add a test fixture or probe station
You must use a test fixture or a probe station with the switch matrix. However, both cannot be in the
system configuration together. If you need to remove a component, refer to “Remove an external
instrument” in Model 4200A-SCS Parameter Analyzer Setup and Maintenance.
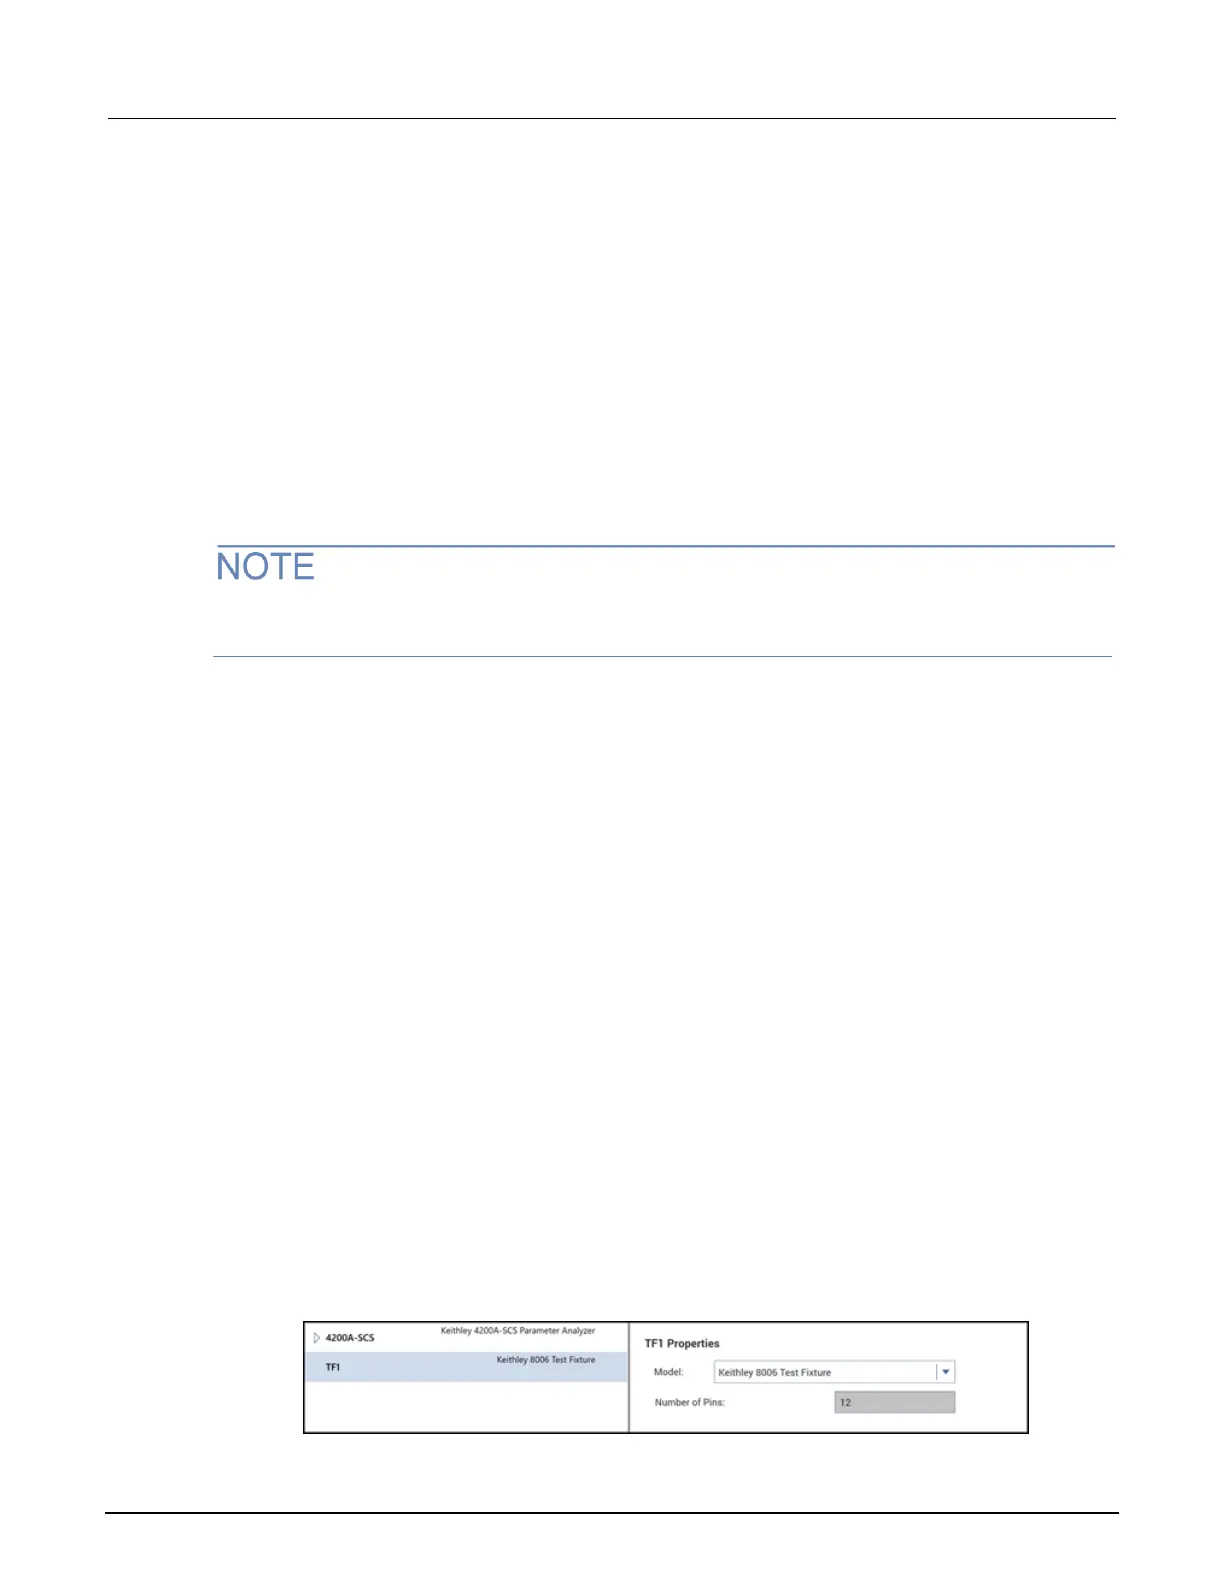
Add a test fixture
To add a test fixture to the system configuration:
1. Select Add External Instrument.
2. Select Test Fixture.
3. Select OK.
4. In the System Configuration list, select the test fixture (prefix is TF).
Figure 23: Add test fixture

 Loading...


