4: INSTALLATION
11. Fasten the air gun holster to the front right enclosure
panel using two M6 × 1.0 - 12 screws using a T-handle
hex wrench.
Figure 4-69: Installing the air gun holster on the front
right enclosure panel.
12. Assemble the air gun using a 13 mm wrench. Attach the
loose end of the coiled hose onto the air gun. Then, stow
the air gun on the air gun holster.
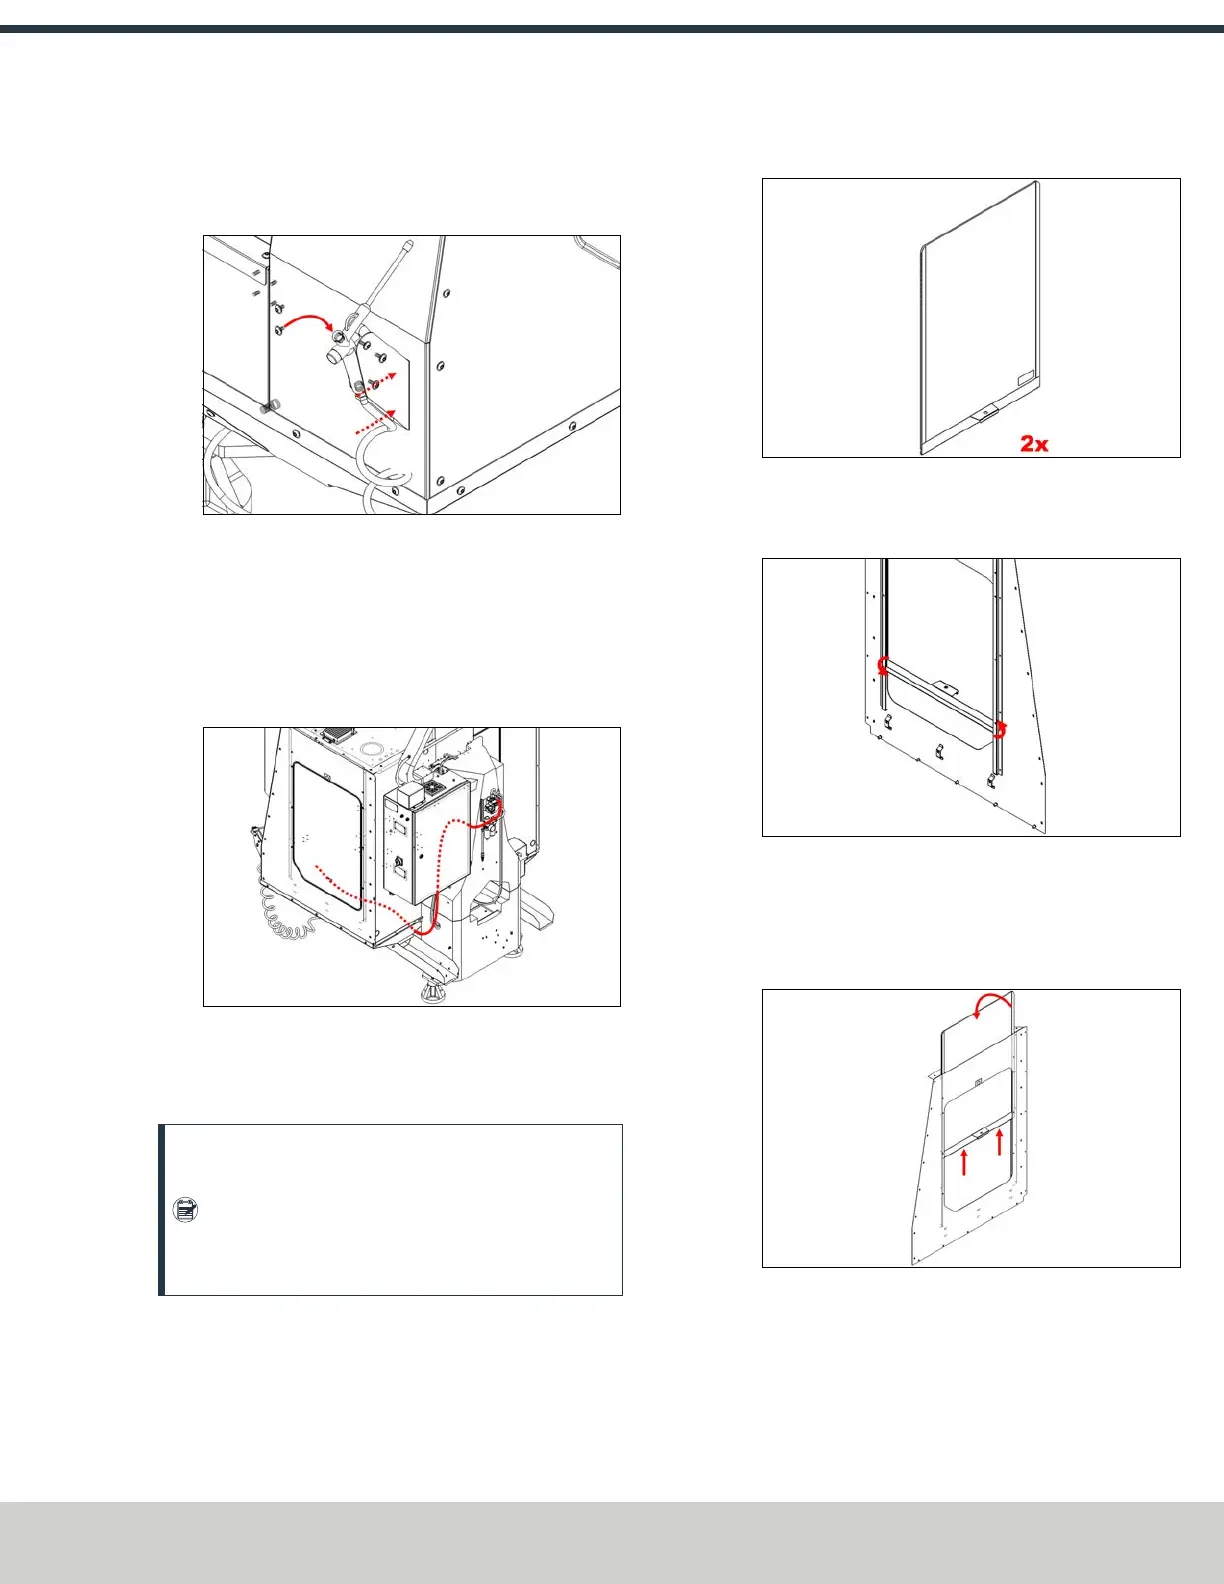
13. Route the air supply line underneath the chip trays to the
machine’s air manifold.
Figure 4-70: Routing the air supply line from the
pressure regulator to the air gun.
Install the Windows
Note: We recommend installing the coolant
washdown kit before installing the windows. Go to
"Install the Automatic Chip Tray Washdown Kit"
(page86), and then come back to this section to
finish the enclosure installation.
1. Identify the enclosure window assemblies.
Figure 4-71: Enclosure window assembly.
2. Install the window frame by tilting it into the right side
panel’s window guides.
Figure 4-72: Installing the window frame into the
right side panel's window guides.
3. Install the polycarbonate window panel through the slot
in the top right panel. Lightly press the window into the
window frame’s channel.
Figure 4-73: Installing the polycarbonate window
panel into the slot of the top right panel.
4. Repeat steps with remaining enclosure window
assembly on the left side of the enclosure.
©Tormach® 2024
Specifications subject to change without notice.
Page 59 UM10811: 1500MX Operator's Manual (Version 0424A)
For the most recent version, see tormach.com/support