4: INSTALLATION
10. Identify the air line included with this kit, and connect it
to the outlet valve of the MQL's solenoid. Connect the
loose end of the air line to the FRL.
Figure 4-198: MQL's air line connections.
11. Identify the coolant included with this kit, and fill the
coolant reservoir.
4.8.5 Install the microARC 6
Complete the following steps in the order listed:
Install the A-Axis Driver 93
Install the microARC 6 in the Machine 97
Install the A-Axis Driver
WARNING! Electrical Shock Hazard: You must power
off the machine before making any electrical
connections. If you don't, there's a risk of
electrocution or shock.
1. Power off the machine and the PathPilot controller.
a. Push in the machine's red Emergency Stop button,
which removes power to motion control.
b. From the PathPilot interface, select Exit.
c. Turn the Main Disconnect switch to OFF on the side
of the electrical cabinet.
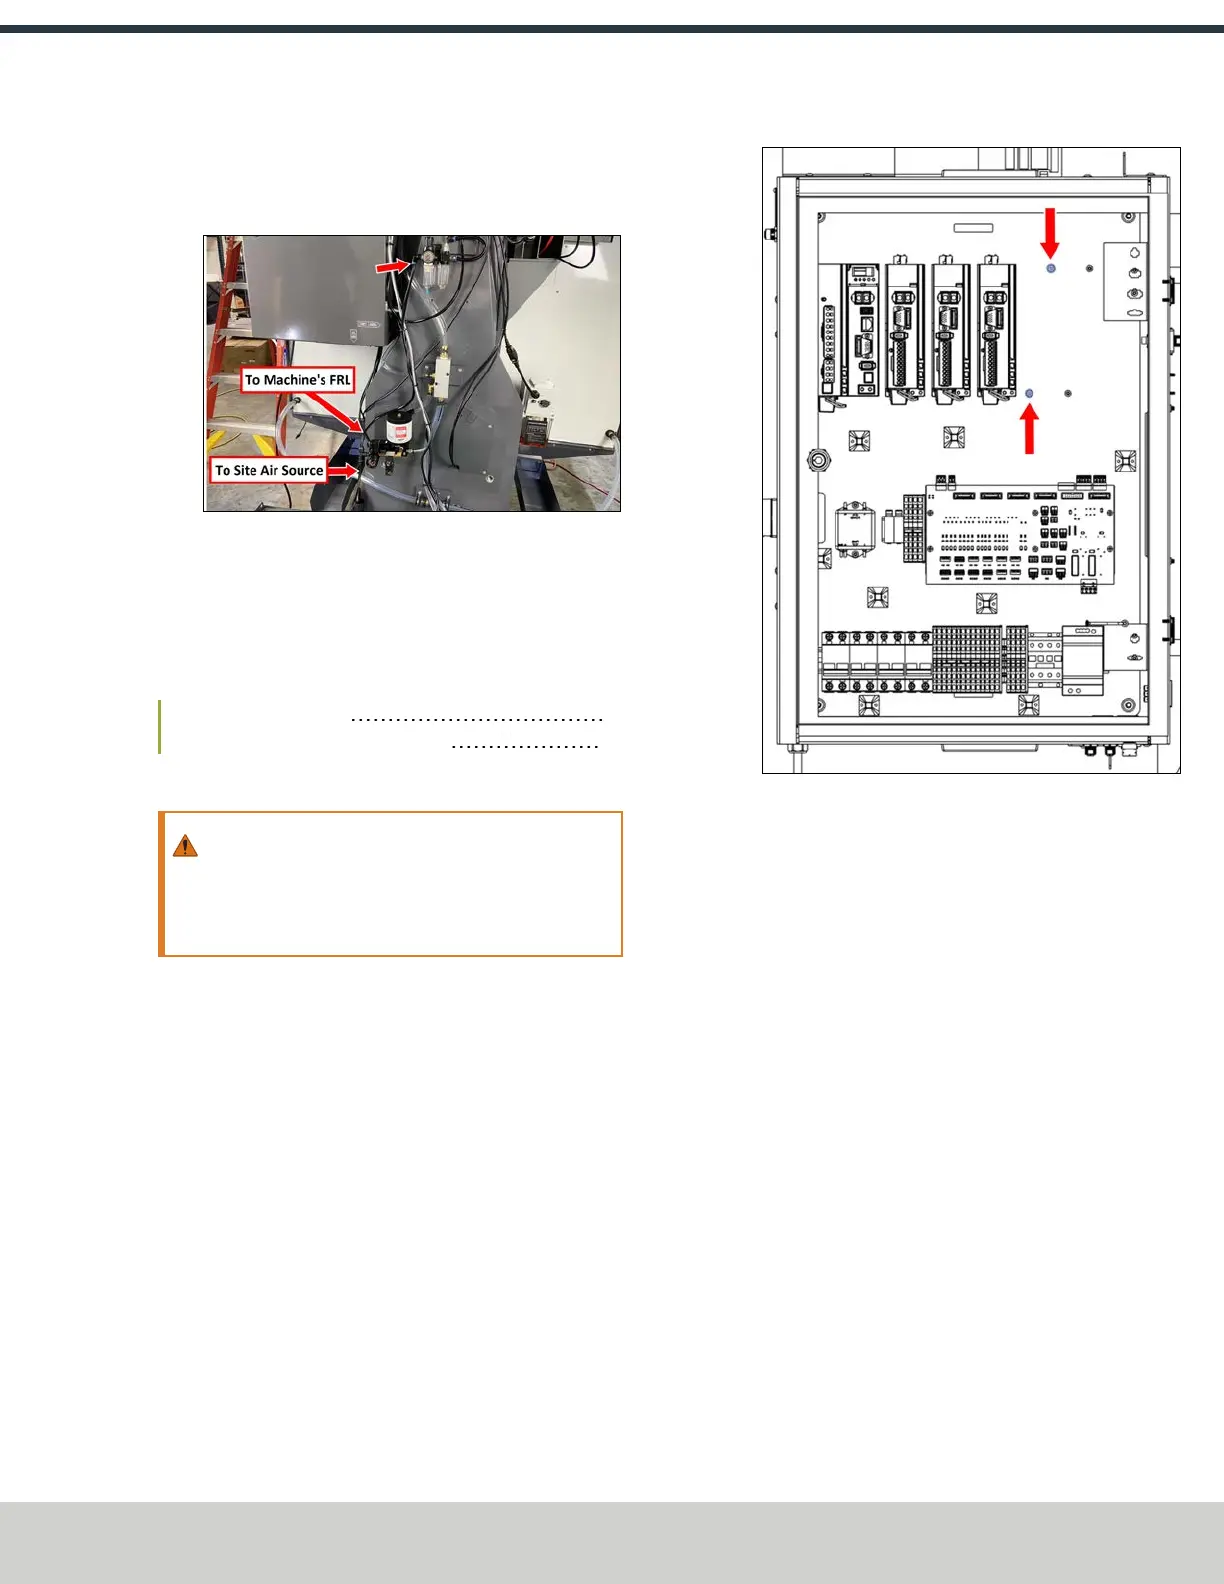
2. Open the electrical cabinet door.
3. Locate the two screws next to the Z-axis driver. Remove
the top screw and set it aside, and loosen the bottom
screw with a 2.5 mm hex wrench.
Figure 4-199: A-axis driver screws pre-installed in the
electrical cabinet.
4. Remove the ground wire from the bottom screw. You'll
connect it to the A-axis driver later in this procedure.
©Tormach® 2024
Specifications subject to change without notice.
Page 93 UM10811: 1500MX Operator's Manual (Version 0424A)
For the most recent version, see tormach.com/support