5. Remove the ATC tilt bracket from the column mount
with a 6 mm hex wrench. Set aside the bolts.
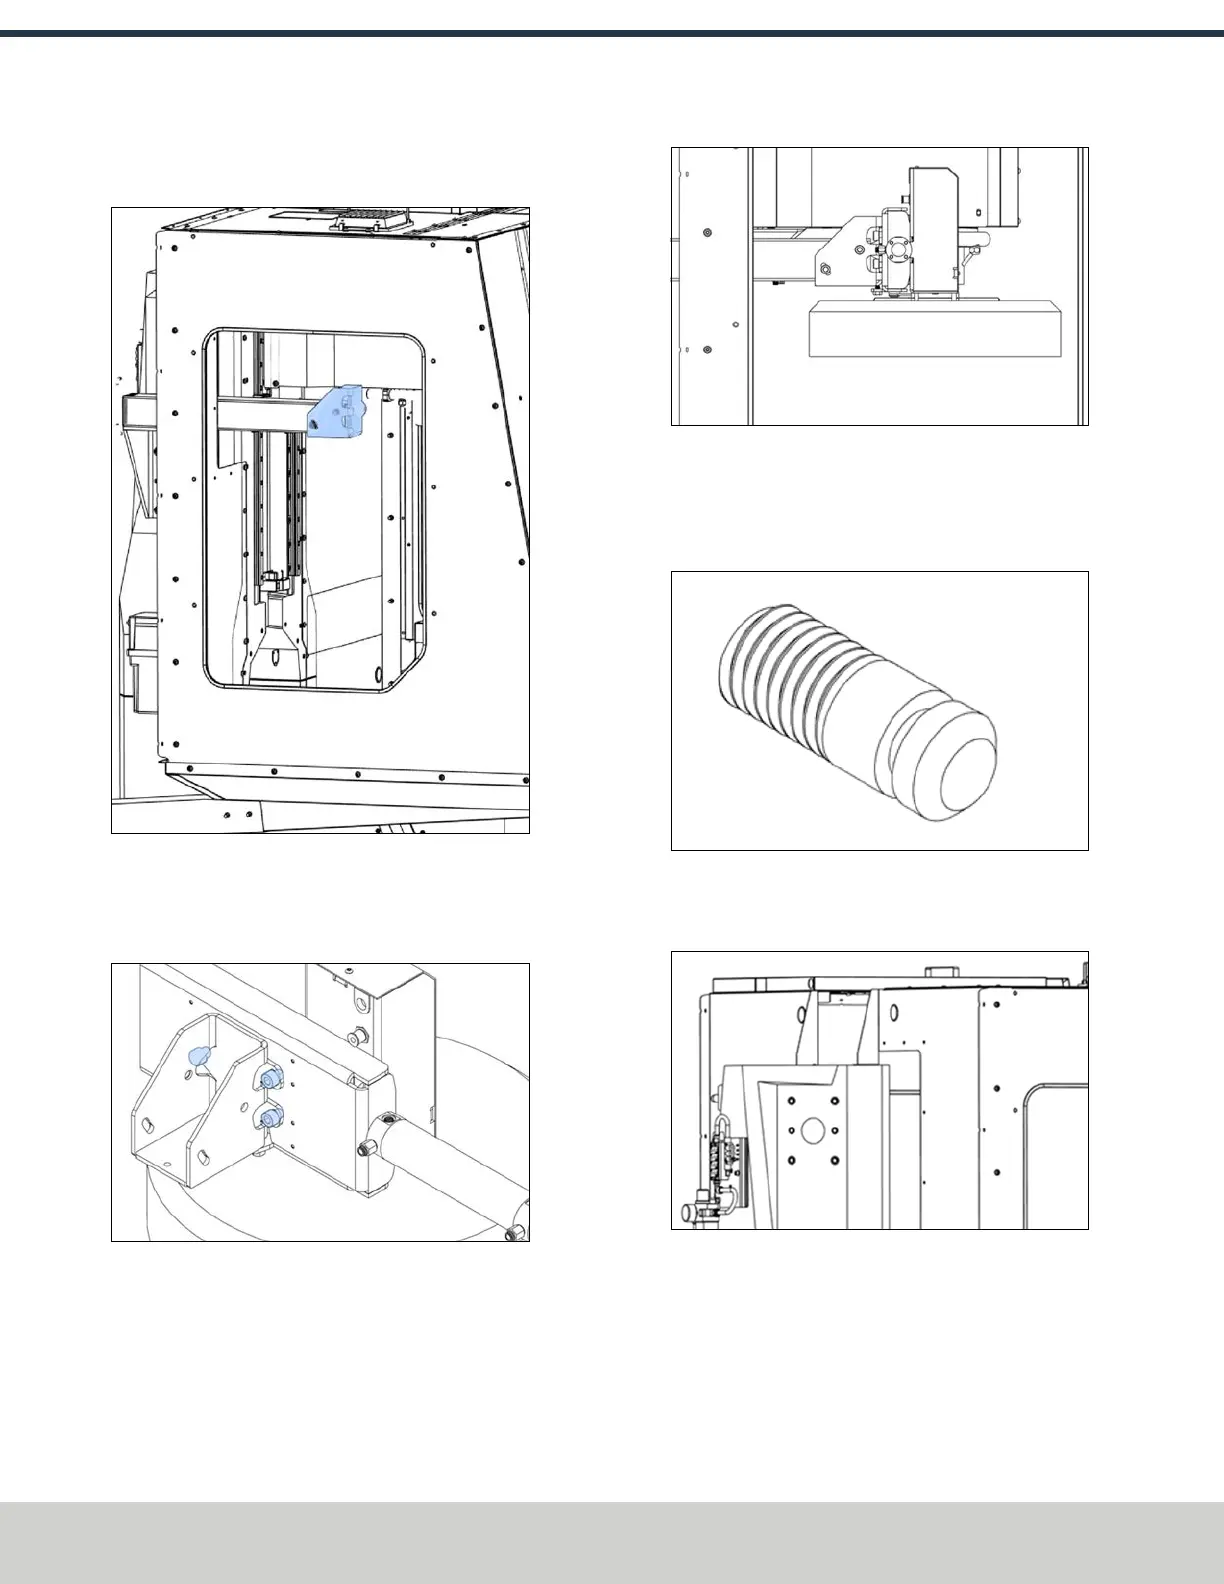
Figure 4-115: ATC tilt bracket on the column mount.
6. Attach the tilt bracket to the slide plate with three M6 ×
10 mm screws and a 6 mm hex wrench. (screws in the
accessory bag)
Figure 4-116: ATCtilt bracket installed on the slide
plate.
7. Push the actuator in to close the carousel's door.
8. Attach the ATC to the column mount with the bolts that
you set aside in Step 5 and a 6 mm hex wrench.
Figure 4-117: ATC attached to the column mount.
Install the ATC Electrical Cabinet
1. Find the accessory kit, which contains three M12 × 15
mm standoffs (PN 51974).
Figure 4-118: M12 × 15 mm standoffs.
2. Identify the upper threaded holes in the column mount
mounting area.
Figure 4-119: Threaded holes for the ATCelectrical
cabinet.
©Tormach® 2024
Specifications subject to change without notice.
Page 72 UM10811: 1500MX Operator's Manual (Version 0424A)
For the most recent version, see tormach.com/support
4: INSTALLATION