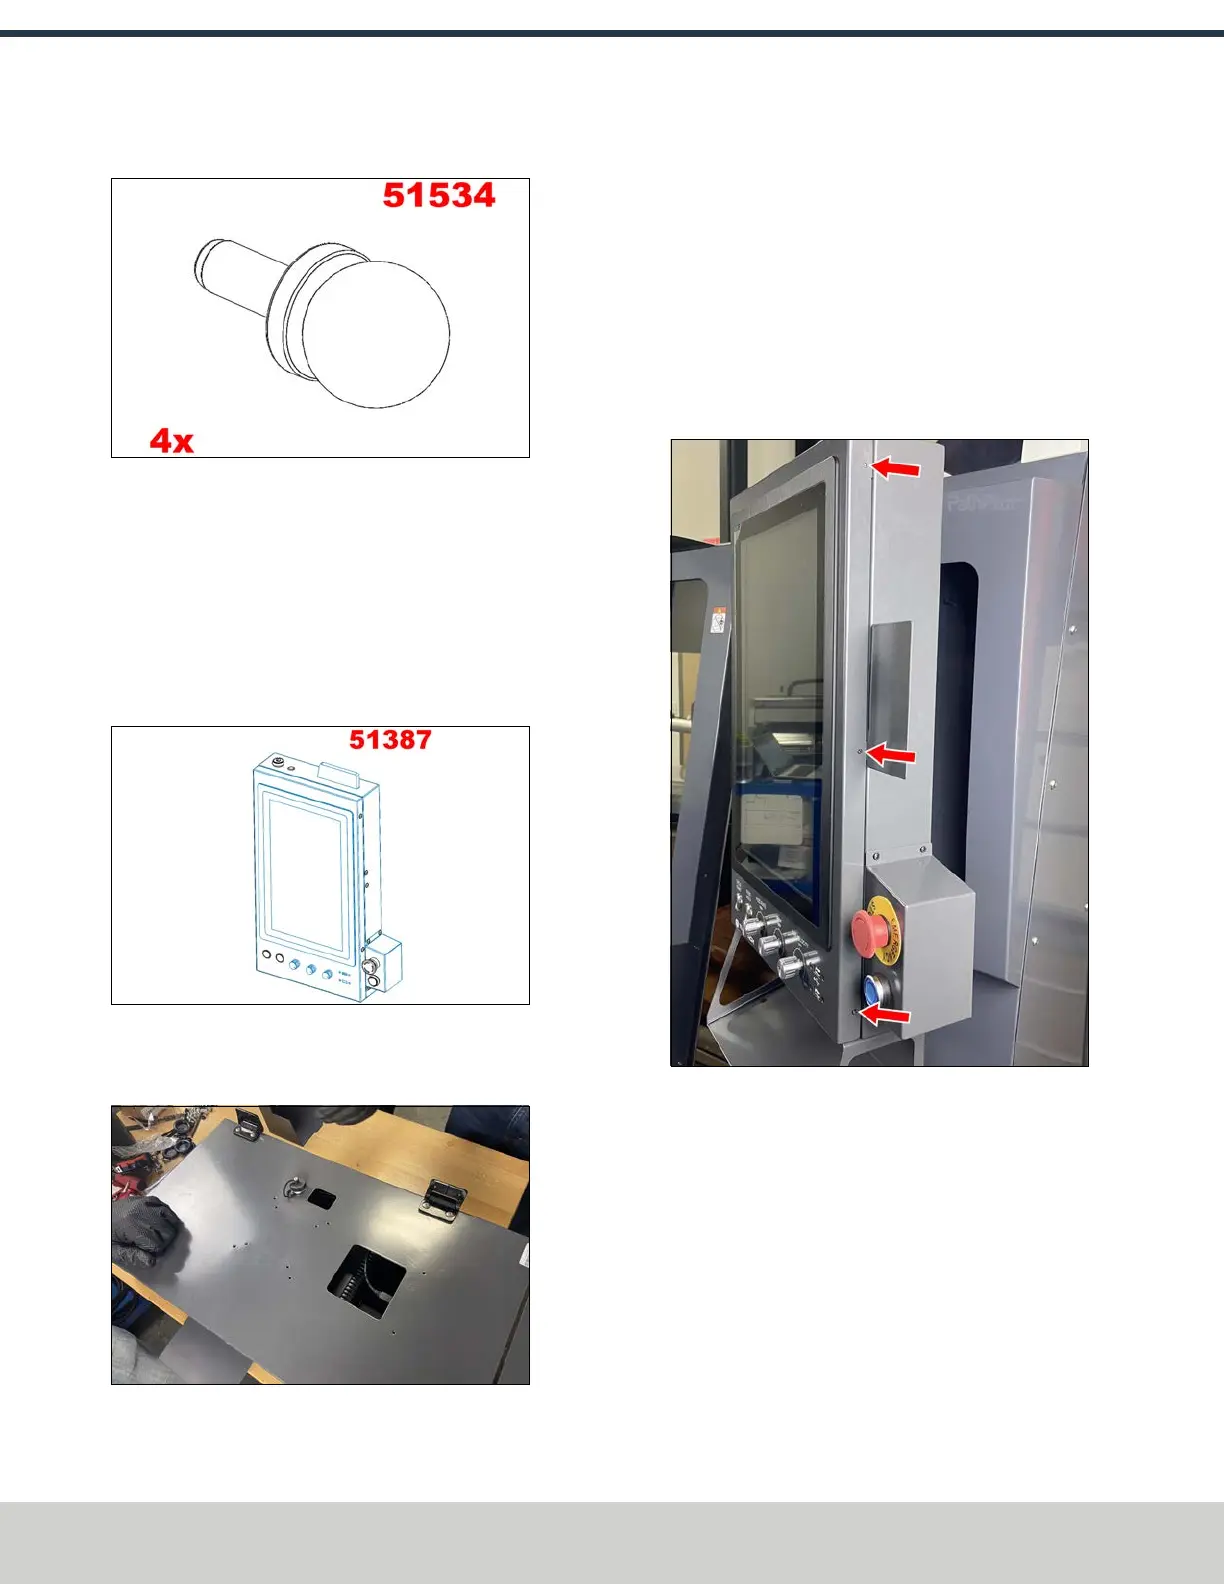
5. Identify the four enclosure window pins (PN51534).
Figure 4-74: Enclosure window pins.
6. Install one window pin on either side of the enclosure
windows using the pin’s magnet.
7. Identify the 16 6 mm rubber plugs included in the
enclosure kit. Install them into the holes surrounding the
window opening on both the right and left side panels.
Assemble the Console
1. Identify the operator console assembly (PN51387).
Figure 4-75: Operator console assembly.
2. Install the short side of the hinge to the operator console
with four M5 × 0.8 screws.
Figure 4-76: Hinges installed onto the operator
console.
3. Install the split side of the operator console assembly’s
hinges to the front right enclosure panel using four M5 ×
0.8 screws.
4. Identify the operator console’s power, data, and
emergency stop cables.
5. Remove and set aside the three screws securing the
operator console’s front panel with a Phillips
screwdriver.
Figure 4-77: Screws securing the operator console's
front panel.
6. Open the operator console’s hinged front panel, and
make the following connections:
l Connect the power cable to the operator console’s
power supply.
l Connect the data cable to the operator console’s
display.
7. Plug the power cord extension (PN 38893) into the
power cord's brick. Put the brick into the opening behind
the operator console.
©Tormach® 2024
Specifications subject to change without notice.
Page 60 UM10811: 1500MX Operator's Manual (Version 0424A)
For the most recent version, see tormach.com/support
4: INSTALLATION
 Loading...


