4: INSTALLATION
Required Tools and Items 43
Install the Chip Trays 43
Install the Enclosure Panels 46
Assemble the Door 52
Secure Panel and Door Screws 55
Install the Door Latch 55
Install the Door Latch Push Button 56
Install the Components 57
Install the Lights 57
Install the Air Gun 58
Install the Windows 59
Assemble the Console 60
Before You Begin
Read the packing list and locate all items. During the
installation, remove labels from the items as needed.
Helpful Tips for Installation
l Keep all screws one quarter-turn loose while installing
the enclosure panels. This makes it easier to align the
panels. Once you're done installing the enclosure, fully
tighten all screws.
IMPORTANT! You must properly seal the
enclosure. Ensuring the enclosure is fully
sealed is critical for protecting your machine
from coolant and maintaining its performance.
l Seal the enclosure as described in this procedure. Refer
to the images for an example of the amount of sealant
to use on each component.
o
Recommended Sealant We recommend using two
tubes of SikaFlex to seal the enclosure. Refer to the
manufacturer's specifications for details on use and
cure time.
o
Invest Time in Sealing Taking the time to seal the
enclosure correctly from the start significantly
impacts its performance. Don't rush through this step;
a well-sealed enclosure is essential for optimal
machine functionality.
o
Test for Leaks After the sealant is completely
cured, test the enclosure for leaks and identify any
areas requiring extra sealant.
Required Tools and Items
l Caulk gun
l Denatured alcohol for excess sealant cleanup
l Metric hex wrench set
l Phillips screwdriver
l Rubber gloves for working with sealant
l Shears or knife
l Shop rags
Install the Chip Trays
1. Put on rubber gloves before working with sealant.
2. Open the first tube of sealant. We recommend cutting
about 1/4 in. (6 mm) from the applicator.
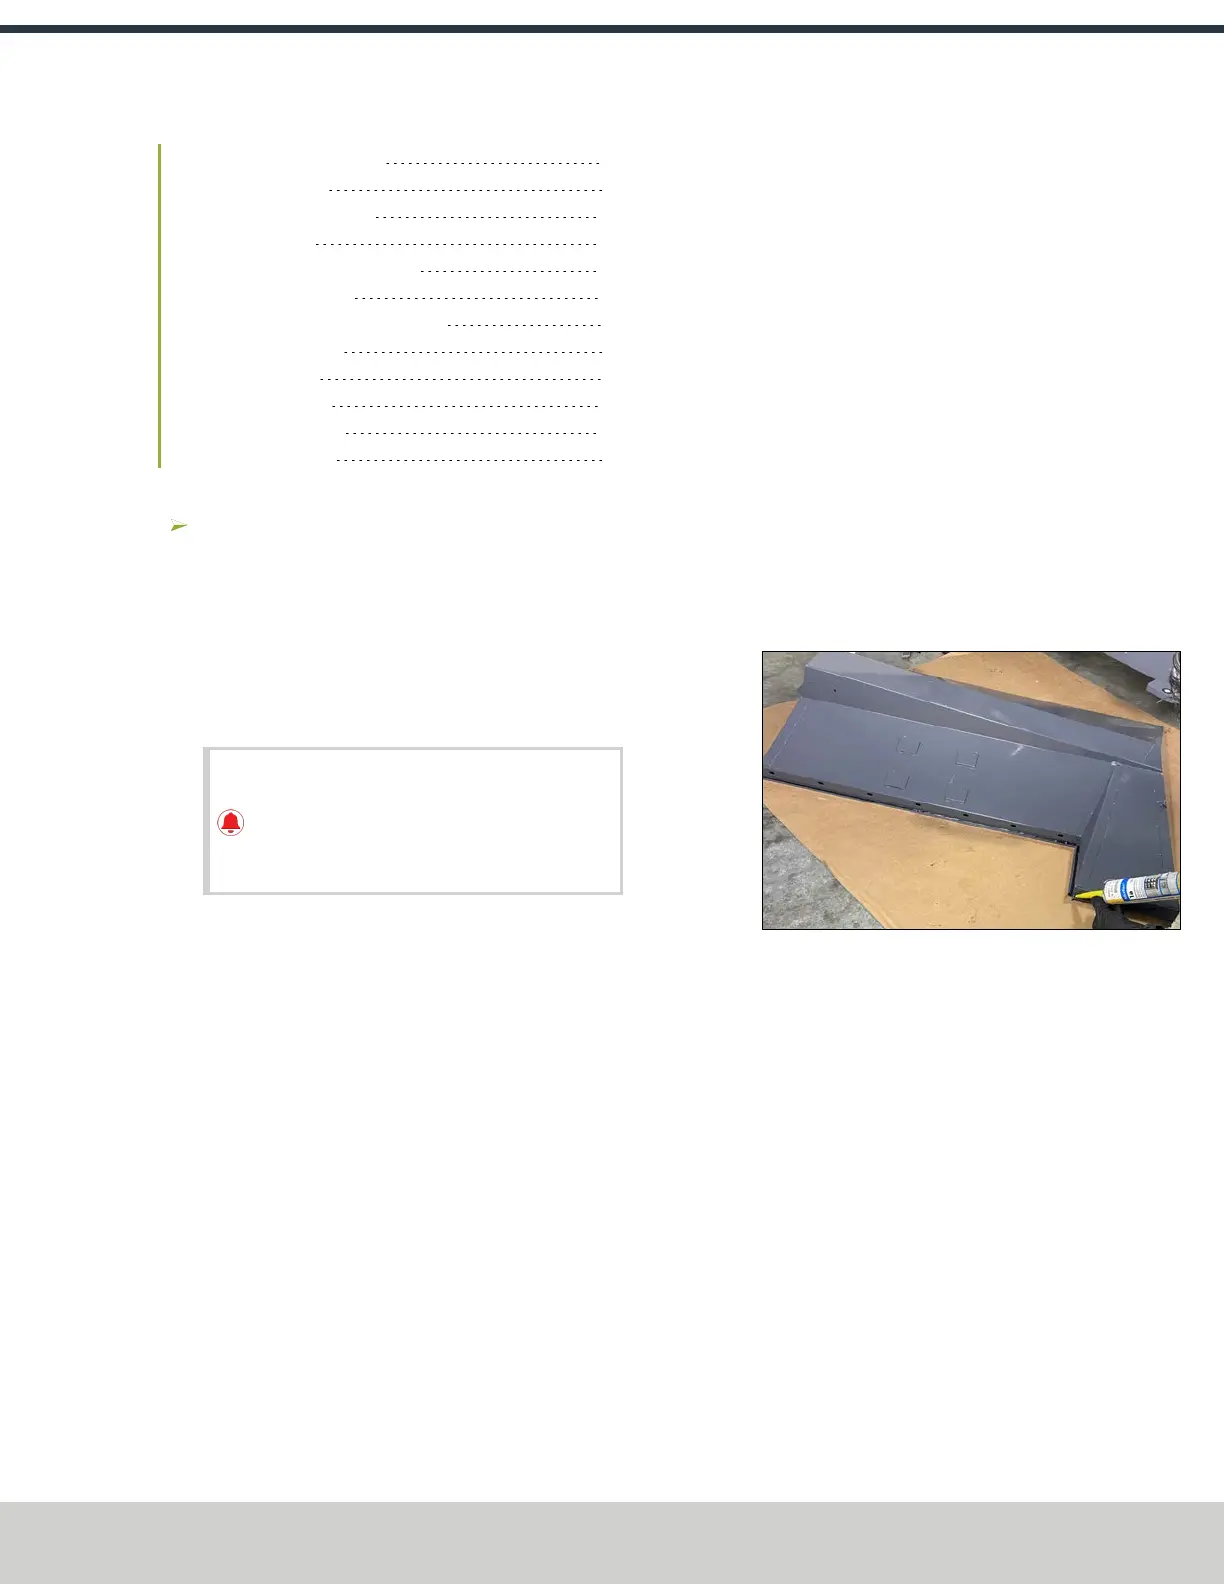
3. Identify the right chip tray (PN51263) and the left chip
tray (PN51264). Apply a bead of sealant to the edge of
the chip tray.
Figure 4-7: Example of sealant applied to the chip
tray.
©Tormach® 2024
Specifications subject to change without notice.
Page 43 UM10811: 1500MX Operator's Manual (Version 0424A)
For the most recent version, see tormach.com/support