5. Find the A-axis driver included with this kit.
Figure 4-200: A-axis driver.
6. Install the A-axis driver into the electrical cabinet next to
the Z-axis driver using the two screws that you identified
in Step 3. Place the driver onto the loosened bottom
screw and reinstall the top screw with a 2.5 mm hex
wrench. Tighten both screws.
Figure 4-201: A-axis driver installed in the electrical
cbinet.
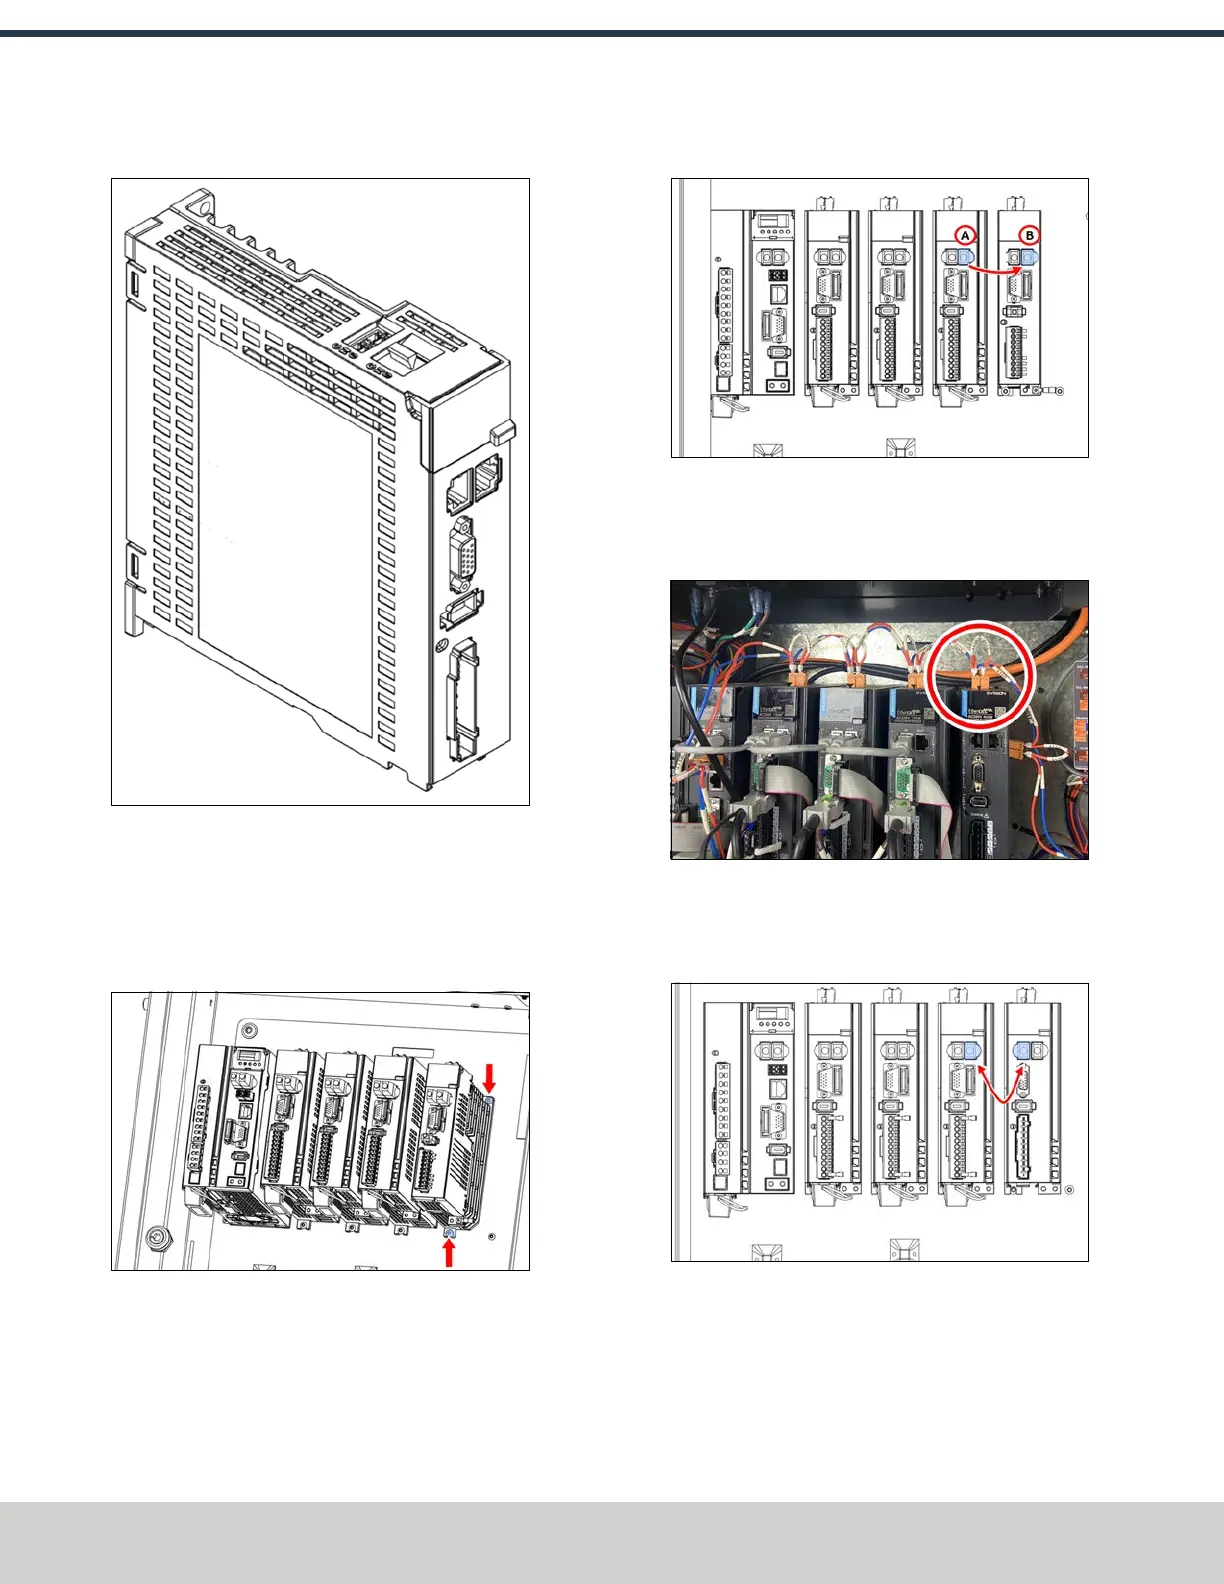
7. Identify the EtherCATcable that's connected to the right
port of the Z-axis driver. Disconnect the cable from the
Z-axis driver and connect it to the output port on the A-
axis driver.
Figure 4-202: EtherCAT cable connection on the Z-axis
and A-axis drivers.
8. Identify the STOcable that's pre-installed in the
electrical cabinet. Connect it to the A-axis driver.
Figure 4-203: STOcable connected to the A-axis
driver.
9. Identify the EtherCATjumper cable included in this kit.
Connect it to both the Z-axis driver and the A-axis driver.
Figure 4-204: EtherCAT jumper cable connections on
the Z-axis and A-axis drivers.
©Tormach® 2024
Specifications subject to change without notice.
Page 94 UM10811: 1500MX Operator's Manual (Version 0424A)
For the most recent version, see tormach.com/support
4: INSTALLATION
 Loading...


