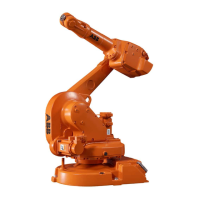
Removing the damper
Use this procedure to remove the damper.
NoteAction
CAUTION
Always cut the paint with a knife and grind
the paint edge when disassembling parts.
See Cut the paint or surface on the robot be-
fore replacing parts on page 159.
1
Run the robot to a position where it is best
to enable access to the attachment screw of
the damper.
2
DANGER
Turn off all:
• electric power supply
• hydraulic pressure supply
• air pressure supply
to the robot, before entering the robot work-
ing area.
3
Remove the damper by unscrewing the attach-
ment screw and washer.
4
Refitting the damper
Use this procedure to refit the damper.
NoteAction
Run the robot to a position where it is best
to enable access to the attachment screw of
the damper.
1
DANGER
Turn off all:
• electric power supply
• hydraulic pressure supply
• air pressure supply
to the robot, before entering the robot work-
ing area.
2
1 pc: M6 x 16.Secure the damper with the attachment screw
and washer.
3
DANGER
Make sure all safety requirements are met
when performing the first test run. These are
further detailed in the section First test run
may cause injury or damage on page 28.
4
Product manual - IRB 1600/1660 221
3HAC026660-001 Revision: W
© Copyright 2006-2018 ABB. All rights reserved.
4 Repair
4.4.7 Replacing the damper, axis 2
Continued

 Loading...