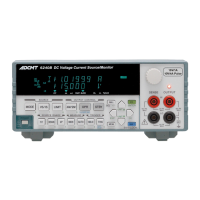
6240B DC Voltage Current Source/Monitor Operation Manual
1.5 Operating Check
1-10
1.5 Operating Check
This section describes the simple self-test which must be performed when operating the 6240B for the first
time. Follow the procedure below to ensure the instrument operates correctly.
1. Ensure that the POWER switch on the front panel is set to OFF.
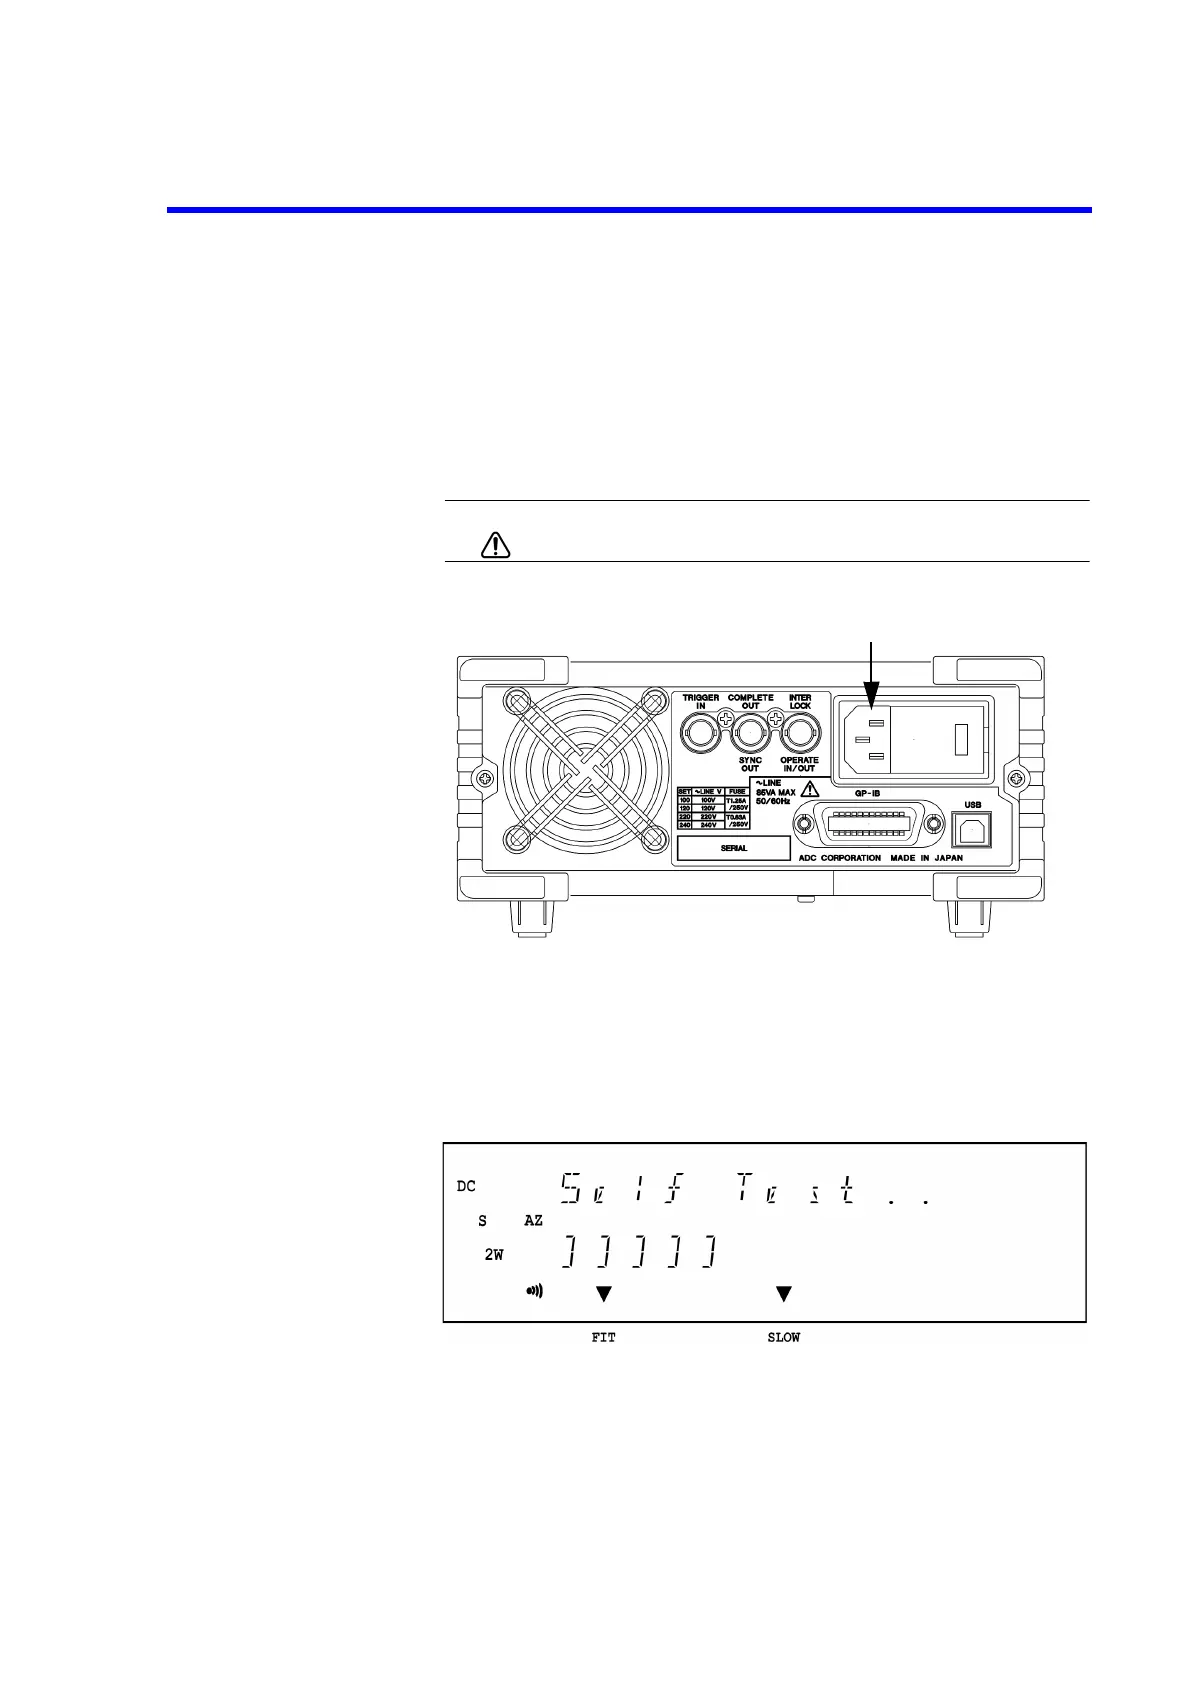
2. Plug the power cable into the AC Power Connector on the rear panel.
CAUTION: To prevent damage to the 6240B, do not apply a voltage or frequency
that exceeds the specified range.
Figure 1-5 Connecting Power Cable
3. Plug the power cable into an AC wall outlet.
4. Set the POWER switch on the front panel to ON.
After all the indicators turn on, a self-test is performed. (Duration: approx. 15 s
See Figure 1-6.)
Figure 1-6 Self-Test in Progress
When the test is complete, the model name, line frequency, GPIB address or USB
ID, and software revision appear (Figure 1-7). After that, the start-up screen is
displayed (See Figure 1-8).