Chapter 8 8-5
Receiver Troubleshooting
Troubleshooting When All Inputs Look Bad
Troubleshooting When All Inputs Look Bad
Run Internal Tests 18 and 17
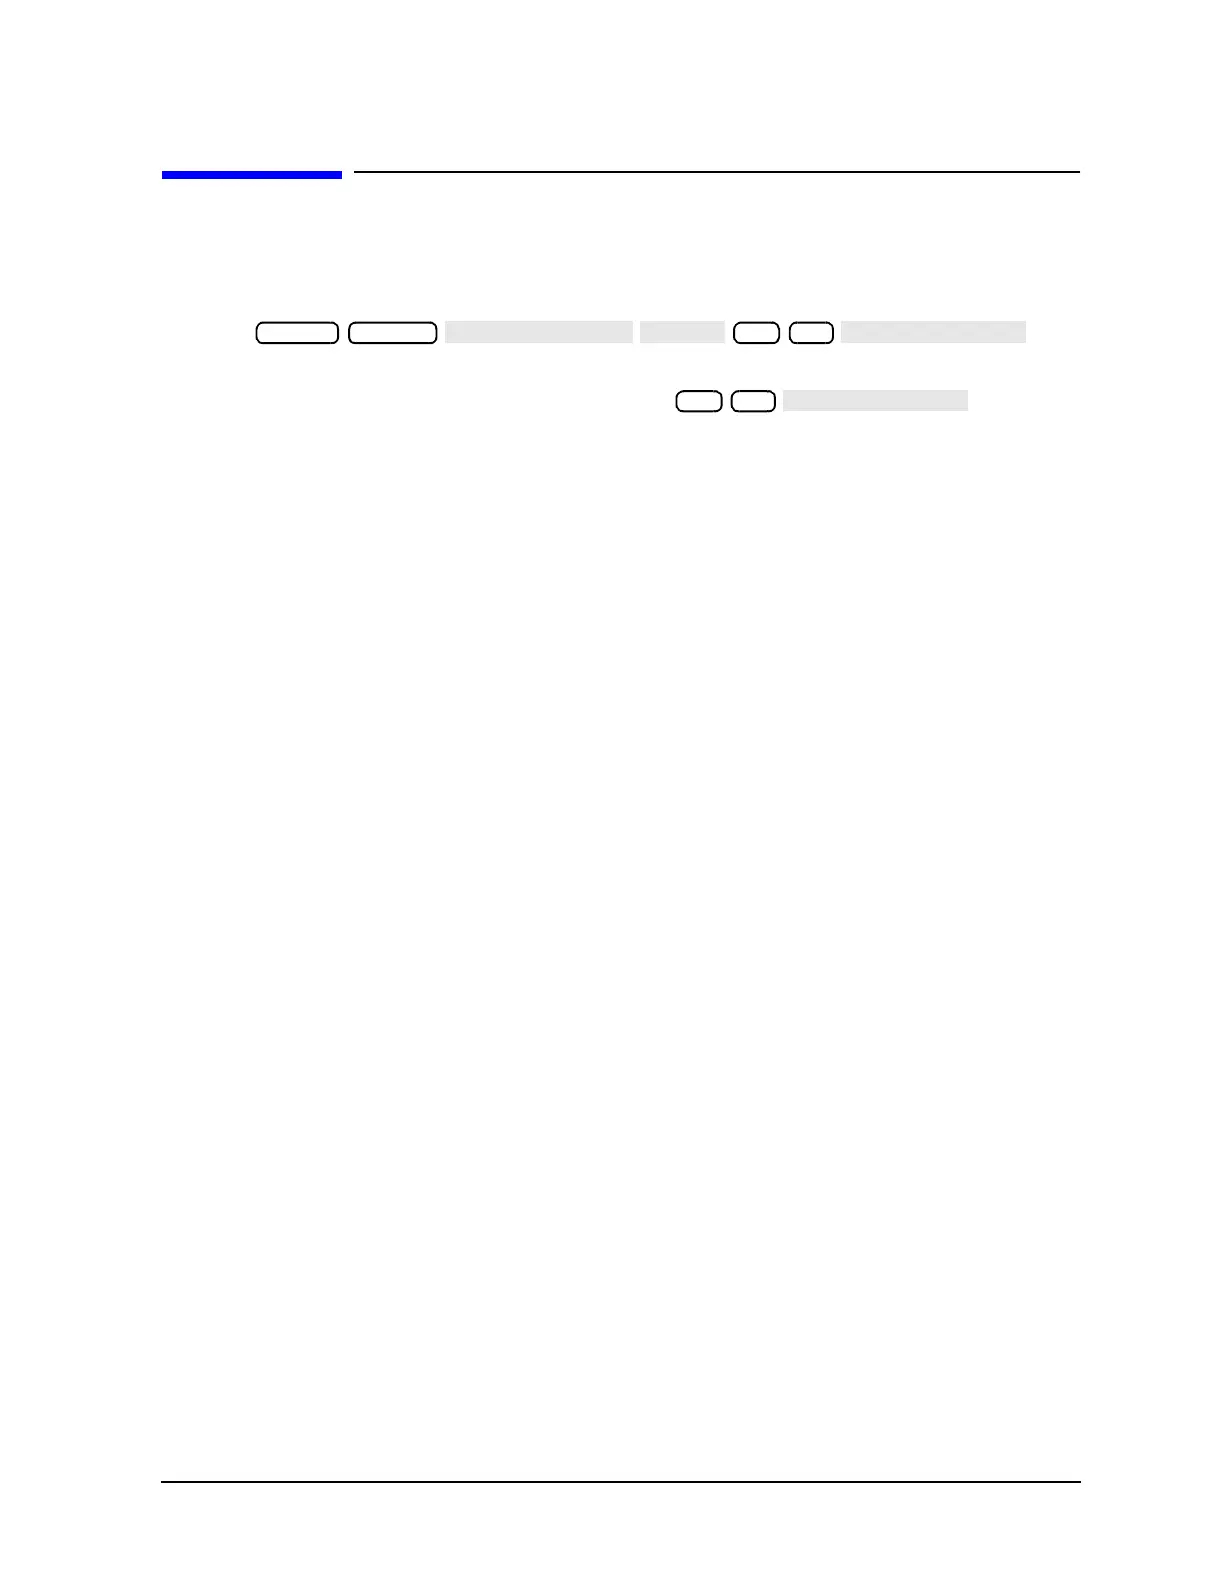
1. Press to
run the ADC offset.
2. Then, when the analyzer finishes test 18, press to run the
ADC linearity test.
If either of these tests FAIL, the A10 assembly is probably faulty. This can be confirmed by
checking the 4 MHz signal and substituting the A10 assembly or checking the signals
listed in Table 8-1 on page 8-7.
Check 2nd LO
Check the 2nd LO signal. Refer to “A12 Reference Check” on page 7-12 for analog bus and
oscilloscope checks of the 2nd LO and waveform illustrations.
• If the analyzer passes the checks, continue to “Check the 4 MHz REF Signal,” next.
• If the analyzer fails the checks, perform the “High/Low Band Transition Adjustment” on
page 3-47. If the adjustment fails, or brings no improvement, replace A12.
Preset System
18 x1
17 x1

 Loading...


