Working With Pages
42
TPDesign4 Touch Panel Design Software (v2.10 or higher)
4. Click Bitmap Justification (in the Properties Control window) to set the justification of the image
on the page. Select Absolute to manually position the image.
To check the size of the Pages in your project, open the Display tab of the Panel Properties dialog (select
File > Properties to open). Match the image size to the screen size indicated there.
Adding an Icon to a Page
You can apply an Icon directly to a Page in your project, to serve as the foreground image. To add an icon
to a Page:
1. Create a new Page (Panel > Add Page), or open an existing one (via the Workspace Navigator -
Pages tab).
2. With the Page selected, click on Icon Slot in the States tab of the Properties Control window to
activate the Browse button.
3. Click the browse button (...) to open the Select Resource dialog, and select the icon that you want to
apply to the Page.
4. Click Icon Justification (in the Properties Control window) to set the justification of the image on
the page. Select Absolute to manually position the image.
Working with Transparent Backgrounds
When you are applying an icon, you can take advantage of transparency support in TPD4. Typically
transparency is used in images for the background color, to accommodate layering of images without
trying to match colors across layers.
Raster images are always created in the shape of a rectangle. However, by making the background color
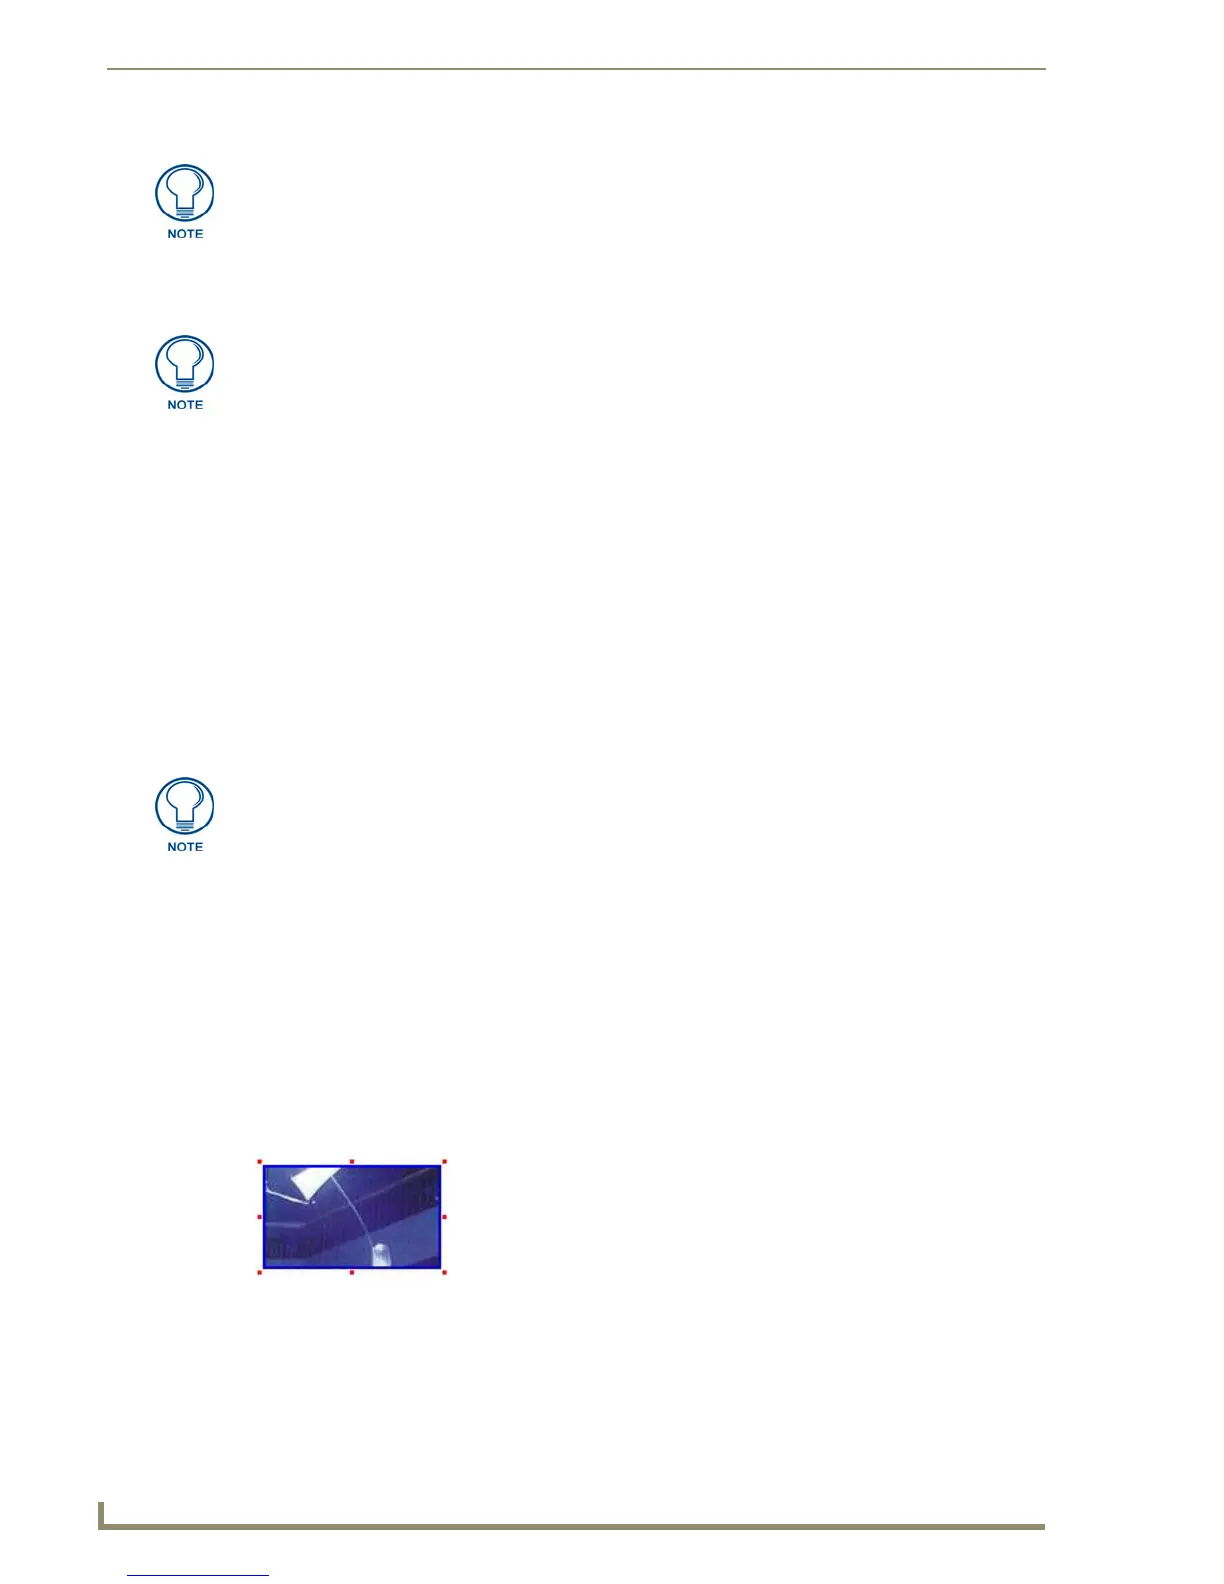
transparent, you can effectively change the shape of the image. For example, if you have a button with a
background image (FIG. 30),
and you apply an icon that doesn't use transparent as the background color, you'll wind up with
something like this (FIG. 31):
If you don't see the desired image file listed in the Select Resource dialog, you need
to import the image file into the project first.
TPDesign4 does not automatically scale or stretch images to fit the Page. To scale an
image to fit a target Page/panel, open the image in any graphics editor program, and
scale the image to the exact size (in pixels) of the Page/panel.
If you don't see the desired image file listed in the Select Resource dialog, you need
to import the image file into the project first and apply it to a slot position.
FIG. 30 A button with a background image
 Loading...


