Working With Buttons
60
TPDesign4 Touch Panel Design Software (v2.10 or higher)
3. Hold down the left mouse button and drag the mouse diagonally. You will see a sizing rectangle as
you drag the mouse, indicating the size of the button you are drawing.
Hold down the SHIFT key while drawing to constrain the button to a square.
With an item selected in a Design View window, hold down the CTRL key while moving the
item with the keyboard arrow keys to move by the grid size instead of a single pixel
(regardless of the grid visibility or snap to grid setting). Holding the CTRL key while resizing
the selected items with the keyboard will resize by the grid size.
Minimum button size is 4 x 4 pixels.
4. To complete the button draw action, release the left mouse button.
Buttons are always drawn in the Off State. The Button Selection/Draw toolbar allows you to
control certain new button creation properties for both the Off and the On state of a button.
To toggle between Off and On states, single-click the State button.
5. Upon the creation of a button on a page (or popup page) you will see selection handles appear on the
outsides of the button that are small yellow squares with red interiors, indicating edit focus.
6. Use the fields and options in the General, Programming and States tabs of the Properties Control
window to specify general, programming, and state-specific properties for the selected button.
Refer to the Working With Properties section on page 111 for details.
7.
Select File > Save to save your changes.
8. Select View > Button Preview to preview the button (click Push to simulate a button press).
Using the Drawing Assist Features
The Order Assist, Position Assist and Size Assist toolbars contains shortcuts to many layout and design
control options for controlling various elements of existing button(s) size and position:
The maximum number of buttons per page / popup page = 500.
When using the circle, oval or diamond border types, you may notice the slider bar
appearing partially outside of the button border. This is a result of scaling the button
smaller than what the selected border requires to accommodate the slider bar. If you
see this, try using a "smaller" border (i.e. try using "Circle 50" rather than "Circle
100"). Experiment with different border types to get the results you're after.
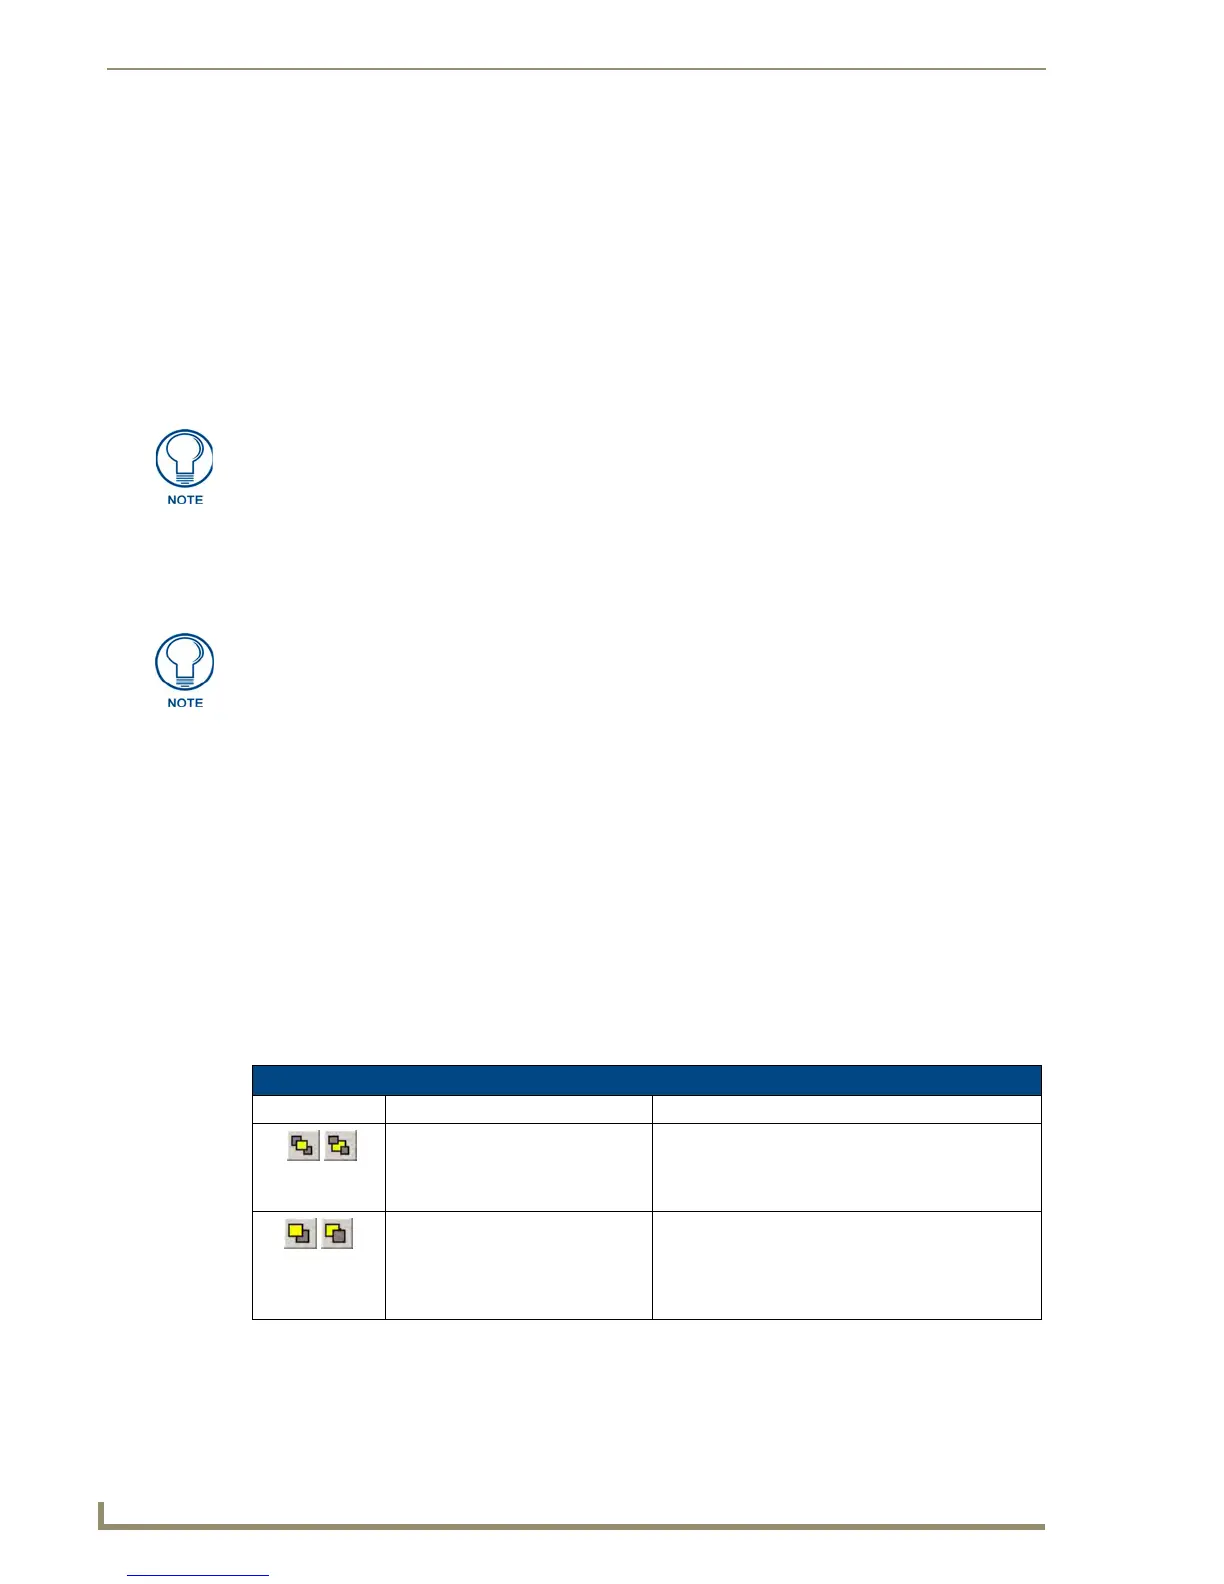
Drawing Assist Tools
Button(s) Button Name Description
Send to Front/Send To Back When you have one or more buttons that overlap on
the page, use these commands to place the selected
button(s) to either the top or bottom layer on the
page.
Shift Up/Shift Down When you have one or more buttons that overlap on
the page, use these commands to shift the selected
button(s) up and down just one layer on the page (as
opposed to placing them on just the top or bottom
layer).