2-16 Setting Up the Imager
4. Select the
Addresses
option, then press the key.
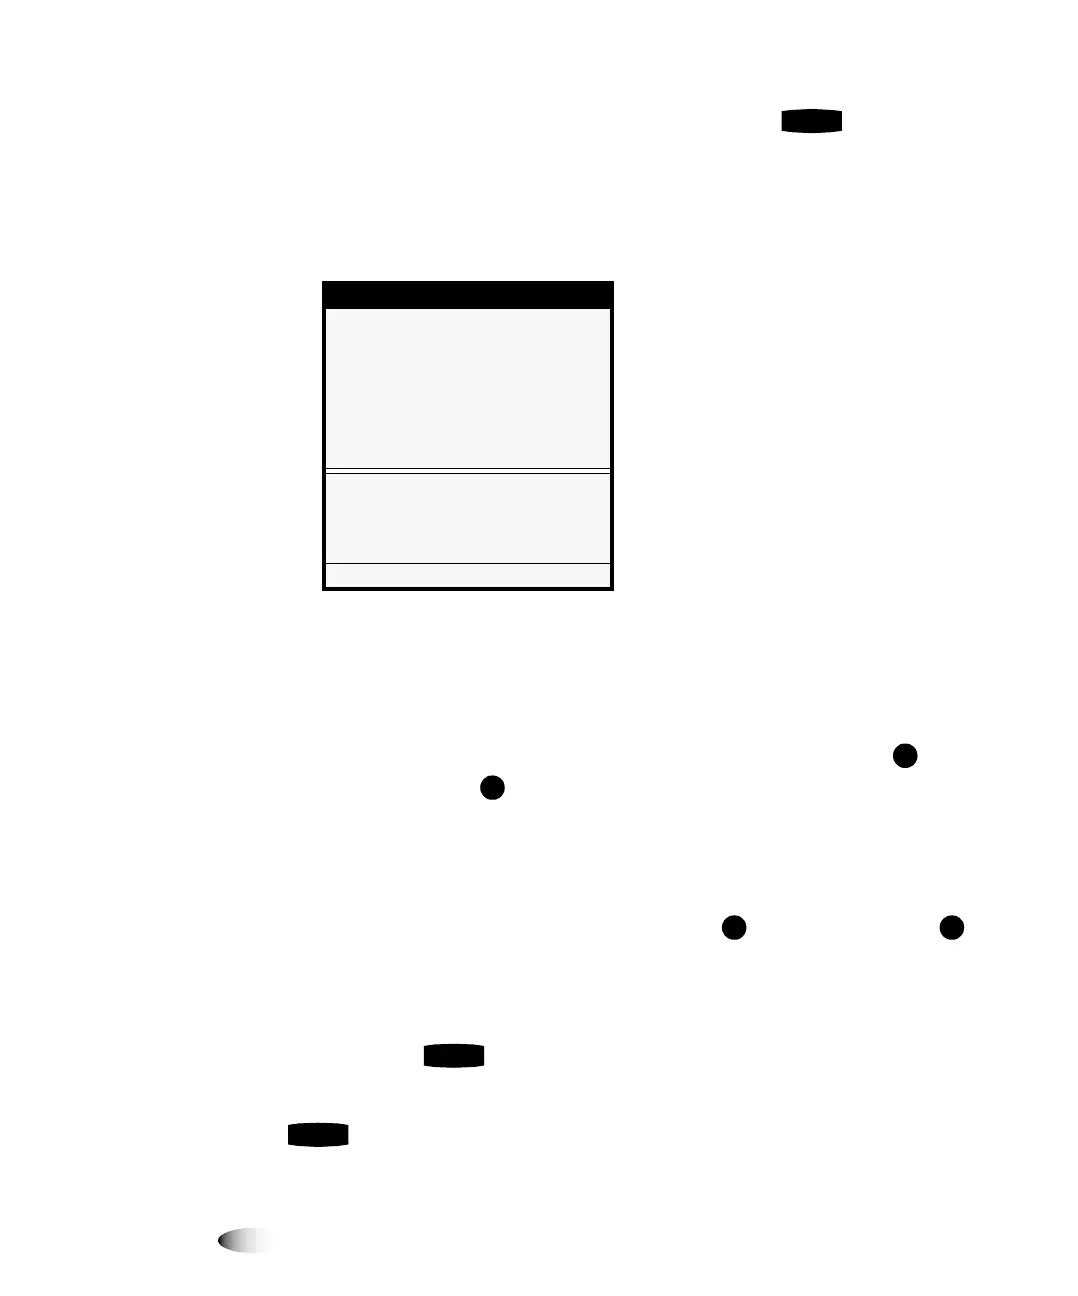
The Network Addresses menu displays. Note that bold square
change
brackets are displayed around the first IP address octet
value of the Base IP Address. The bracketed portion of the
address is the portion that can currently be changed.
NOTE:
The Horizon imager can have more than one IP address assigned to it. For a simple
network, it is assumed that you are assigning only one IP address. If so, you enter it as the
Base IP Address value. For more information about complex networks and assigning
multiple IP addresses to the imager, refer to the Horizon Imager Technical Manual.
5. To change the values in the Base IP Address, press the
(increment) or (decrement) key until the address value you
want is displayed.
Note that you can hold these keys to rapidly cycle through
values.
6. To select the next value field, press the key. (Pressing the
key moves the change brackets to the left.)
7. Repeat steps 5 and 6 until all four positions in the Base IP
Address have been defined. To save what you have entered,
press the key.
NOTE:
To exit the Network Addresses menu without saving your changes, press the
key. The previous menu up in the hierarchy displays.
Network Addresses
Base IP Address:
[0].0.0.0
Gateway:
0.0.0.0
Subnet Mask:
255.255.255.0
Number of IP Addresses: 1
Set base IP address
Old value: 0.0.0.0
UP/DOWN to alter octet, LEFT/RIGHT
to change octets
Press MENU to exit menus
ENTER
3
ENTER
3
CANCEL