Name Function
G
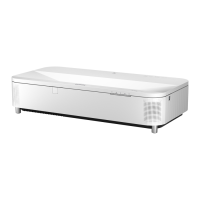
Rear adjustable foot When setup on a surface such as a desk, extend the foot
to adj
ust the position of the image.
Caution
Remo
ve all feet when you install the projector
on a wall or suspend it from a ceiling.
H
VESA mount xing
po
ints (four points)
Use these points to attach the commercially available
mount compatible with the VESA Mounting Interface
Standard (100 × 200 mm) when installing the projector
on a wall or suspending the projector from a ceiling.
g
Related Links
•
"Air Fi
lter and Vent Maintenance" p.232
•
"Installing a Security Cable" p.134
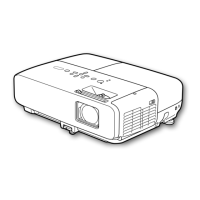
Projector Parts - Interface Ports
Name Function
A
USB-A port (USB-
A1)
Use to connect a USB memory device or digital camera
for p
rojecting movies or images using the PC Free
feature or in Content Playback mode.
Use to connect the optional document camera.
Use to connect a USB memory device to save error and
operation log les.
Use to connect the wireless LAN module.
In this guide, USB-A1 and USB-A2
por
ts are collectively referred to as
the USB-A port.
B
USB-B port Use to connect a USB cable to the computer to project
comp
uter images.
C
HDBaseT port
(RJ-45)
Use to connect a LAN cable to the HDBaseT
Transmi
tter. You can use a network cable up to 100
m in length. To ensure proper data transmission, use
a Category 5e STP cable or better. However, operation
is not guaranteed for all input/output devices and
environments.
is port is compatible with HDCP2.3.
Check the following settings:
•
To enable communication from the Ethernet and
serial ports on the transmitter, select On as the
Control Communications setting in the projector's
Signal I/O menu.
s Signal I/O > HDBaseT > Control
Communications
•
If you have connected an Extron XTP transmitter or
switcher, select On as the Extron XTP setting in the
projector's Signal I/O menu.
s Signal I/O > HDBaseT > Extron XTP
Projector Parts and Functions
18