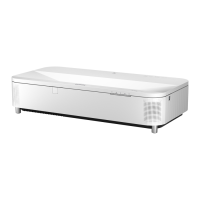
You can install the projector on a wall or ceiling, or place it on a table to project
images.
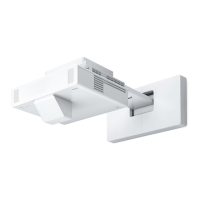
T
o install the projector on a wall or mount the projector from a ceiling, you can
use an optional mount or a commercially available mount compatible with the
VESA Mounting Interface Standard (100×200 mm).
e projector can be installed at various angles. ere is no vertical or
horizontal limit to how the projector can be installed.
Note the following points when selecting a projector location:
•
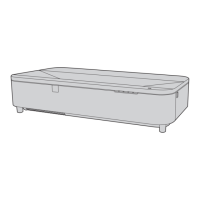
Place the projector on a sturdy, level surface or install it using a compatible
mount.
•
Leave plenty of space around and under the projector for ventilation, and do
not place it on top of or next to anything that could block the vents.
•
Place the projector so it squarely faces the screen, not at an angle.
If you cannot install the projector squarely facing the screen, correct
any res
ulting keystone distortion using the projector controls. For the
best quality images, we recommend adjusting the installation position
of the projector to achieve the correct image size and shape.
•
When y
ou install the projector to a xed location, turn on the Fixed
Installation setting in the projector's Installation menu.
You can adjust distortion and the height of the projected image using the
fro
nt adjustable feet and rear adjustable foot.
Projector Placement
24