Virtual Media Server 387
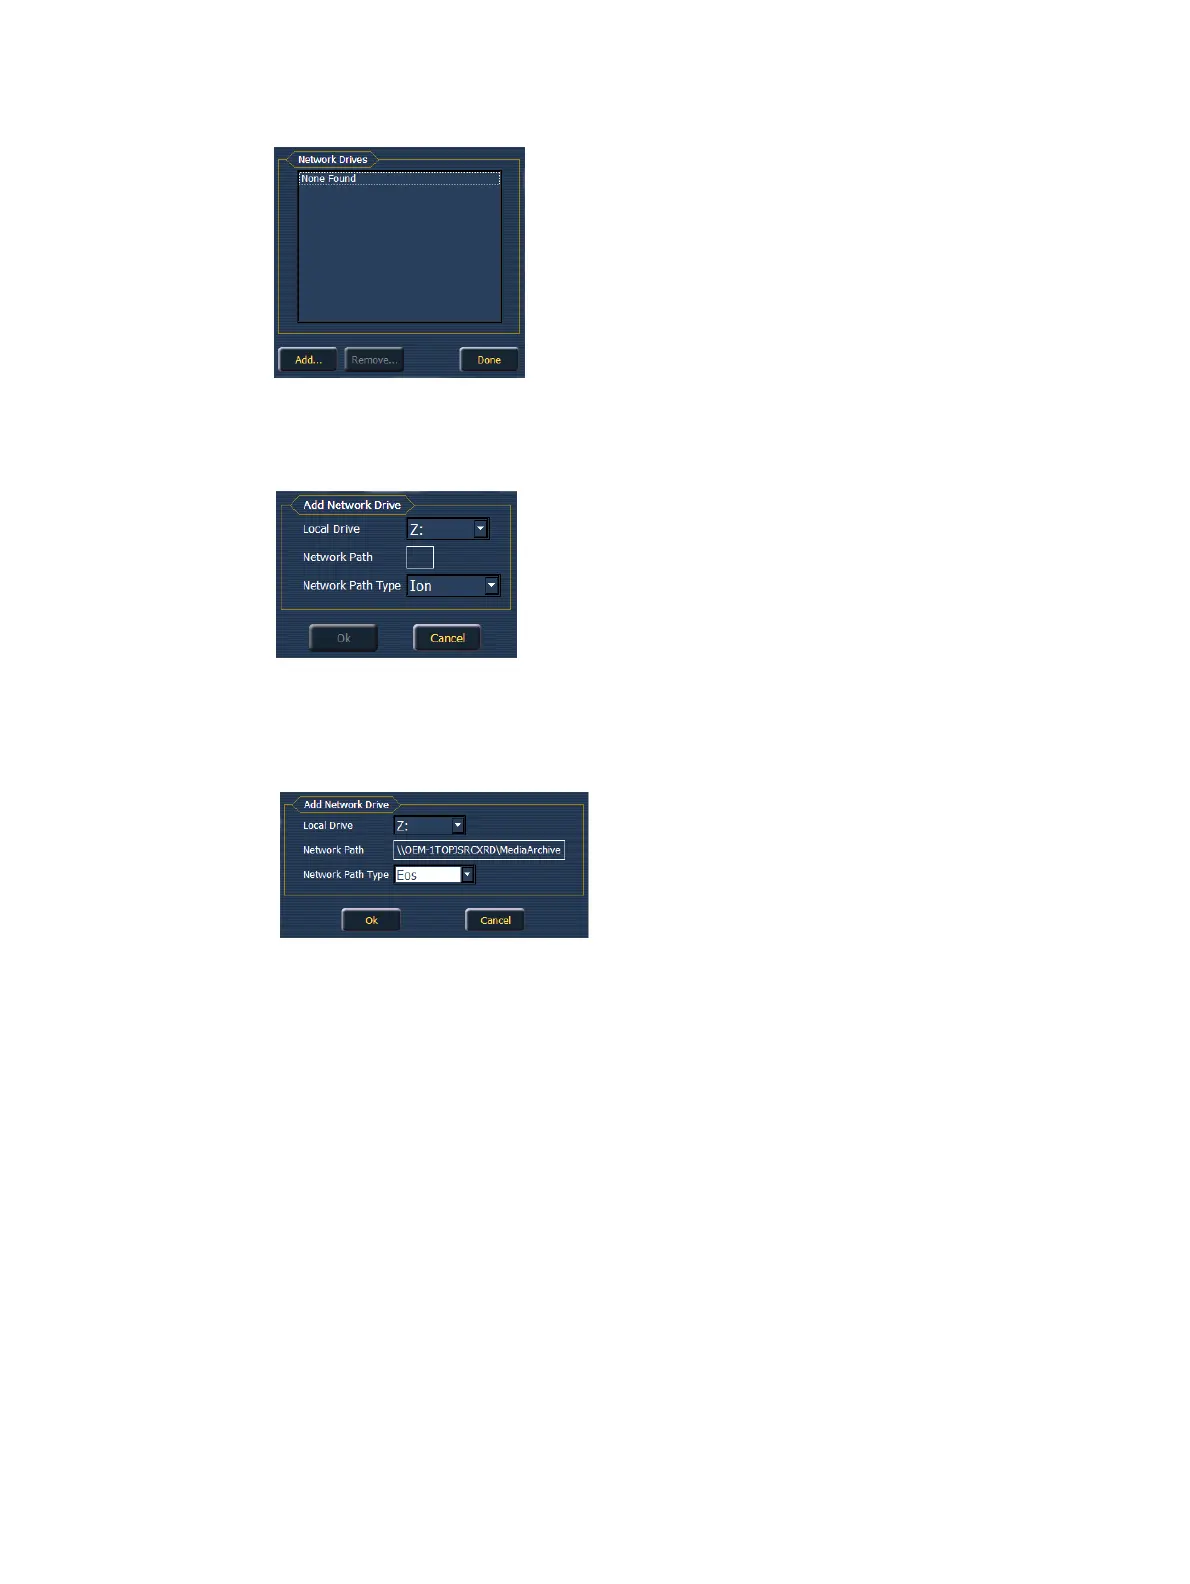
9. Press {Network Drives}.
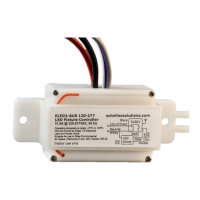
10. In the Network Drives display, click the {Add} button.
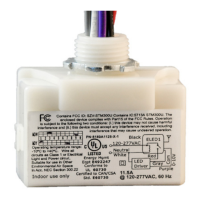
11. In the Add Network Drive display, choose a drive letter for {Local Drive}.
12. Enter in the {Network Path}. The path name is listed next to the primary’s {Share Media
Archive} checkbox.
13. Select the appropriate console type for the {Network Path Type}.
14. Click {Ok}. You will now be able to access the primary’s media archive from the backup or
client. This new drive will appear in the browser like a USB drive.
15. Click {Done} and launch the Eos application.
Synchronizing Media Archives
To view media playback in the Pixel Map Preview display, you will need to first import the
required media into your backup and/or client’s local media archive. This is done from the
browser. There are two options for importing media:
Import Show Pixel Map Media - This import function should be used by the backups and
clients. It is the easiest way to ensure that your console will have all of the media required
by the current show file.
Import All Pixel Map Media - This import function should be used by the primary to load
the base media content and later to load media on the fly as required. This import function
provides more complex options, like targeting which Library and File the media data will
be imported into. See
Importing Media Content (on page374)
.
Steps for Synchronizing Show Pixel Map Media