Attention: If you remove the device when the light is not flashing, data
may be lost, the disk unit may be damaged, or the backplane may be
damaged.
Note: The light above the device location will go off and remain off as soon
as the device is no longer making contact with the backplane.
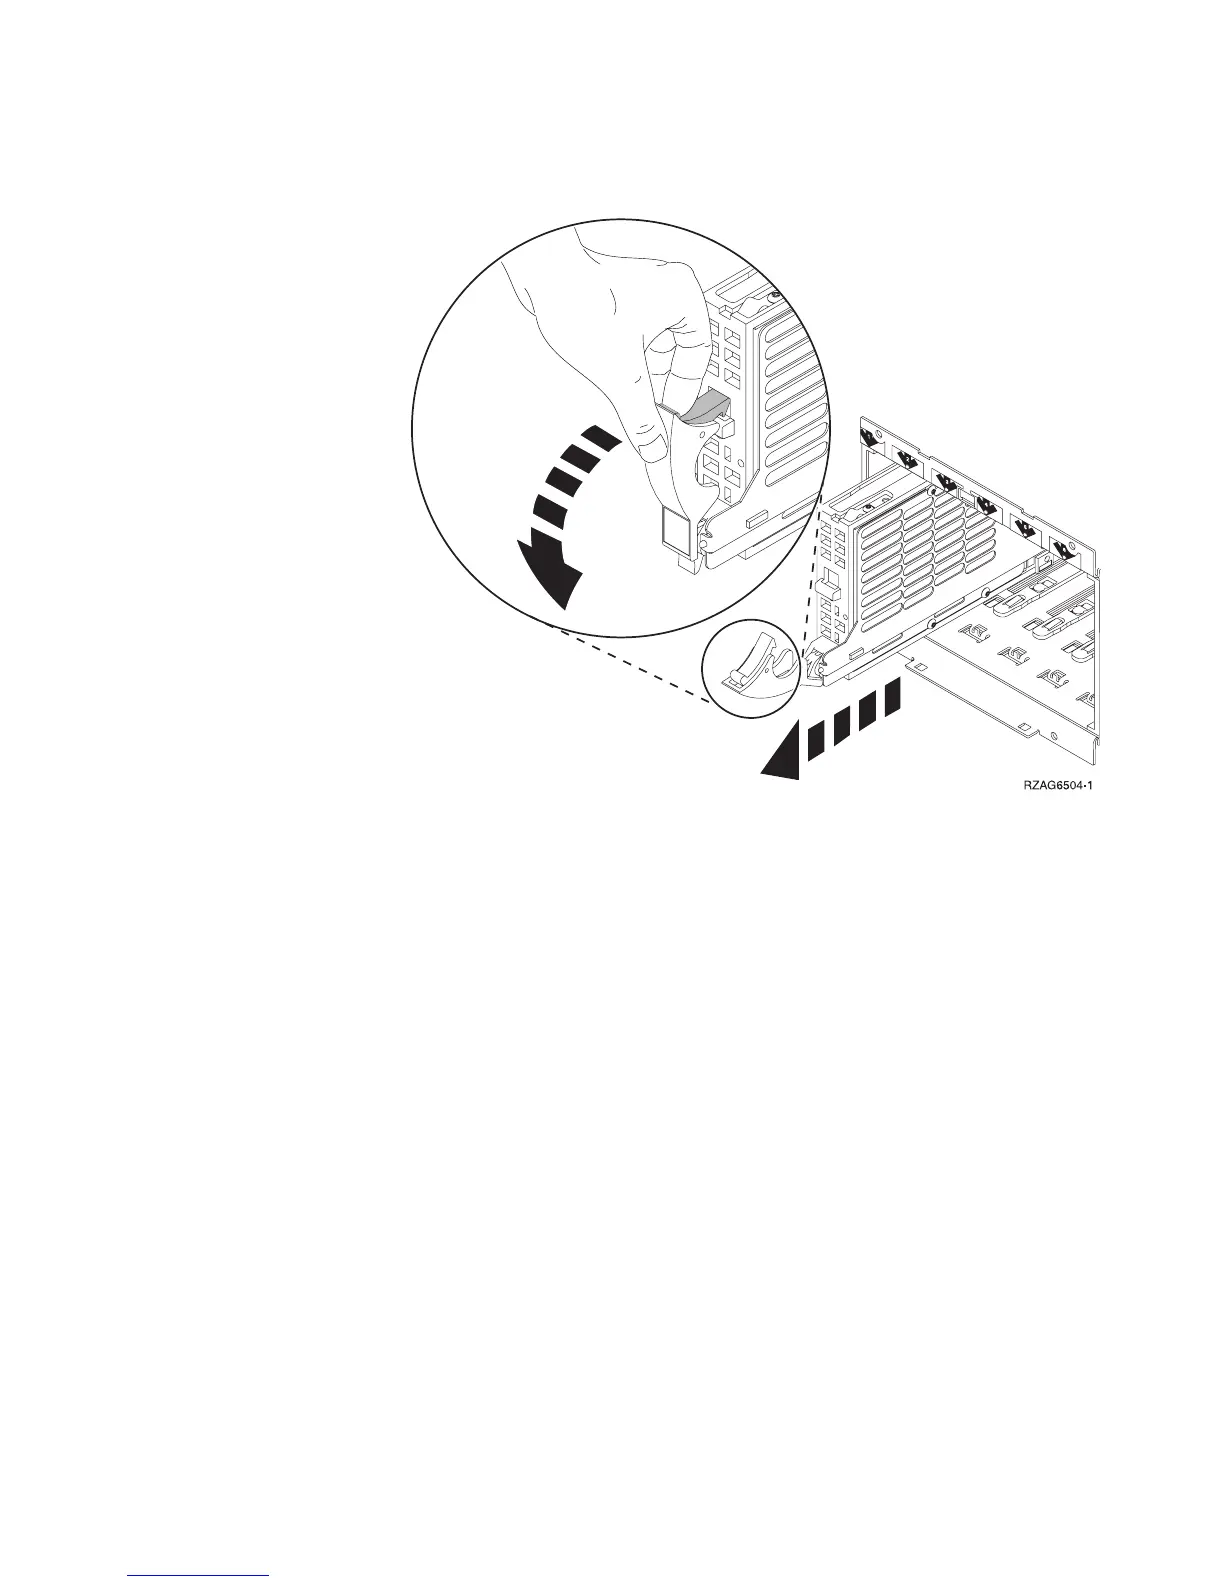
Wait another 5 seconds to allow time for the disk to stop spinning. Then
pull the disk unit out the rest of the way.
2. Are you finished with the repair?
No Yes
↓ Replace the covers that were removed during this procedure and return
to the procedure that sent you here.
This ends the procedure.
3. To install a disk unit using concurrent maintenance perform the following:
a. Select System Service Tools (SST). If you cannot get to SST, select DST.
Do not perform a system IPL to get to DST.
b. Select the Start a Service Tool option.
c. Select the Hardware Service Manager option.
d. Select Device Concurrent Maintenance and enter the required information in
the information fields. Do not press the Enter key at this time.
e. Slide the unit in half-way. Ensure that the device does not contact the
backplane at this time.
f. Press the Enter key on the console. After the delay time, the light above the
device location will begin flashing . You now have 9 seconds to insert the
disk unit. Put the disk unit part way into the desired slot and rotate the
Remove and Replace Procedures
Chapter 4. Removal and Installation Procedures 699
 Loading...


