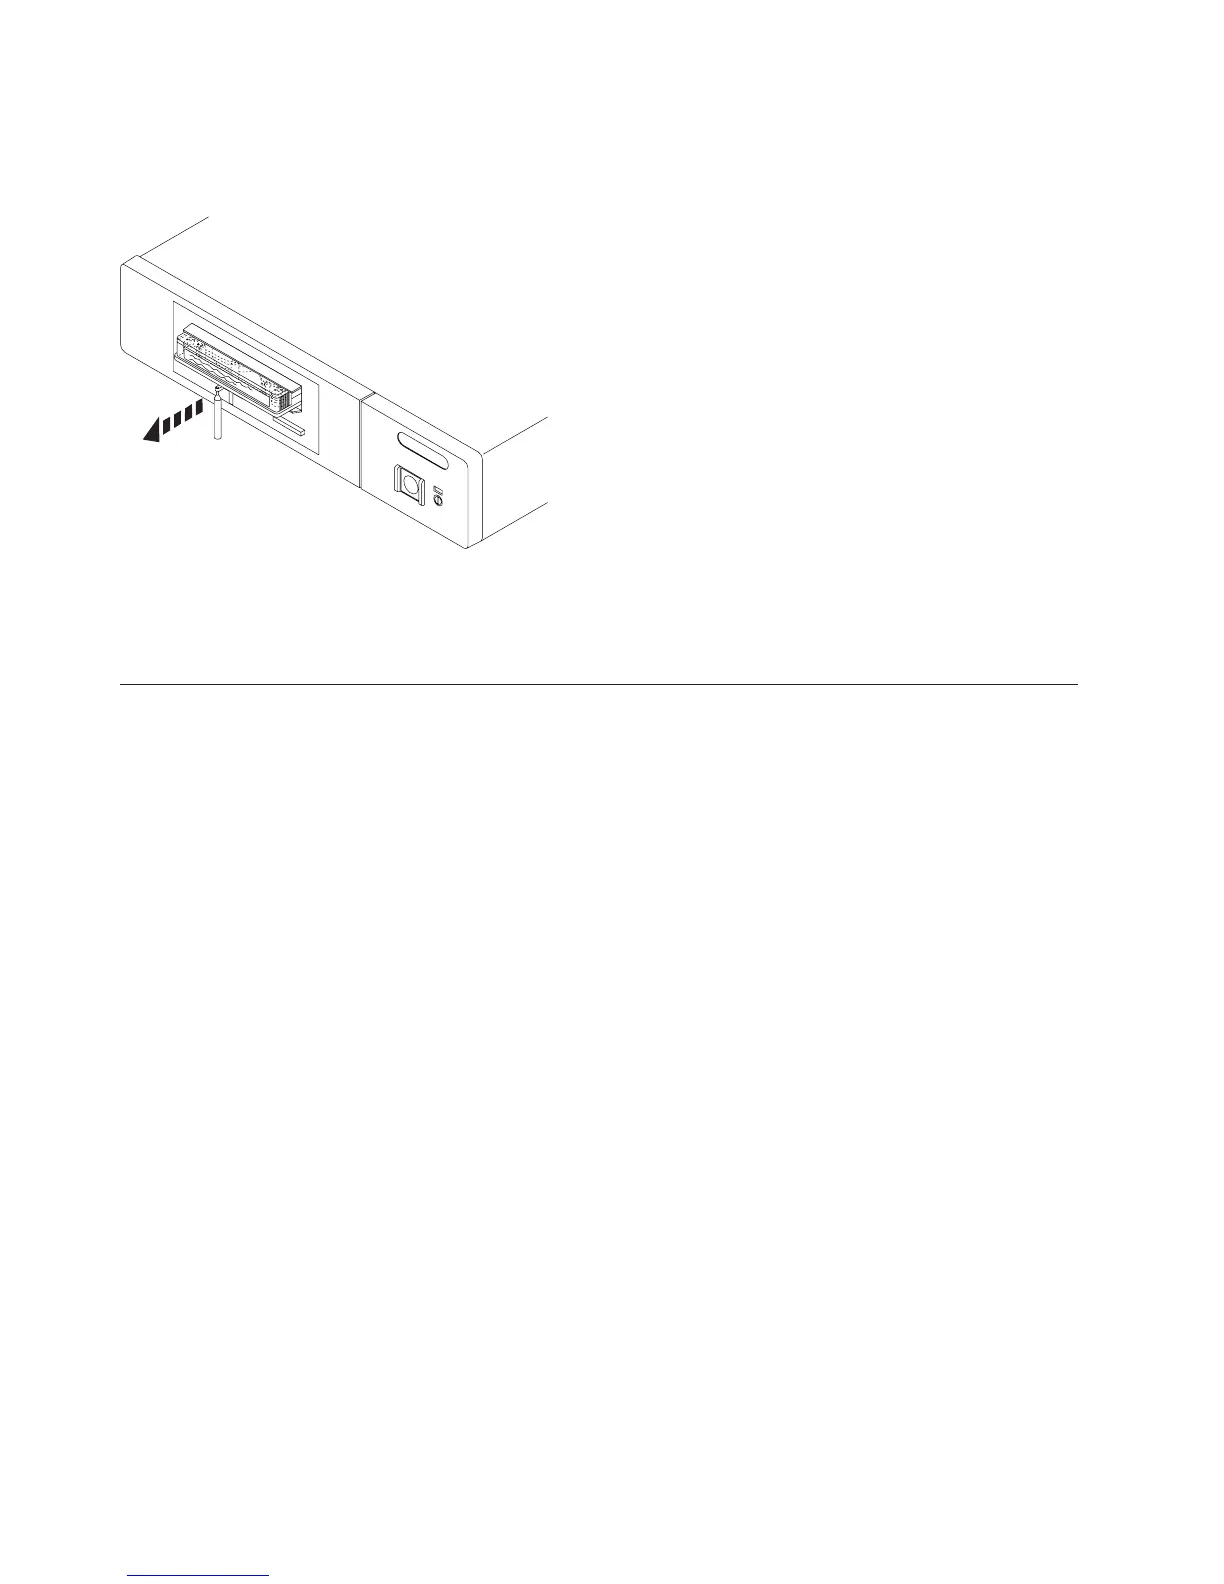
4. Pull the arm out until it stops. Insert the solid metal rod into the hole of the
arm and pull out until the tape cartridge comes out.
5. Remove the tape cartridge.
6. Push the arm back in until it stops, turn the manual tape cartridge lid back to
the starting position and push it back in place.
Optical Media – Manual Removal
CD-ROM and DVD
Note: If the device power is lost due to a power failure or other reason while the
disc tray is closed in the device and it is necessary to open the disc tray, the
eject pin (see specifications below) can be inserted into the emergency eject
hole on the front bezel, causing the disc tray to open, allowing you to
remove the media.
Emergency Disc Ejection Function
1. For DVD, you must remove the device prior to manually ejecting the media.
Attention: Damage to the DVD device(s) can result if the manual ejection
function is used while the device is powered on.
2. Insert the eject pin that is approximately 1.5mm in diameter and at least
(60mm-DVD, 35mm-CD) in length into the manual eject hole and push firmly.
The front edge of the tray will push open approximately 1/4 of an inch. Several
pushes may be necessary to open the disc tray far enough to remove the media.
Note: If an eject pin is not easily obtainable, then you might try using a long
paper clip.
3. Grasp the tray and slowly pull it out far enough to remove the media.
This ends the procedure.
RV3B769-0
Remove and Replace Procedures
704
iSeries Model 830, 840, SB2, and SB3 Problem Analysis, Repair and Parts V5R1