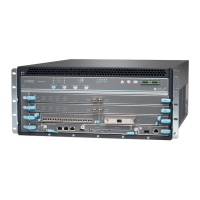
SRX5400 Installation Overview
To install the SRX5400 Services Gateway:
1. Prepare your installation site as described in “Site Preparation Checklist for the SRX5400 Services
Gateway” on page 147.
2. Review the safety guidelines explained in SRX5400 Services Gateway General Safety Guidelines and
Warnings.
3. Unpack the services gateway and verify the parts.
a. Unpacking the SRX5400 Services Gateway on page 172
b. Verifying the SRX5400 Services Gateway Parts Received on page 174
4. Install the mounting hardware as described in “Installing the SRX5400 Services Gateway Mounting
Hardware for a Rack or Cabinet” on page 177.
5. Lift the services gateway on to the rack. Because of the weight of the services gateway, we recommend
that you use a mechanical lift.
•
Installing the SRX5400 Services Gateway Using a Mechanical Lift on page 181
•
Installing the SRX5400 Services Gateway Chassis in the Rack Manually on page 188
6. Connect cables to the network and external devices.
•
Connecting the SRX5400 Services Gateway to a Management Console or an Auxiliary Device on
page 193
•
Connecting the SRX5400 Services Gateway to a Network for Out-of-Band Management on page 195
•
Connecting the Alarm Relay Wires to the SRX5400 Services Gateway Craft Interface on page 226
7. Connect the grounding cable as described in “Grounding the SRX5400 Services Gateway” on page 199.
WARNING: To meet safety and electromagnetic interference (EMI) requirements
and to ensure proper operation, you must properly ground the services gateway
chassis before connecting power.
8. Connect the AC power cord or DC power cables:
•
Connecting Power to an AC-Powered SRX5400 Services Gateway on page 200
171

 Loading...