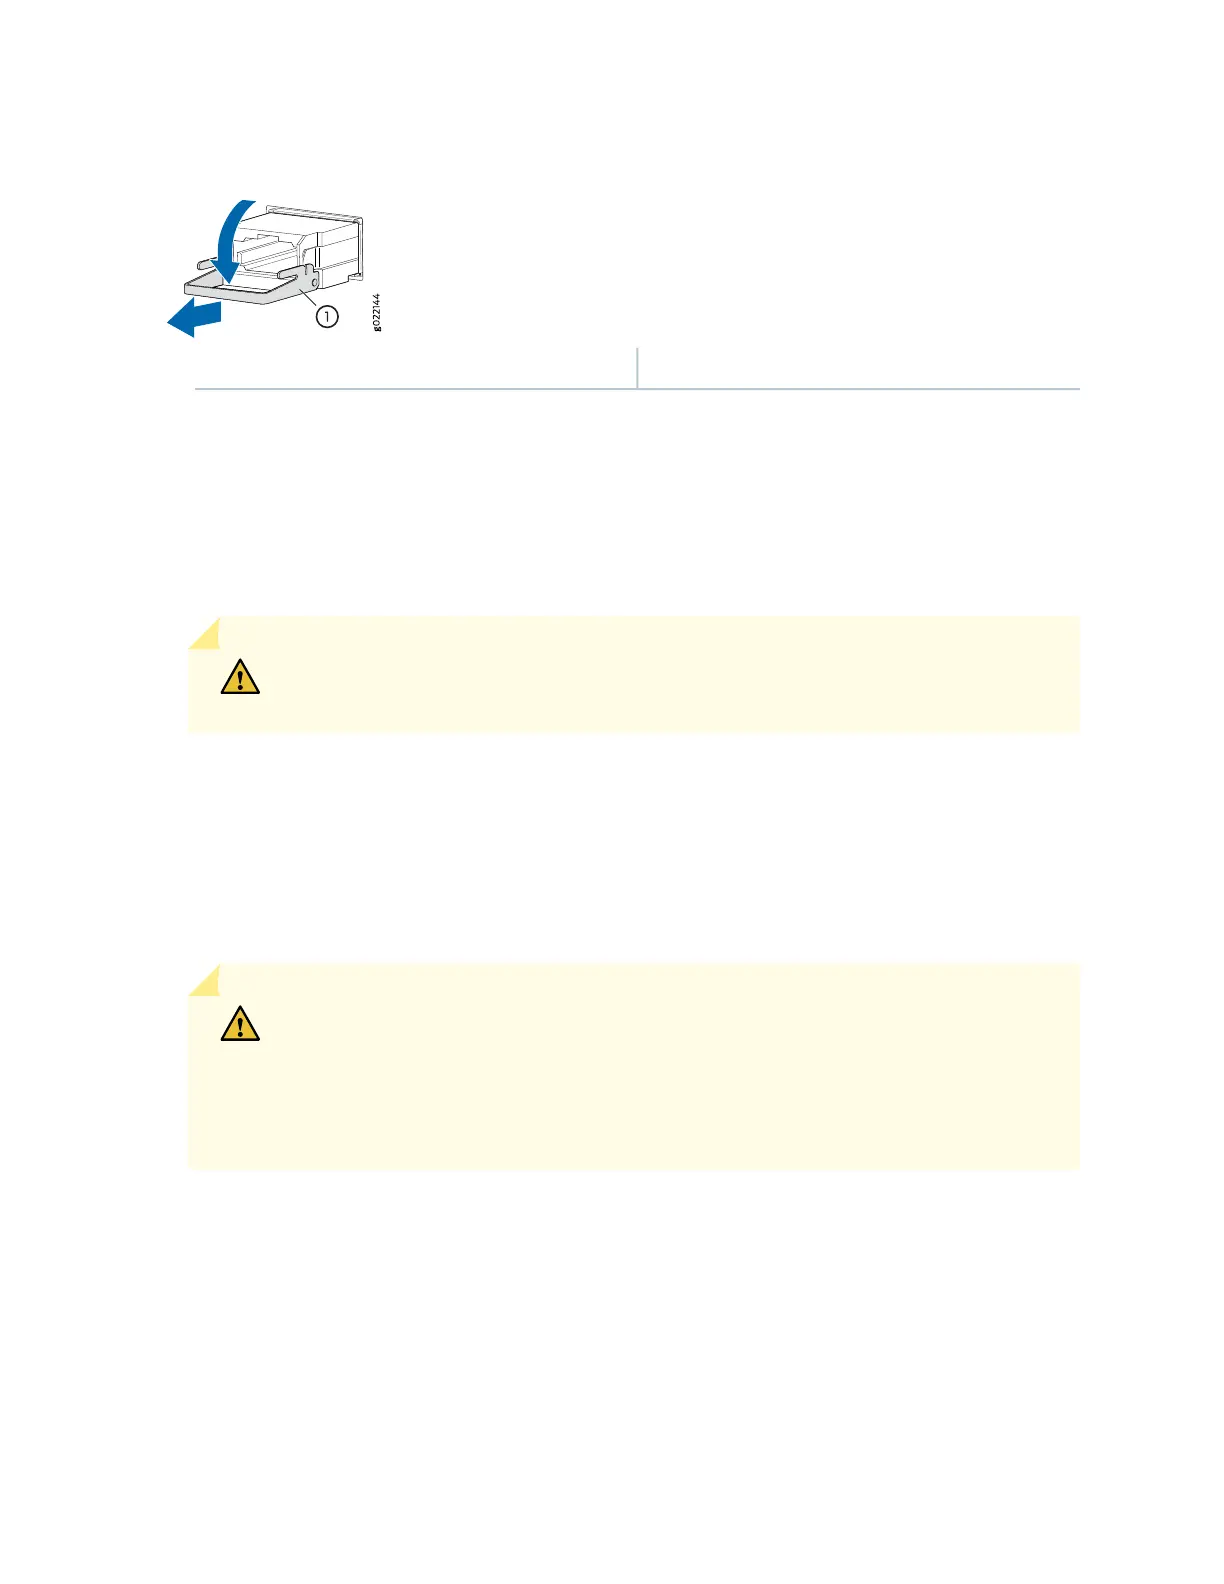
Figure 122: Removing a Transceiver
1—Ejector lever
8. Place a rubber safety cap over the transceiver.
9. Place the removed transceiver on an antistatic mat or in an electrostatic bag.
10. If you are not replacing the transceiver, insert transceiver slot plug into the card.
CAUTION: After removing a transceiver from the card, wait at least 30 seconds before
reinserting it or inserting a transceiver into a different socket.
Installing an SRX5400 Services Gateway Transceiver
Transceivers that are installed in an MIC or SPC. Transceivers are hot-insertable and hot-removable.
Removing a transceiver does not interrupt the functioning of the card, but the removed transceiver no
longer receives or transmits data.
CAUTION: If you face a problem running a Juniper Networks device that uses a
third-party optic or cable, the Juniper Networks Technical Assistance Center (JTAC)
can help you diagnose the source of the problem. Your JTAC engineer might recommend
that you check the third-party optic or cable and potentially replace it with an equivalent
Juniper Networks optic or cable that is qualified for the device.
To install a transceiver:
1. Attach an electrostatic discharge (ESD) grounding strap to your bare wrist, and connect the strap to
one of the ESD points on the chassis.
2. Take each transceiver to be installed out of its electrostatic bag and identify the slot on the component
where it will be installed.
313