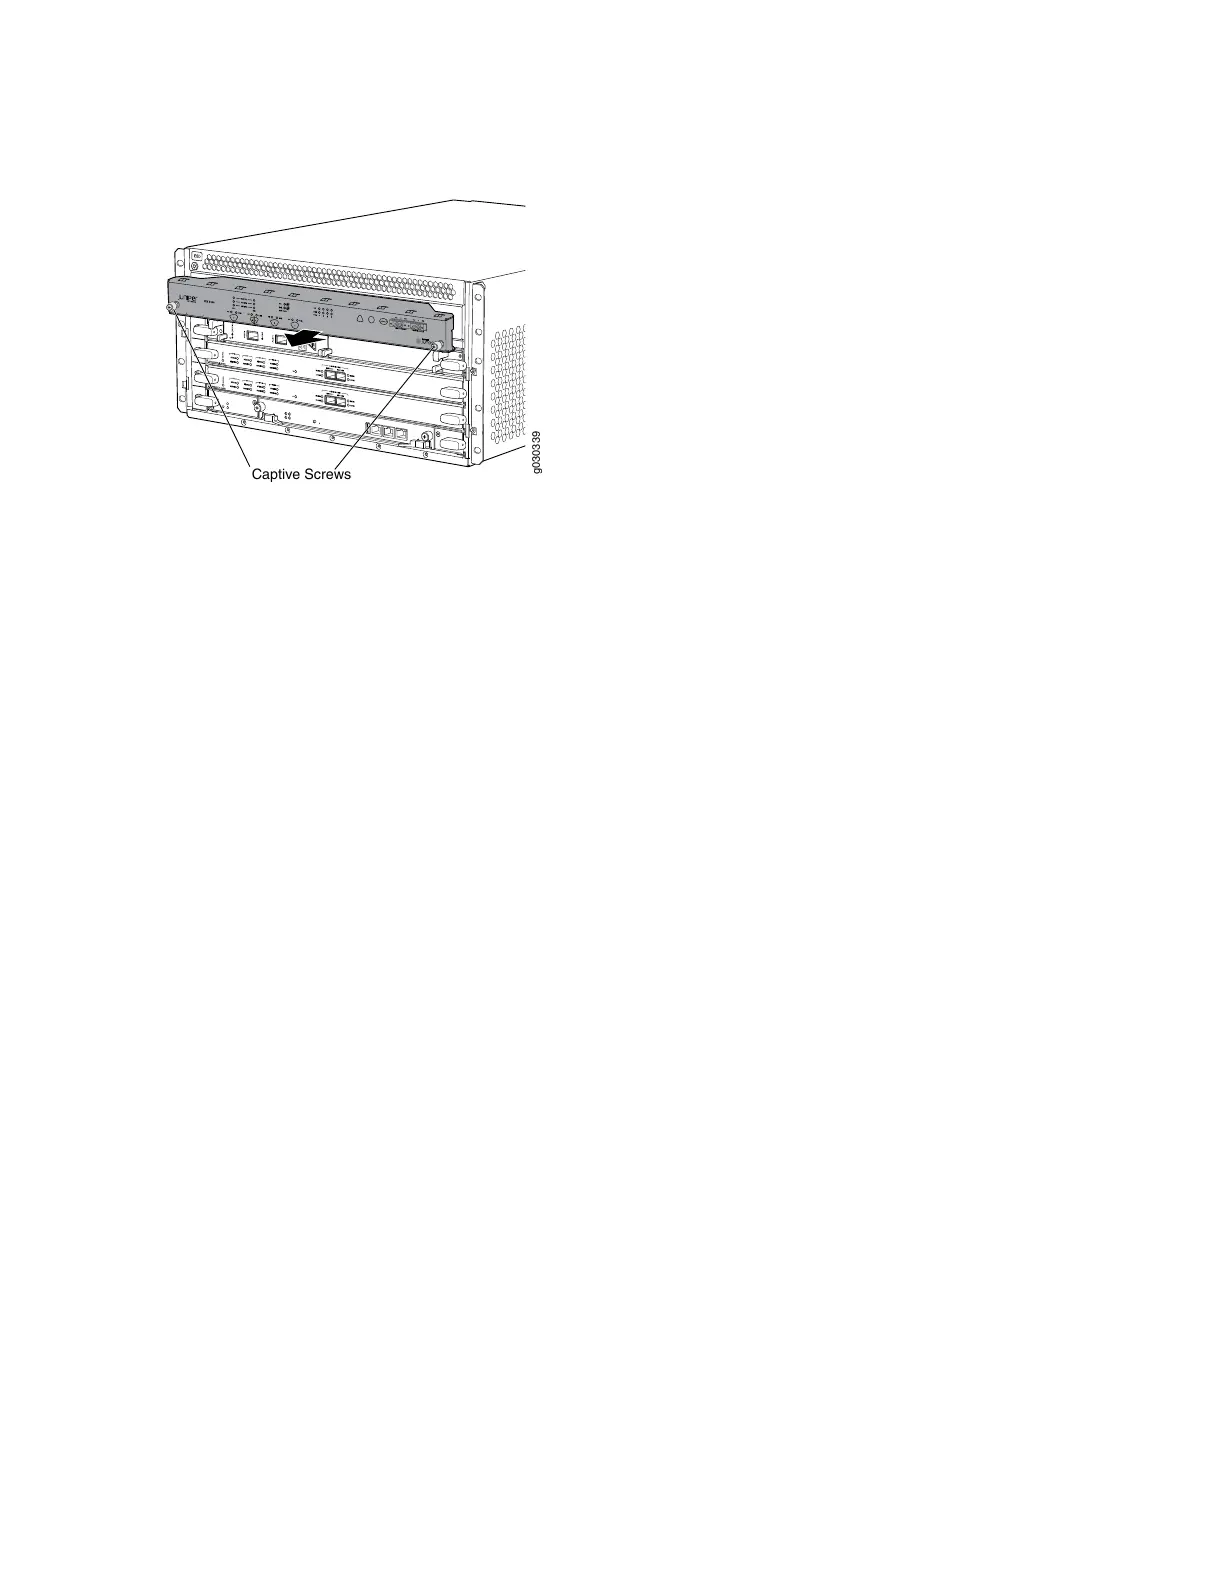
Figure 92: Removing the Craft Interface
Installing the SRX5400 Services Gateway Craft Interface
To install the craft interface (see Figure 93 on page 226):
1. Wrap and fasten one end of the ESD grounding strap around your bare wrist, and connect the other
end of the strap to the ESD point on the chassis.
2. Grasp the craft interface with one hand and hold the bottom edge of the craft interface with the other
hand to support its weight.
3. Orient the ribbon cable so that it plugs into the connector socket. The connector is keyed and can be
inserted only one way.
4. Align the bottom of the craft interface with the sheet metal above the card cage and press it into place.
5. Tighten the screws on the left and right corners of the craft interface faceplate.
6. Reattach any external devices connected to the craft interface.
225

 Loading...


