To remove a card (see Figure 76 on page 187):
1. Have ready an antistatic mat for the card. Also have ready rubber safety caps for each port using an
optical interface on the card that you are removing.
2. Wrap and fasten one end of the ESD grounding strap around your bare wrist, and connect the other
end of the strap to the ESD point on the chassis.
3. Label the cables connected to each port on the card so that you can later reconnect the cables to the
correct ports.
4. If a card uses fiber-optic cable, immediately cover each transceiver and the end of each cable with a
rubber safety cap. Arrange the disconnected cables in the cable management system, to prevent the
cables from developing stress points.
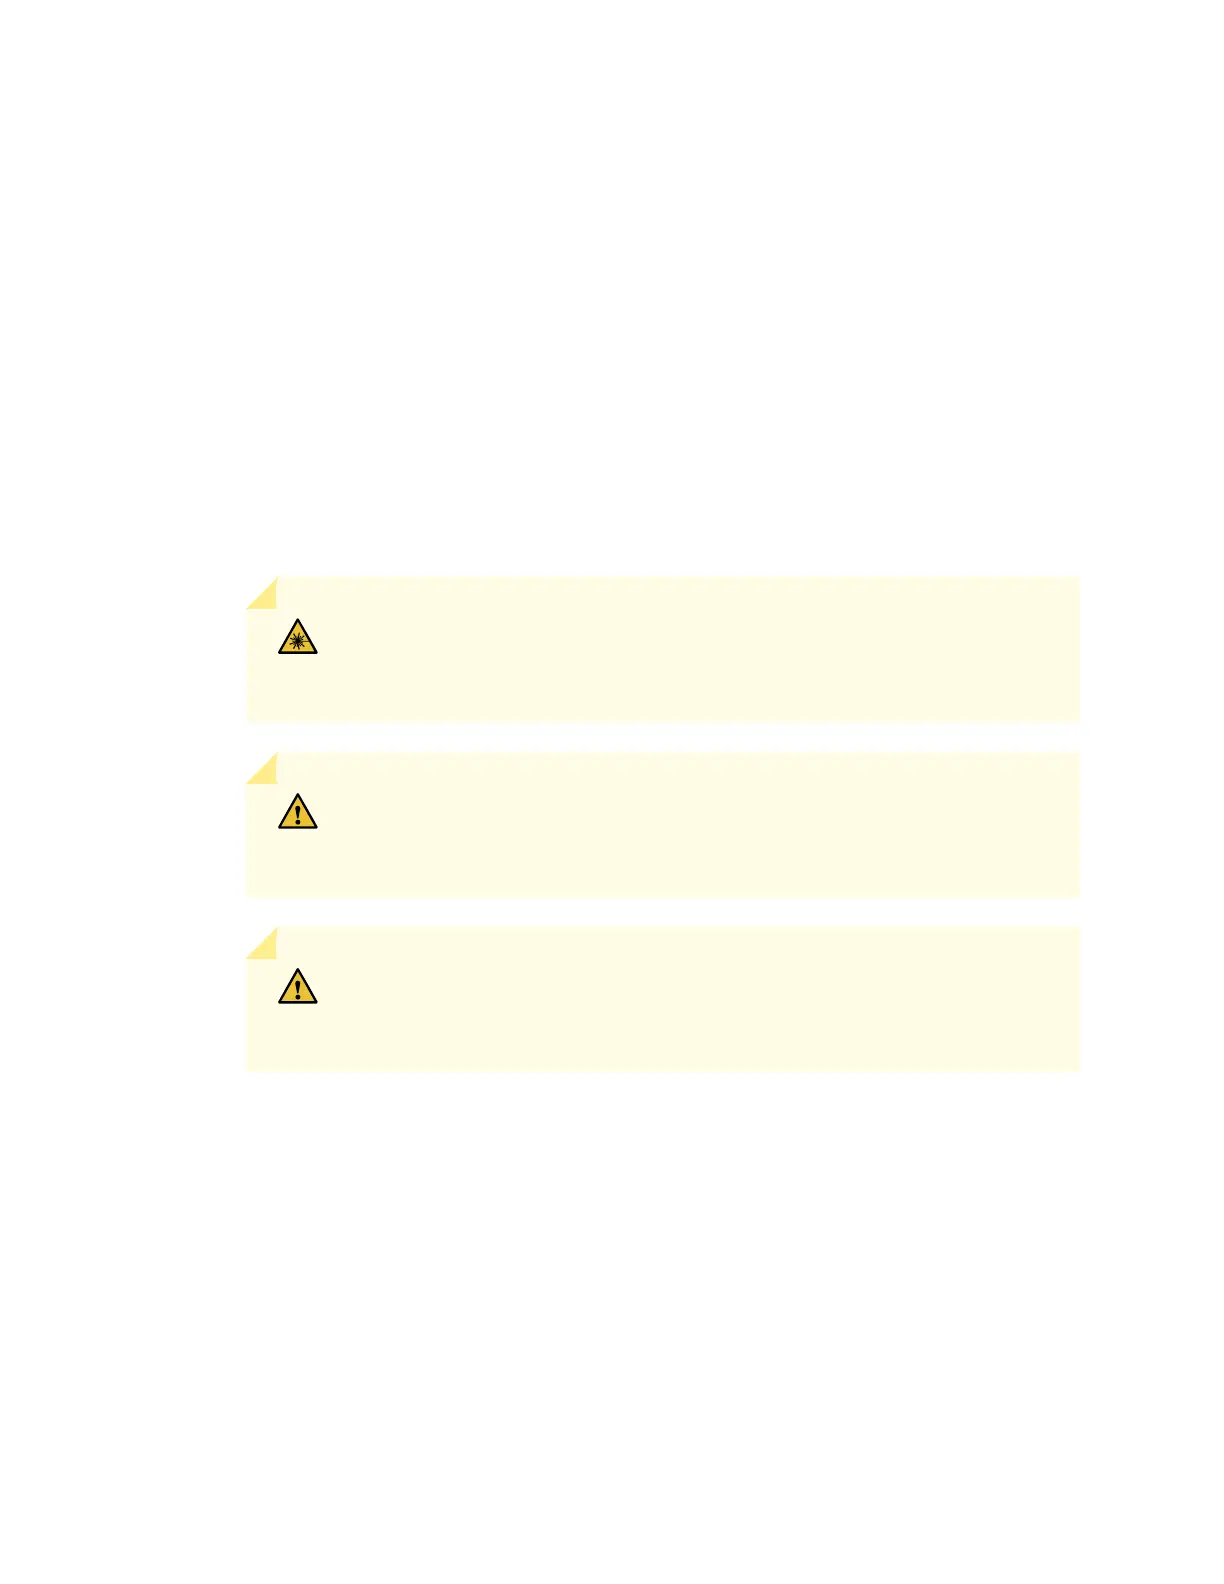
WARNING: Do not look directly into a fiber-optic transceiver or into the ends
of fiber-optic cables. Fiber-optic transceivers and fiber-optic cables connected
to a transceiver emit laser light that can damage your eyes.
CAUTION: Do not leave a fiber-optic transceiver uncovered except when
inserting or removing a cable. The safety cap keeps the port clean and prevents
accidental exposure to laser light.
CAUTION: Avoid bending a fiber-optic cable beyond its minimum bend radius.
An arc smaller than a few inches in diameter can damage the cable and cause
problems that are difficult to diagnose.
5. For SCB, observe these points regarding the ejector handles:
•
When removing or inserting the SCB, ensure that the SCB or blank panels in adjacent slots are fully
inserted to avoid hitting them with the ejector handles. The ejector handles require that all adjacent
components be completely inserted so the ejector handles do not hit them, which could result in
damage.
•
The ejector handles have a center of rotation and need to be stored toward the center of the board.
Ensure the long ends of the ejectors located at both the top and the bottom of the board are vertical
and pressed as far as possible toward the center of the board. Once you have installed the SCB, place
186

 Loading...


