SECTION 5
DISASSEMBLY AND ASSEMBLY
51
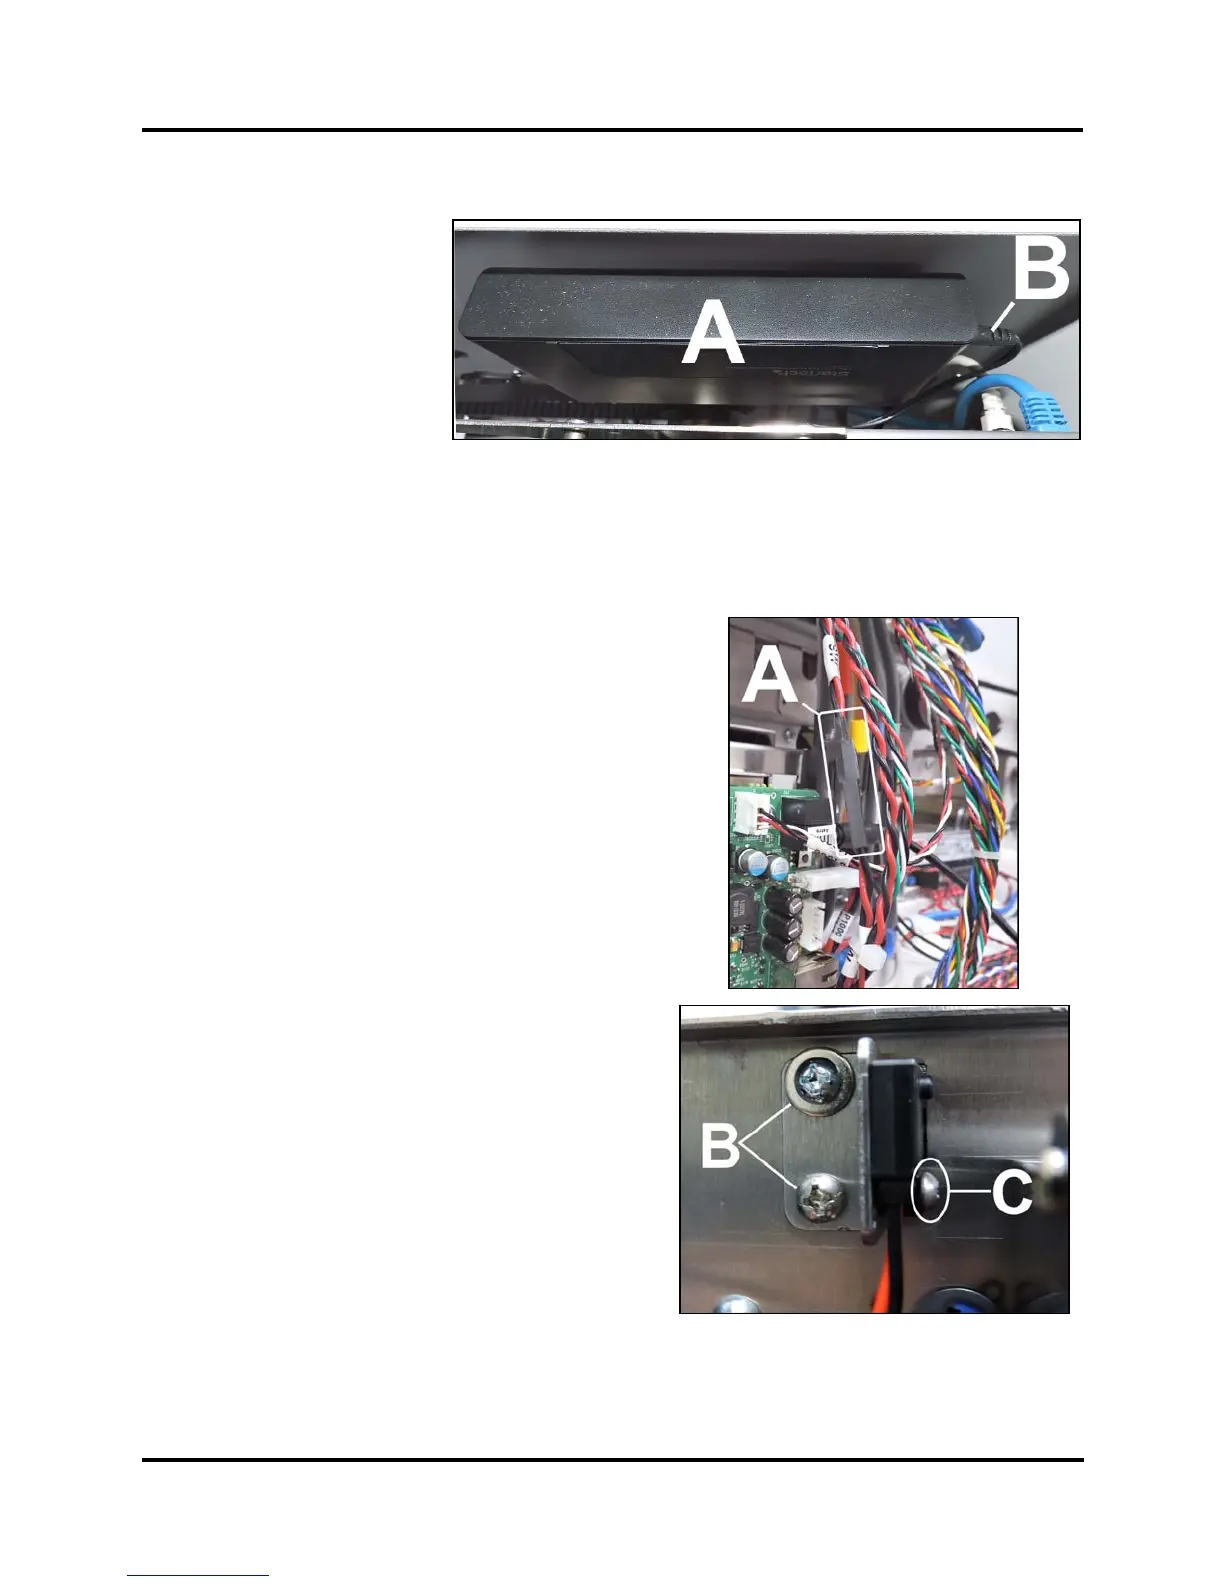
Replace Fast Internet Switch
1. Remove Non-Operator
Side Cover.
2. Switch [A] (located behind
the Interface PC Board
and 5V DC Power Supply)
is secured with hook &
loop tape. Carefully pull
the Switch away from the
Printer Side Frame.
3. Carefully lift the Switch out
of the Printer. Disconnect power cord [B] and other cables.
4. Reassemble in reverse order.
Replace Top Cover Switch
1. Remove Non-Operator Side Cover.
2. Disconnect Switch Assembly wire harness (SW) from
Interface Board wire harness (SW) [A]. Carefully cut wire
ties to release wire harness.
3. Remove (2) screws and a washer [B] to remove Switch
Assembly and Bracket.
4. Remove (1) screw [C] to remove Switch Assembly from
the Bracket.
5. Reassemble in reverse order.

 Loading...


