SECTION 6
MAINTENANCE
118
Clean/Replace Printhead Cartridge
Cleaning
The Printhead is cleaned automatically each time Printer is turned on or when the “Quick Clean Printhead” routine
is performed. This can be found under “Service” Tab, “Normal Clean Printhead” in Printer Driver or
“Maintenance” drop-down menu on Touchscreen. If running automated Cleaning Levels doesn’t help improve
print quality, Printhead Cartridge can be cleaned manually.
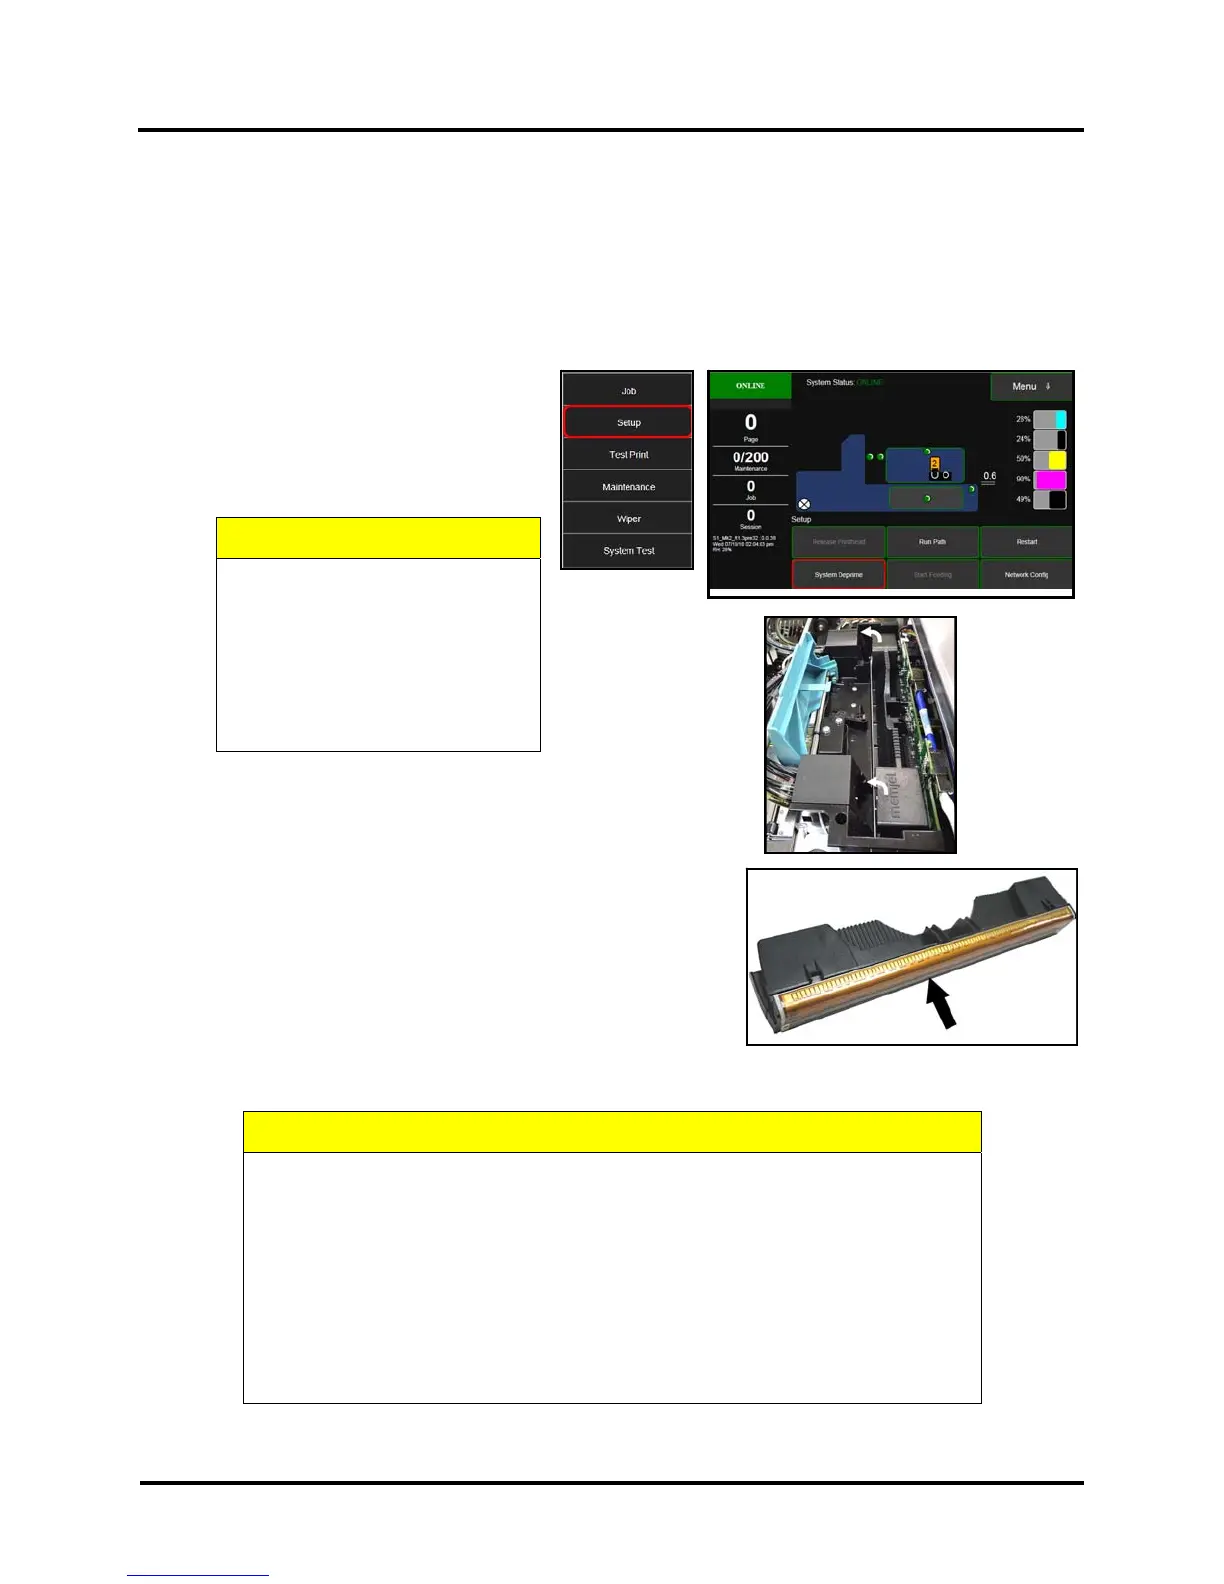
1. Open Top Cover. From the
Touchscreen, tap “Setup” in the Menu
drop-down, then tap “System
Deprime”. The Printer pumps any ink
in system back into Tanks. Then the
Printhead Latch pops open.
CAUTION
DO NOT PRY OR MANUALLY
LIFT PRINTHEAD LATCH OR
LATCH MAY BREAK. ONLY
OPEN LATCH USING THE
RELEASE PRINTHEAD
BUTTON ON THE
TOUCHSCREEN OR IN THE
PRINTER TOOLBOX.
2. Make sure Printhead Latch is fully opened to retract
ink lines. Remove used Printhead Cartridge by tilting
it toward ink lines [3], then carefully lifting it out of
Printhead Compartment.
3. Moisten Printhead nozzles using deionized/distilled water
(reference ASTM D5127-90 Type E-II Electronic Grade Water)
and a damp, lint-free cloth, wiping end to end. (Gray strip
located below orange strip.) Take care not to damage copper
contacts, metal plate, or gold Printhead surface.
4. Reinstall Printhead, close Printhead Latch and close Top Cover.
Generally, when ink supply is adequate and print quality remains poor, or when automated cleaning processes or
manually cleaning Printhead does not help image quality, replace Printhead.
CAUTION
Use electrostatic discharge (ESD) protection when handling.
Hold Printhead Cartridge by handles ONLY.
DO NOT touch ink couplings, nozzle surface or electrical contacts.
DO NOT unpack Printhead Cartridge until Printer is ready for
installation. Once unwrapped, delay in installing Printhead can
compromise print quality due to dehydration.
DO NOT place an unwrapped Printhead on any surface before
installing. Protect Printhead from scratches, dust, fibers, dirt and
other contaminants at all times.

 Loading...


