4
Setting up network printing
4-26 MP1020/1025/1035
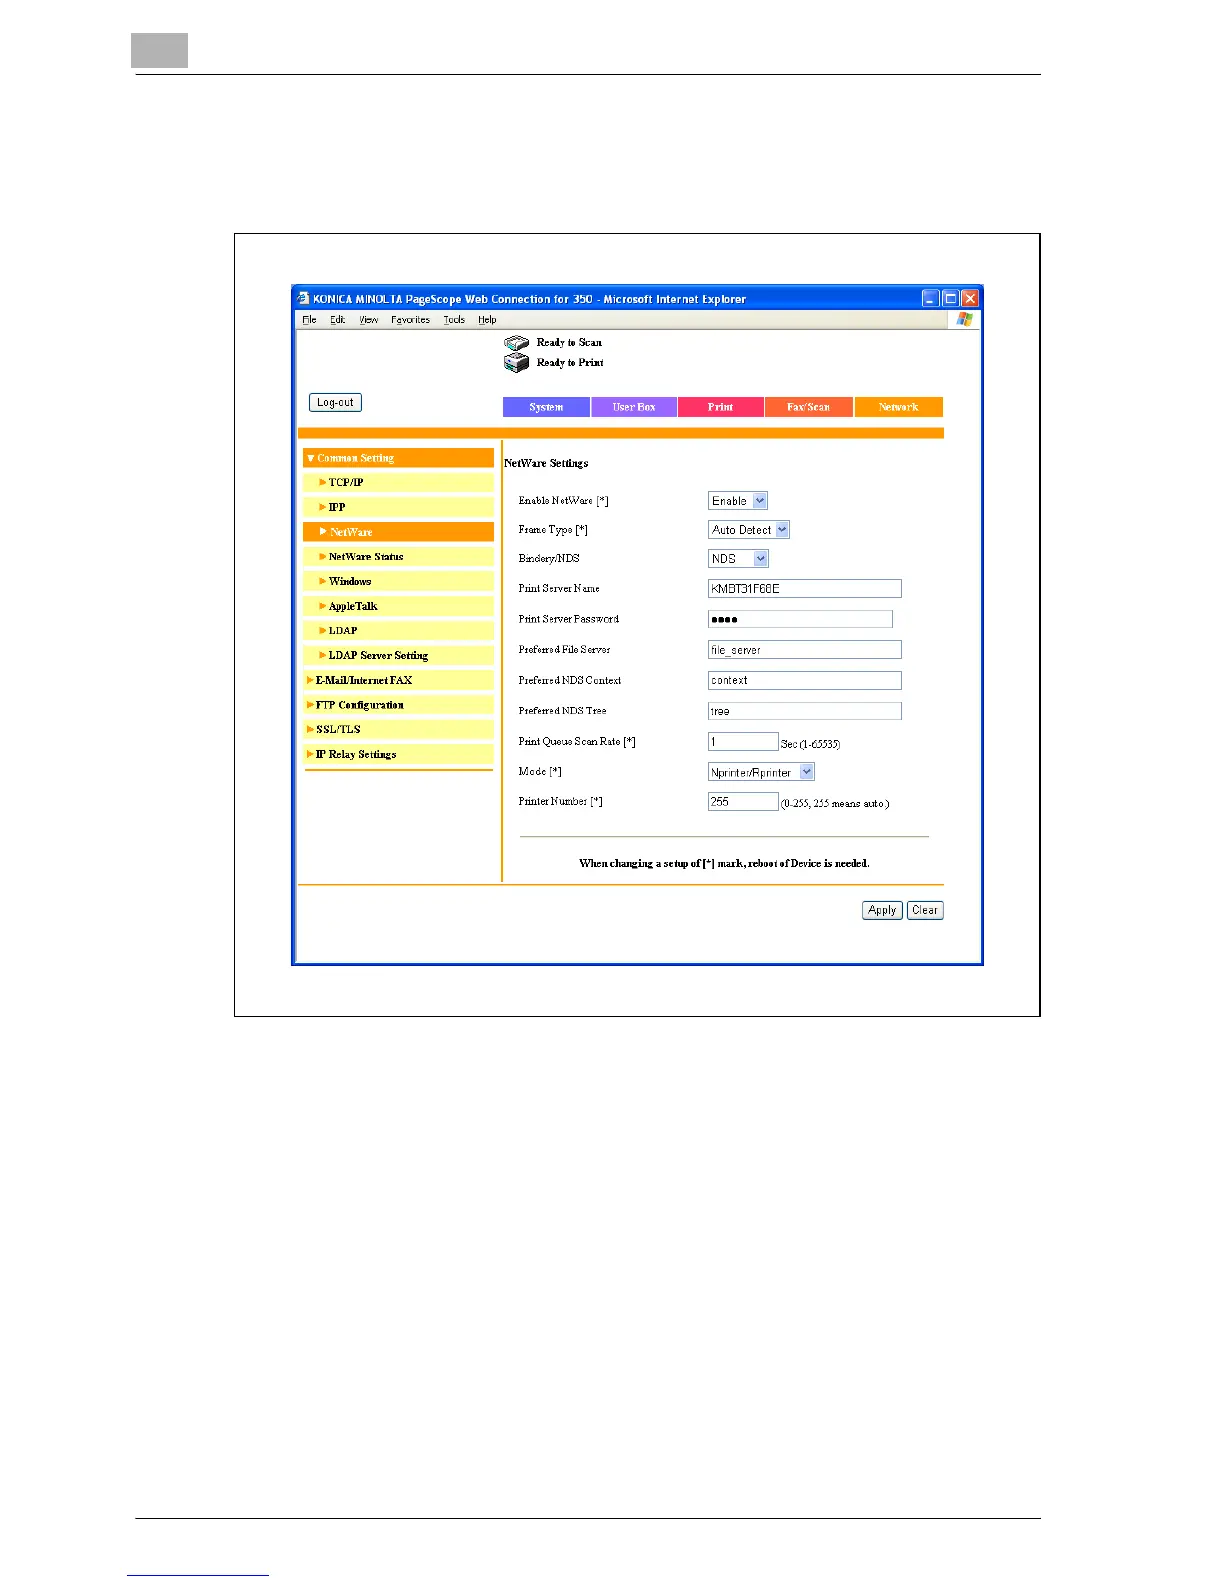
8 In Administrator mode of Web Connection, select “Common Setting”,
then “NetWare” from the Network tab, and then specify the following
settings.
– Enable NetWare: Select “Enable”.
– Frame Type: Select “Auto Detect”. (Select the frame type according
to the network environment.)
– Bindery/NDS: Select “Bindery/NDS”.
– Print Server Name: Specify the print server name created in step 4.
– Print Server Password: Specify only when setting from the NetWare
server. (Displayed by “••••”.) If changing the password, delete
“••••”, and then input the password.
– Preferred File Server: Specify the name of the file server that con-
nects to the Pserver.
– Print Queue Scan Rate: Specify “1”. (Change as necessary.)
– Mode: Select “Nprinter/Rprinter”.
– Printer Number: Specify “255”. (Set the number assigned to the
printer (0 to 254) or 255.)