Voltage Transformer
5 - 19
Carrying Out the Polarity Check
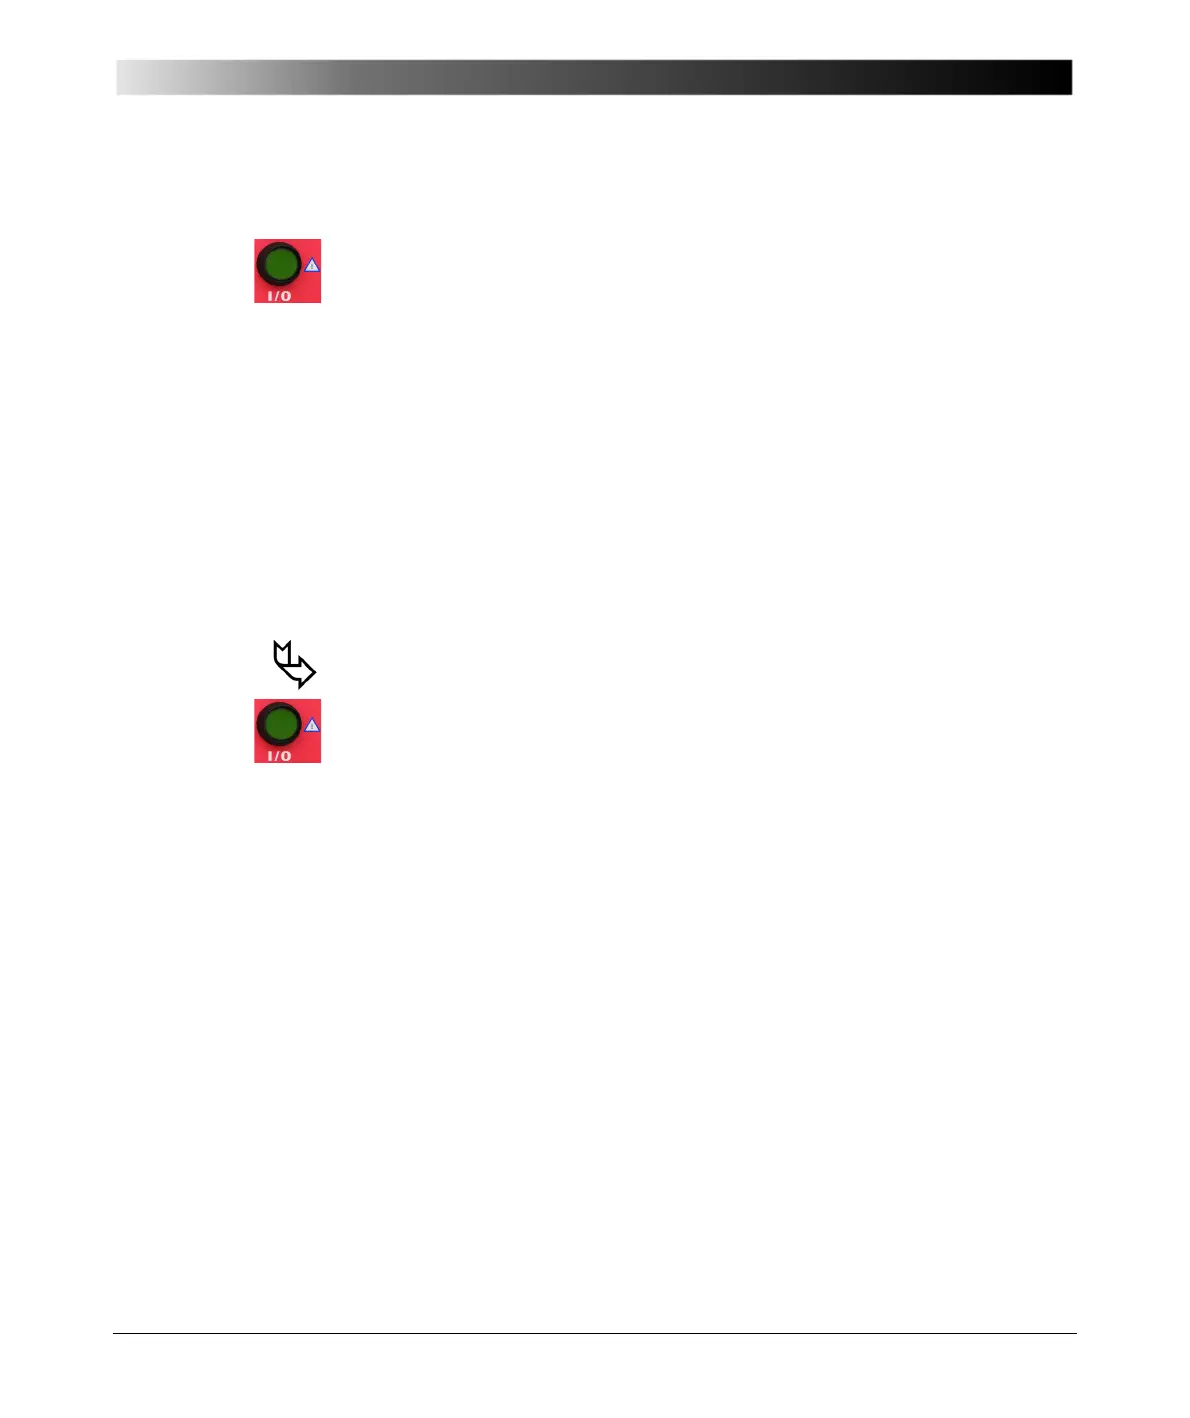
1. Define the first set of parameters, and press the I/O (test start/stop) push-
button to start the test
2. CPC 100 now applies the polarity check signal with the specified parameters
to the output.
3. Now carry out the polarity check at the test point of your choice using CPOL.
4. Add the first test point to the test point table by pressing N
EW RESULT.
The column "Location" displays a default name "Point 0", and a "n/a" in the
column "Assessment" shows that no assessment was done yet.
5. If you need multiple test points, repeat items 3 - 4 as often as needed.
6. For the assessment there are two alternatives:
a) assess each test point right away as it is entered
b) or add all test points needed, stop the test, and then do the assessment
test point for test point.
To learn more about test assessment, refer to ”Test Assessment” on page
10-2.
7. Press the I/O (test start/stop) push-button to stop the test.
Note: Alternatively, it is possible to enter test points after the test was
stopped (for example, if the measurement was carried out at a
remote location).
 Loading...