Introduction
2 - 47
Principle Steps to Carry Out a Test with CPC 100
1. Verify that the substation is prepared accordingly and you comply with all
safety regulations.
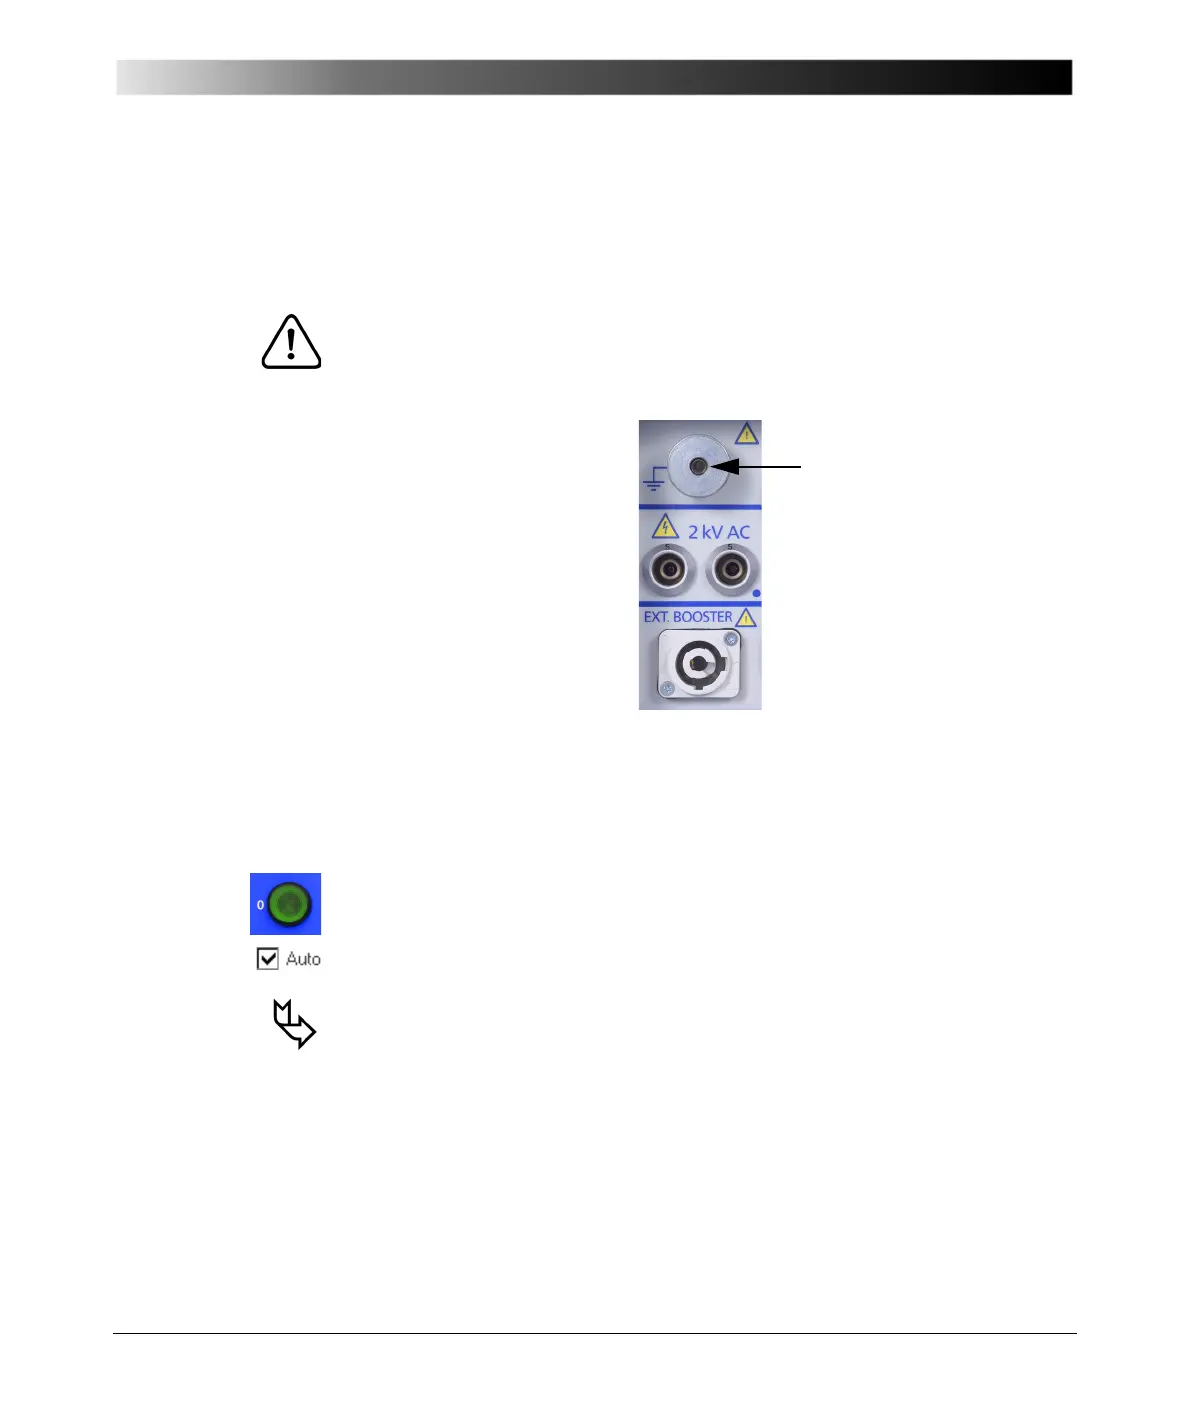
2. Connect the CPC 100 grounding terminal to the substation ground. Use
a wire with a cross-section of
≥ 6mm², otherwise the housing may feed
high voltage.
3. Connect CPC 100 to the mains power supply using the provided cable.
4. With the test object grounded and shorted out, connect CPC 100 to the
test object according to your requirements.
5. Remove the grounding set from the test object.
6. Turn on CPC 100 at its POWER switch at the left-hand side.
The green warning light "O" lights up, showing that none of CPC 100 outputs
carries a dangerous voltage or current yet.
7. Set up your test in the CPC 100 software, and, where applicable, determine
whether you want to perform an automatic or a manual test.
The following chapters of this manual comprise an example for each
available test.
For a detailed description of how to use the software refer to section ”How to
Use the CPC 100 Software” on page 17 of this chapter.
8. Once all test cards are prepared and the parameters set, make sure the
safety key lock is in position "release" (horizontal).
Connect CPC 100
grounding terminal to
substation ground.
 Loading...