5
Slide up the battery compartment cover and remove it from the AMR.
6
Align the battery in the battery compartment and then slide it towards the rear of the AMR.
Push the battery back until it stops. Alignment tabs keep the battery in position as it mates with
the internal power connector.
7 Align the battery compartment cover over the screws and slide it down to fit it in place.
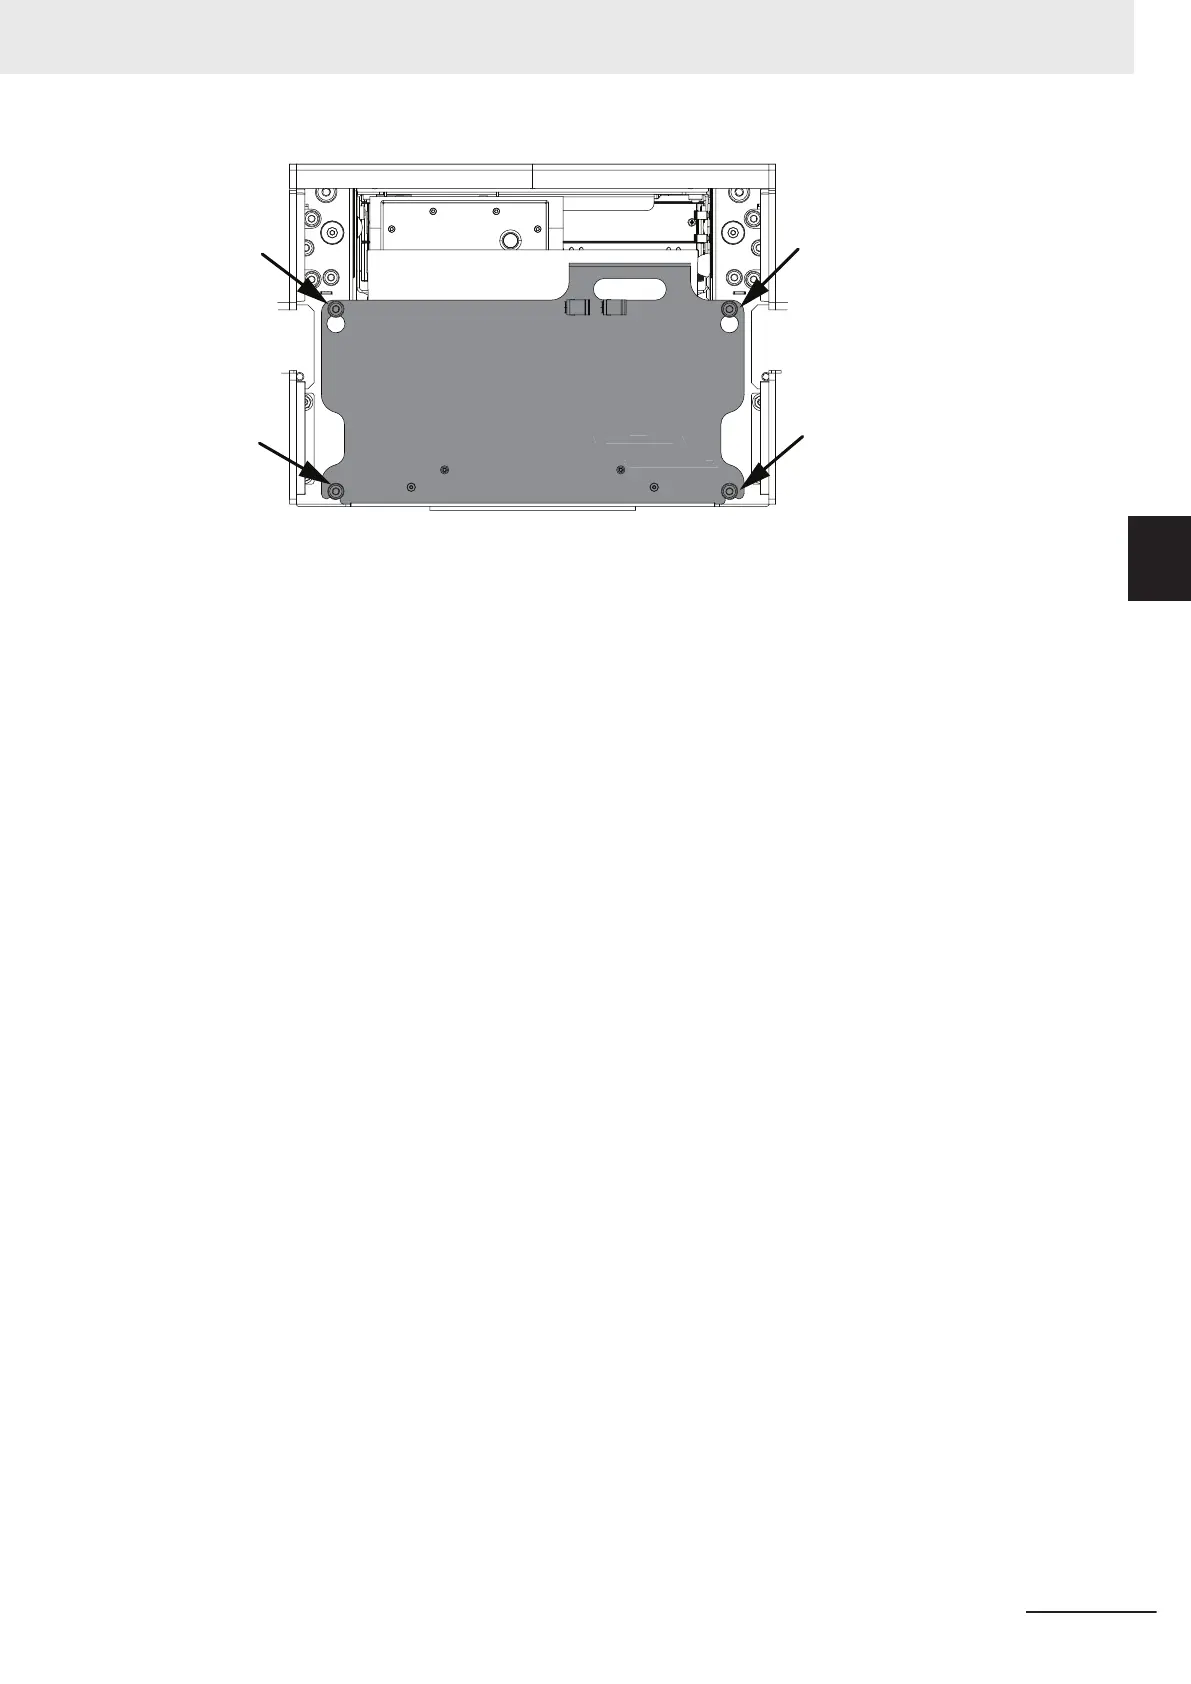
8 Tighten the four M6 screws to a torque of 9 N-m.
9 Replace the Front Skin to complete this procedure.
3 Installation
3-15
AMR (Autonomous Mobile Robot) MD-series Platform User's Manual (I681)
3-3 Battery Removal and Installation
3
3-3-2 Battery Installation Procedure
 Loading...


