• Minimal or no payload.
• Drive at low rotational speed and acceleration.
Use the MobilePlanner software to create and then edit your workspace map. You can add virtual ele-
ments to the map that modify the behavior of an AMR. Examples of virtual elements include the follow-
ing items.
• Forbidden Lines and Areas: areas in the workspace where an AMR cannot enter or move across.
• Movement parameters sectors: areas where an AMR must travel within a specified speed range.
• Preferred lines: paths that you specify on the map which the AMR must consider when planning the
most efficient path to follow autonomously to its goal.
• Preferred-direction zones: areas where the AMR will prefer to travel in a specified direction. In a typ-
ical preferred direction zone (such as a narrow hallway), there is an opposite direction that you want
the AMR to avoid. Use a preferred-direction zone to keep the AMR to the preferred side of a hall-
way. The AMR is able to travel on the alternate side of the zone if the preferred side is blocked.
Regardless of the constraint specified by any virtual element on the map, the AMR always operates
according to its safety protocols. For example, when the AMR is following a preferred line it will still
respond to and avoid dynamic obstacles.
Additional Information
Refer to Fleet Operations Workspace Core User's Manual (Cat. No. I635) for complete details
about workspace map creation.
3-10-1
Basic Mapping Tasks
The basic mapping tasks are provided below. Refer to Fleet Operations Workspace Core User's
Manual (Cat. No. I635) for complete details about mapping tasks and functions.
• Install the Charging Station before you create a map file. The Docking Target's trapezoidal front will
be helpful in locating it on the map.
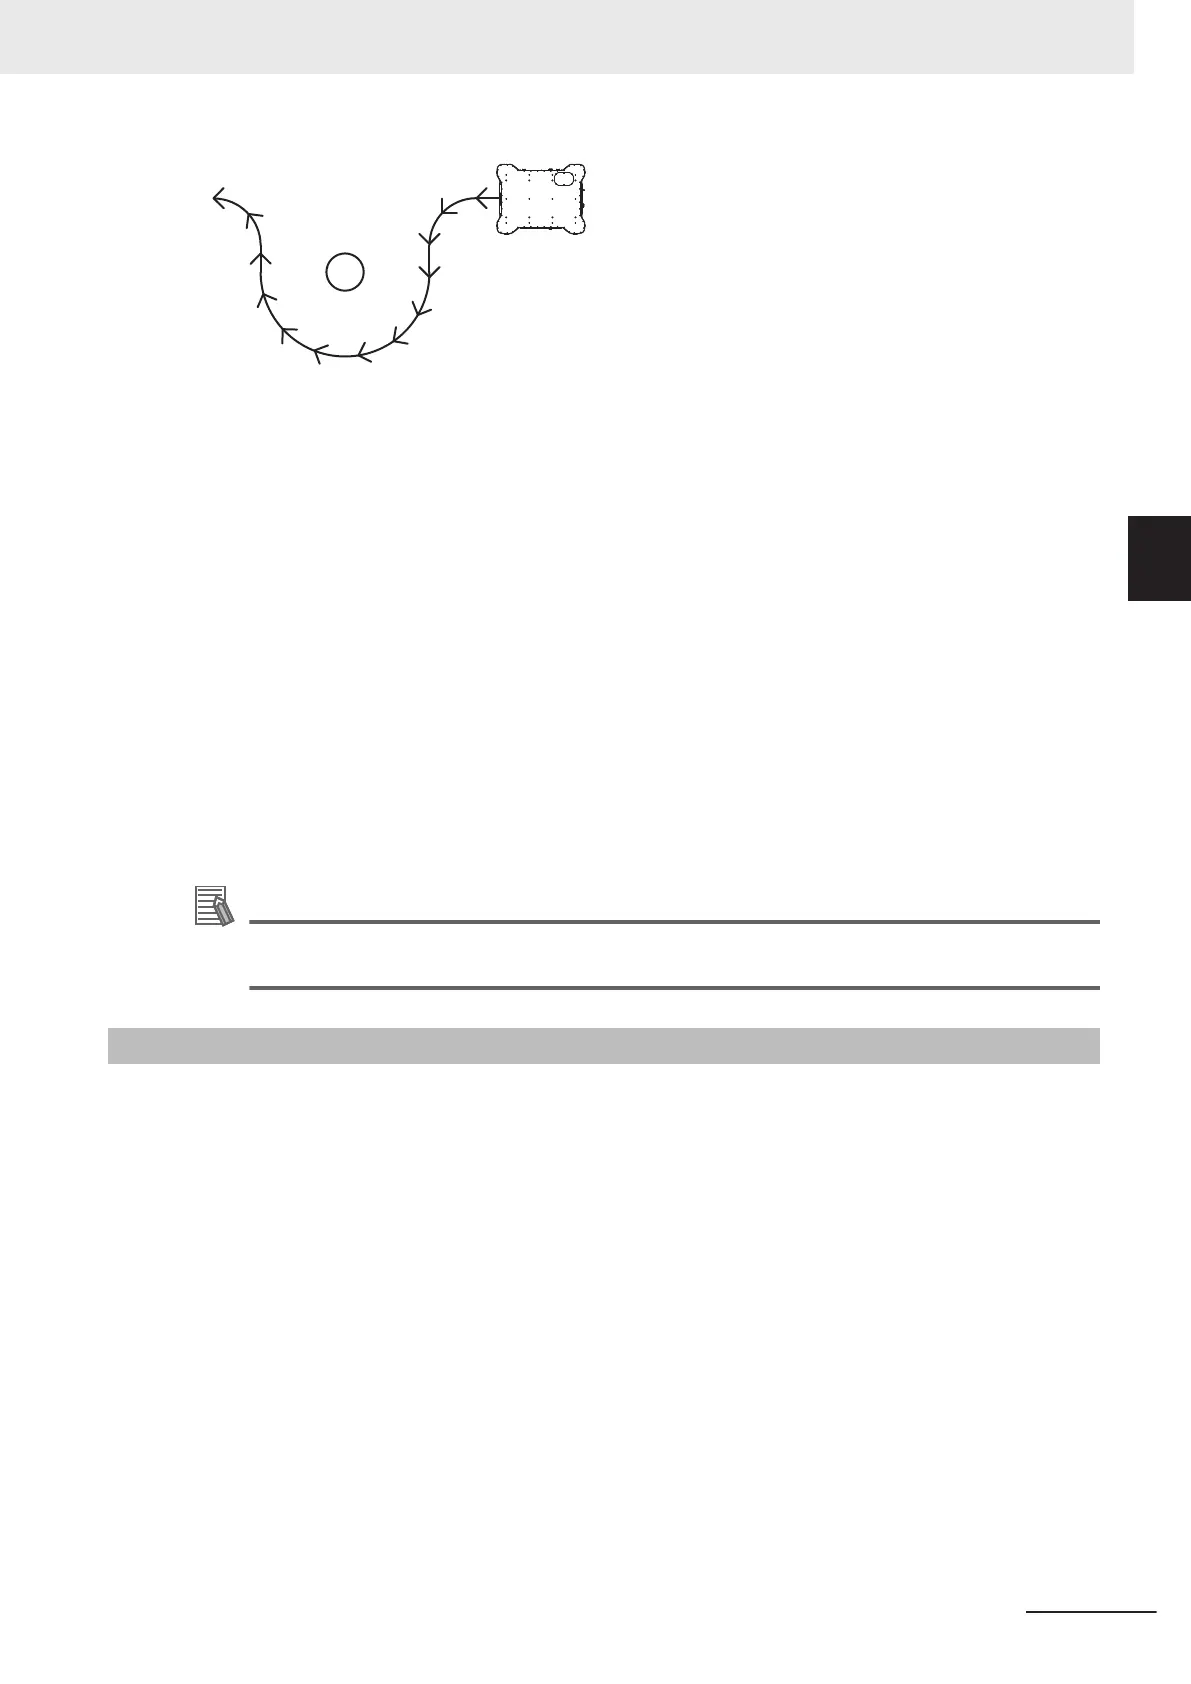
• Drive the AMR with the pendant to make a floor plan scan. It is recommended that you drive the
AMR near the Docking Target so the Docking Target can be placed in the correct location of the
map.
• Drive the AMR around the workspace multiple times, and from various directions. Also, begin and
end your mapping process at the same location for the most accurate results.
• Load the scan into the MobilePlanner software on your PC to create and edit a digitized map.
• Add job-related features such as routes, goals, and docks (targets) to your map.
• Transfer the working map to the Fleet Manager when multiple AMRs are present, or back to the
AMR if you have only one in operation. The Fleet Manager automatically uploads the new map to
each AMR in your fleet as soon as the AMR becomes idle.
• Save map collections and deploy your AMR in any of your workspaces by selecting the appropriate
map file.
3 Installation
3-39
AMR (Autonomous Mobile Robot) MD-series Platform User's Manual (I681)
3-10 Map Creation Overview
3
3-10-1 Basic Mapping Tasks