117Pinnacle Systems TARGA 3000
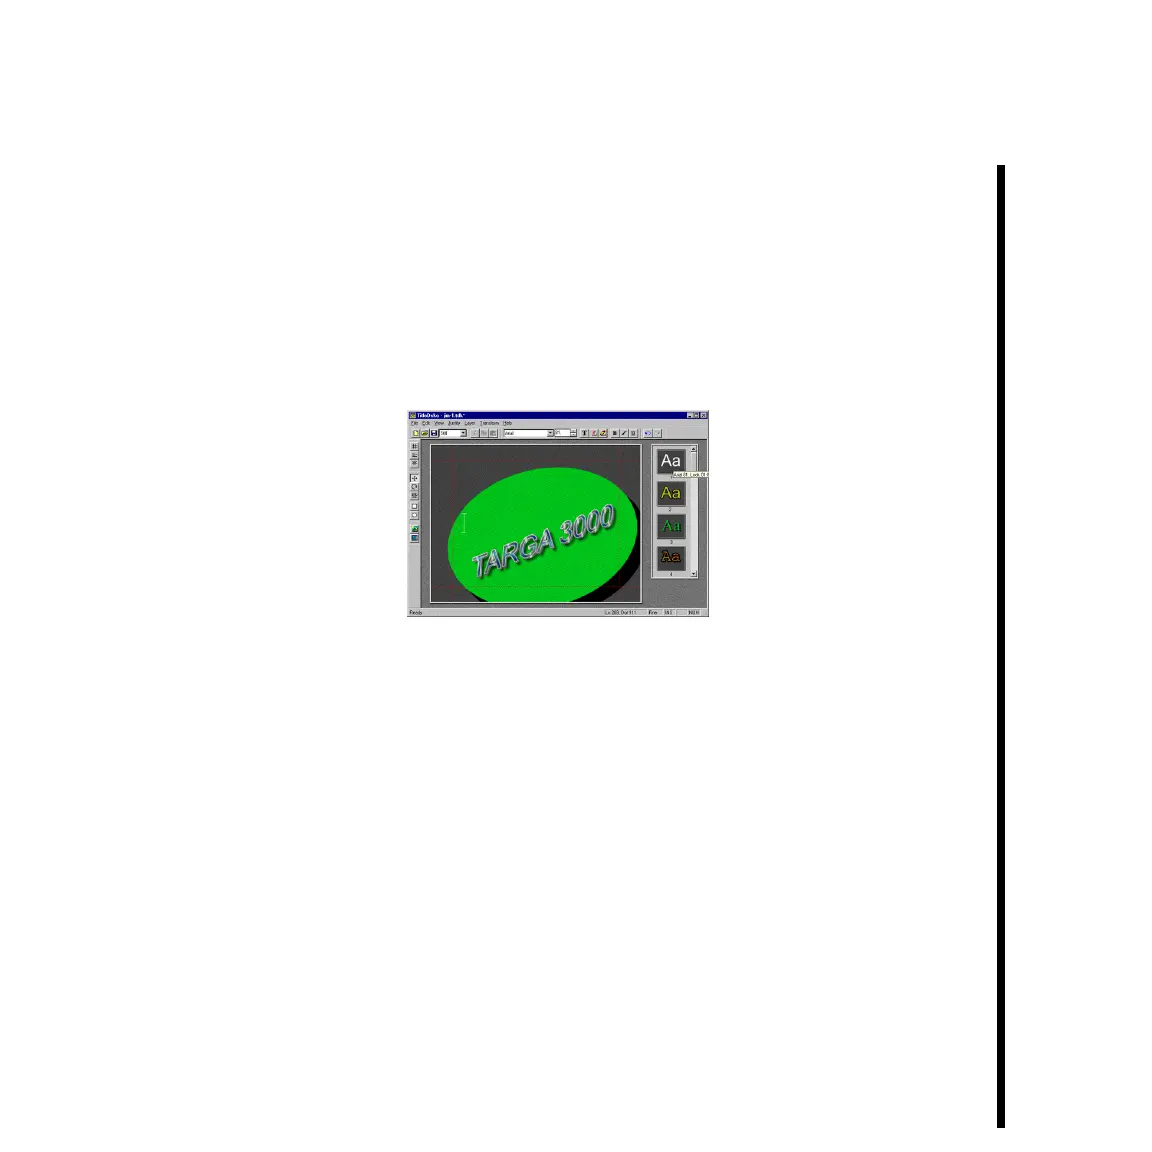
— Do the following to add a background shape behind the title: Click on either the
Rectangle or Ellipse button. The shape for the button you clicked will appear in the
TitleDeko text window. Add a style to the selected shape by clicking on one of the
preset styles in the preset styles selector which is to the right of the text window.
Then move the shape to the background so that the title will appear through it by
selecting LAYER » SEND TO BACK from the TitleDeko menu bar.
— Move the selected shape over the title, and then experiment with resizing, rotating,
and skewing the shape so that it matches the angle of the text.
— Save the title by selecting “Save” in the File Menu of TitleDeko, or by clicking the
Save button. (In this particular instance the file type of the title should be a Still.)
— Press the <F12> key to accept the enhanced title and return from TitleDeko to Adobe
Premiere. Pressing the <F12> key also causes Premiere to also placed the saved title
into the Project Window.
— Right click the title icon within the Timeline Window, and then select
VIDEO » TRANSPARENCY from the pop-up menu to display the Transparency Settings
Window. If “Black Alpha Matte” is not already selected, select it and then click OK
to close Transparency Settings.
— Scrub the Video 2 Timeline track, or click the play button on the Adobe Premiere
Preview Window to see the enhanced title on your output monitor.
— Delete the title icon from the Timeline track and proceed to “Lesson 3: Rolling A
Title.”
 Loading...
