116 Chapter 6: Basic TitleDeko Tutorial With Adobe Premiere
Lesson 2: Enhancing The Text Of A Title
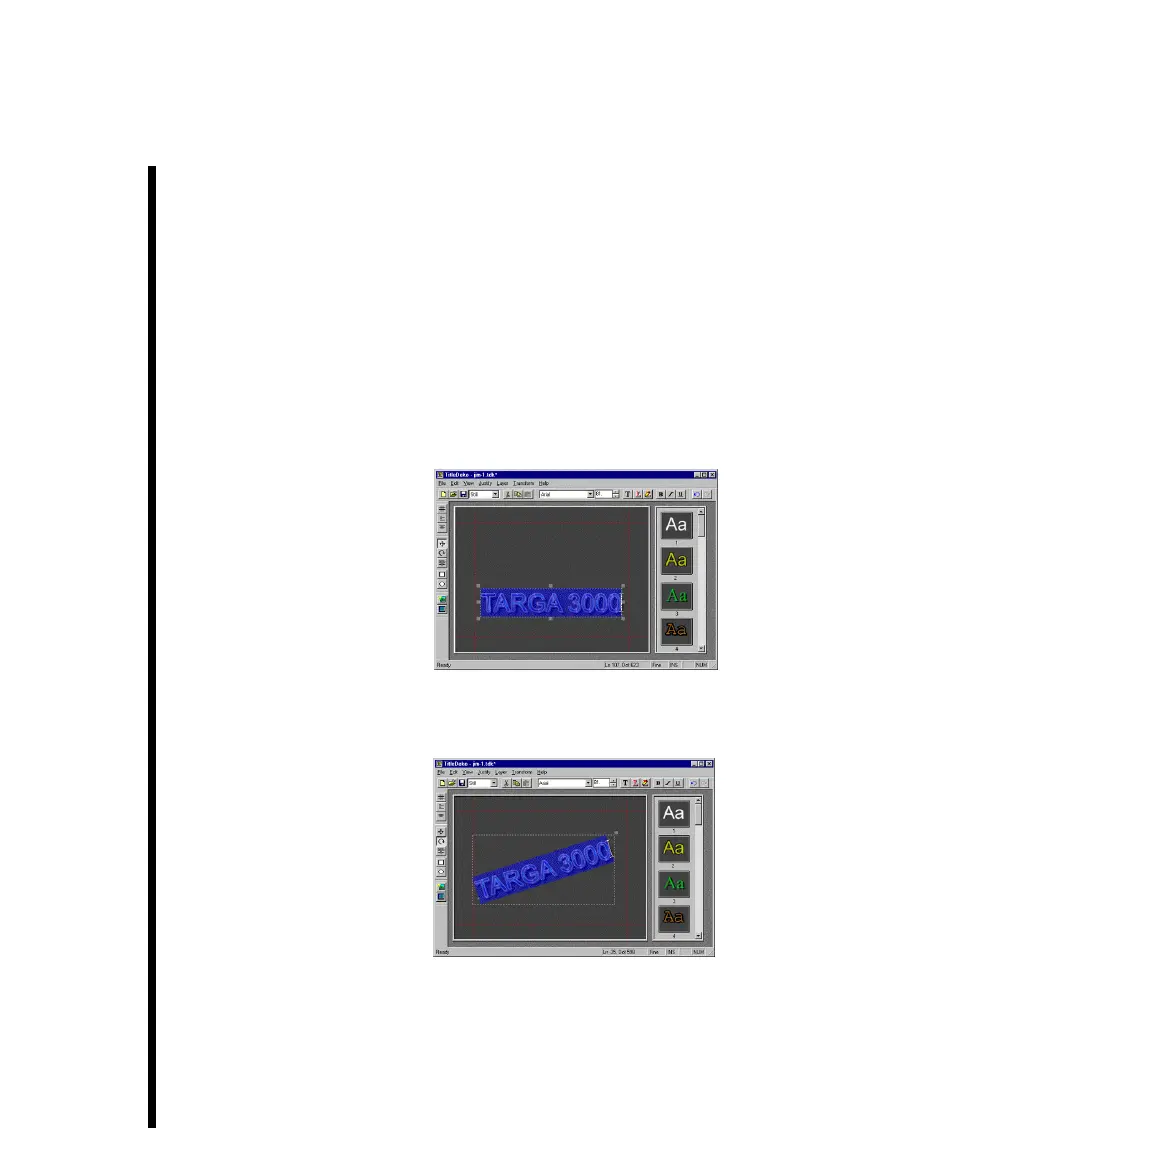
This lesson shows how to reposition, rotate, and skew a title. The lesson then shows how
to add a shape behind the title and add a style to that shape.
— The project icon of the title created in Lesson 1 should be on the Video 2 track in the
Timeline Window of Adobe Premiere. Left double click the icon to open TitleDeko.
— Experiment with moving the title. Do this by making sure that the Move/Resize
button is enabled, and then selecting all of the title text. Then position the cursor
anywhere within the selected text (except on the handles) so the cursor is a Move
symbol that looks like a cross, and drag the title to a new position.
— Click the Rotate/Skew button while the title is selected, then experiment with rotating
the text by placing the rotate cursor anywhere within the selected text (except on the
upper-right handle) and dragging to rotate.
— Experiment with skewing the text by making sure that the Rotate/Skew button is
enabled, then place the cursor on the upper-right corner handle (the cursor becomes a
skew cursor) and drag the text.
 Loading...
