118 Chapter 6: Basic TitleDeko Tutorial With Adobe Premiere
Lesson 3: Rolling A Title
This lesson shows how to cause a title to roll vertically from the bottom of the screen to
the top, and set the time duration (trim) and speed of the title roll.
— Launch TitleDeko from the Premiere Main Menu bar (Project » Create » TitleDeko).
The TitleDeko text entry window will open and a text I-Beam cursor will be displayed
in that window.
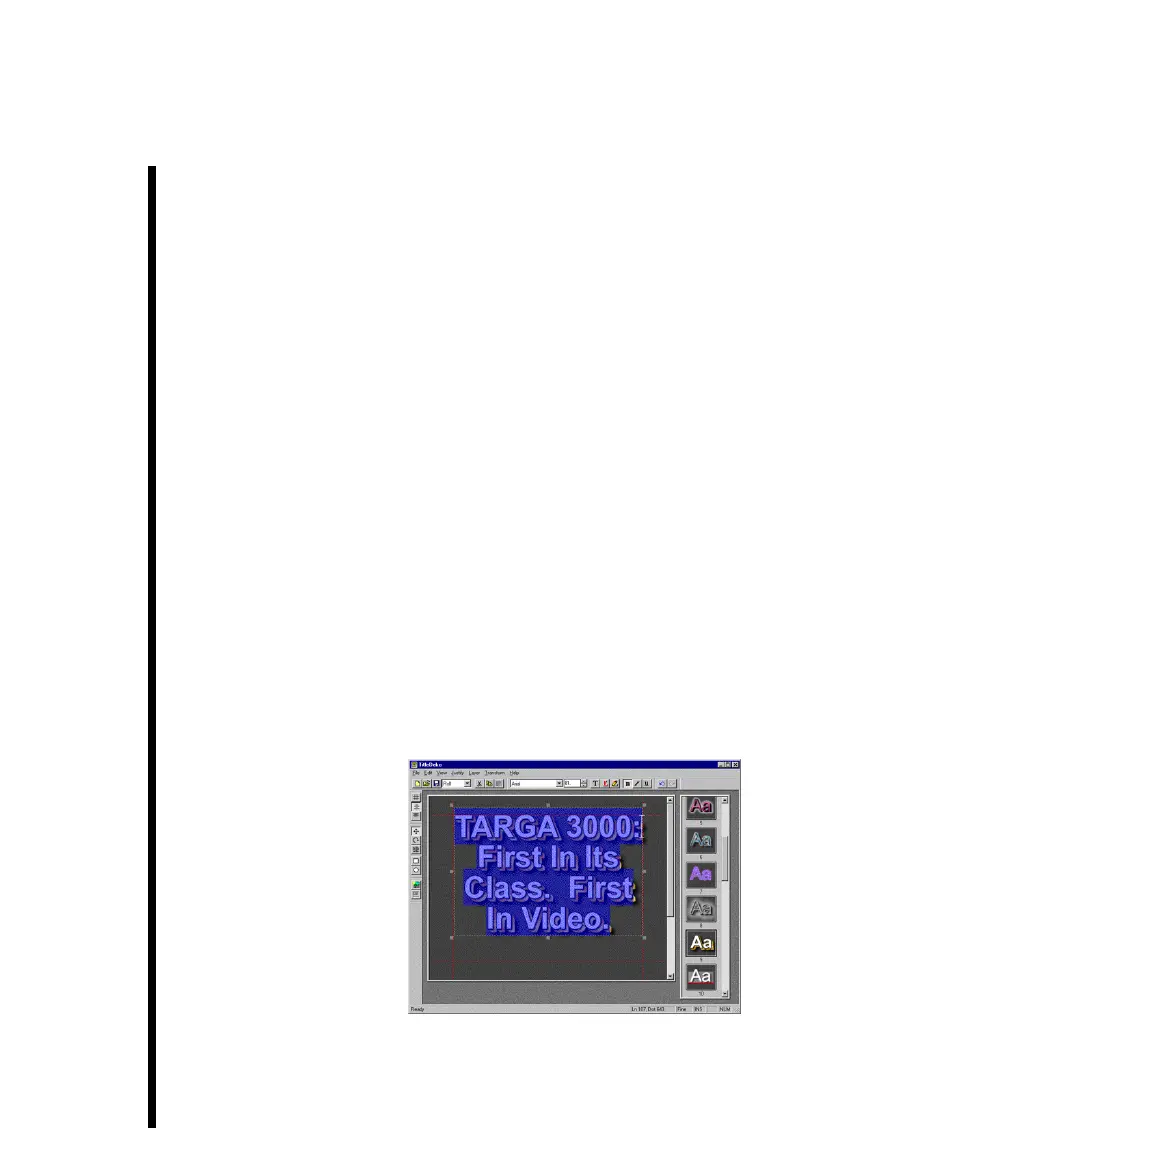
— Type the words: “TARGA 3000: First In Its Class. First In Video.” and then select all
of the title text by pressing <Ctrl>+<A> on your keyboard. A selection box will
appear around all of the text.
Note: Having FILE > SCROLLABLE in the TitleDeko menu bar enabled (checkmarked) allows you to see
additional text that is typed in the TitleDeko Window .
— Apply a preset style to the title text by scrolling within the window and clicking on
one of them. (If the style selector is not visible, select VIEW » PRESET STYLES.)
— Center the text horizontally by clicking the Horizontal Justify button to display its
pop-up choices. Click the “Center” button.
— Make the title a roll by clicking the File Type drop-down (which by default is set to
“Still”) arrow and selecting “Roll.”
— Save the title and then press the <F12> key to accept the title and return from
TitleDeko to Adobe Premiere. You will see that in pressing the <F12> key Premiere
has placed the title into the Project Window.
 Loading...
