121Pinnacle Systems TARGA 3000
— Save the title and then press the <F12> key to accept the title and return from
TitleDeko to Adobe Premiere. The saved title will now be in the Project Window
and on the Timeline.
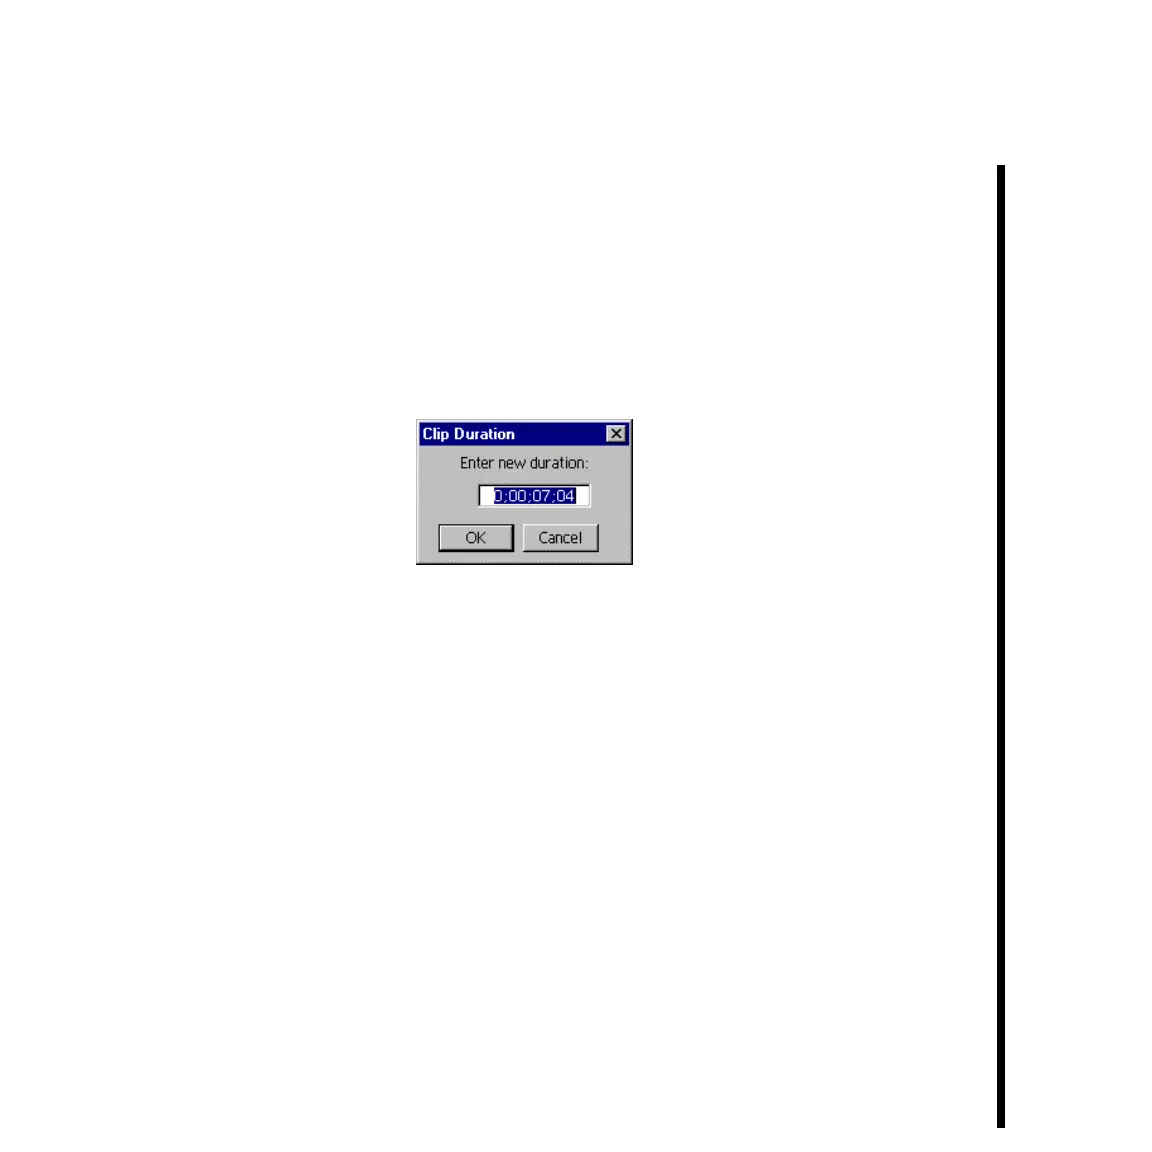
— Right click the title icon within the Timeline Window, and then select either
DURATION or SPEED from the pop-up menu. (You can also set the duration from the
Clip Speed Window.)
— Depending on your choice, either the Clip Duration or Clip Speed Window will be
displayed.
— Set the rate (speed) and/or duration for the title crawl and then click OK.
Note: You can also click and drag the right edge of the TitleDeko clip directly in the Timeline Window to
adjust its speed and duration.
— Scrub the Video 2 Timeline track, or click the play button on the Adobe Premiere
Preview Window to see the enhanced title on your output monitor. You may want to
experiment with various duration/speed settings until you are satisfied with the title
scrollable crawl.
— Save the title as an Adobe Premiere project file. You may want to place the title file
in front of the video file you created in “Chapter 4: Basic TARGA 3000 Tutorial
With Adobe Premiere,” and experiment with producing a video with titles.
This concludes the TitleDeko tutorial. You should now have an understanding of how to
produce a video in Adobe Premiere with titles that were created in TitleDeko.
 Loading...
