Radioddity Extended manual for Radioddity DB25-D, DB40-D & GD-88 v3.0
© Radioddity 2023 page 195 of 252
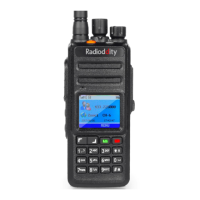
4. Connect your Radioddity DB25-D, DB40-D or GD-88 via the supplied
programming cable to your Windows PC
5. All radios do have a special mechanism to enter the so called ‘IAP-mode’. In
general, it does require to press a special key and keep it depressed.
6. Additionally turn on the radio either by turning the volume key clockwise
(Radioddity GD-88) or by pressing the [ ]-key (Radioddity DB25-D / DB40-D).
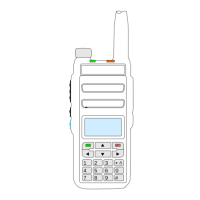
7. The status-LED of your Radioddity DB25-D or Radioddity GD-88 will constantly
light up red. The Radioddity DB40-D does not have such status-LED.
8. On the Radioddity DB25-D, the display will stay blank and backlight will be on,
regardless of your normal settings. On the Radioddity GD-88/DB40-D a
special screen will be displayed with either ‘IAP_A’ or ‘IAP_B’ shown in the top
line. On the Radioddity DB40-D the backlight will be minimal whenever in IAP-
mode.
9. Release the [P1]-key (Radioddity DB25-D), [ ]-key (Radioddity DB40-D) or
the upper side key [P2] (Radioddity GD-88).
10. Now start the IAP-updater
11. Choose the virtual COM-port that does represent your programming cable
12. Click on ‘Open’