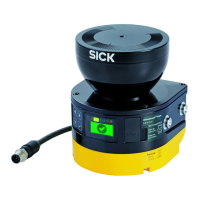
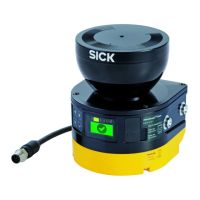
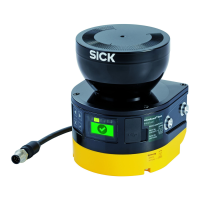
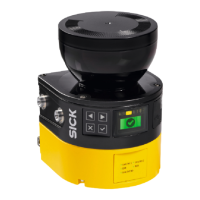
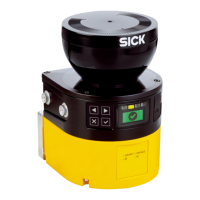
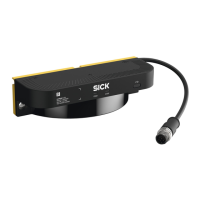
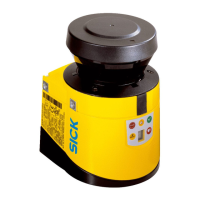
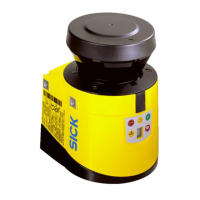
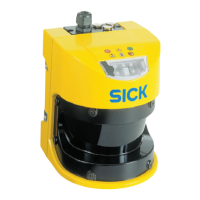
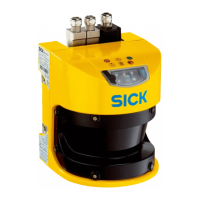
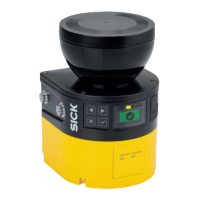
The scan plane of a safety laser scanner forms its monitoring plane.
T
his dialog is used to define the following parameters:
•
Parameters for the monitoring plane
•
Parameters for the safety laser scanner
7.9.1 Parameters for the monitoring plane
Overview
C
onfigure a name, the protection task, object resolution, and multiple sampling setting
for the monitoring plane.
At first, the object resolution and multiple sampling configured for the monitoring plane
apply for all fields. If necessary, make changes to each individually at a later date. If you
do this, Safety Designer will indicate this in the settings for the monitoring plane.
Name
Y
ou can use the name to identify monitoring planes when creating fields and monitoring
cases and also in reports.
b
Enter a descriptive name for the monitoring plane (e.g., “Hazardous area on the
right hand side”).
✓
The name is used to identify the monitoring planes.
Safety task
P
eople approach the monitoring plane parallel or orthogonally, depending on the orien‐
tation of the protective field in your application (see "Project planning", page 25).
•
Hazardous area protection (Horizontal)
Typically, for a horizontal approach, the requirement is to detect the leg. The typical
ob
ject resolution is leg (70 mm).
•
Ac
cess protection (Vertical)
Typically, for access protection, the requirement is to detect a person. The typical
ob
ject resolution is body (200 mm).
•
H
azardous point protection (Vertical)
Typically, for hazardous point protection, the requirement is to detect a hand. The
t
ypical object resolution is hand (40 mm).
Reference contour monitoring
NOTE
If t
he monitoring plane has a vertical alignment, a contour (such as the floor, a part of
the machine bed, or an access threshold) must typically be defined and monitored as
a reference contour. A reference contour field is used for this, see "Reference contour
field", page 116.
b
A
ctivate the Reference contour monitoring option.
✓
The Reference contour field item is shown in the navigation. Here you can configure
the reference contour field required for your application.
Object resolution
T
he object resolution defines the size that an object must be to allow it to be reliably
detected. The following object resolutions are available:
•
30 mm = hand detection
•
40 mm = hand detection
•
50 mm = leg detection/arm detection
•
60 mm = leg detection/arm detection (depends on variant)
7 C
ONFIGURATION
112
O P E R A T I N G I N S T R U C T I O N S | microScan3 Pro I/O 8025424/1ELL/2022-01-21 | SICK
Subject to change without notice
 Loading...
