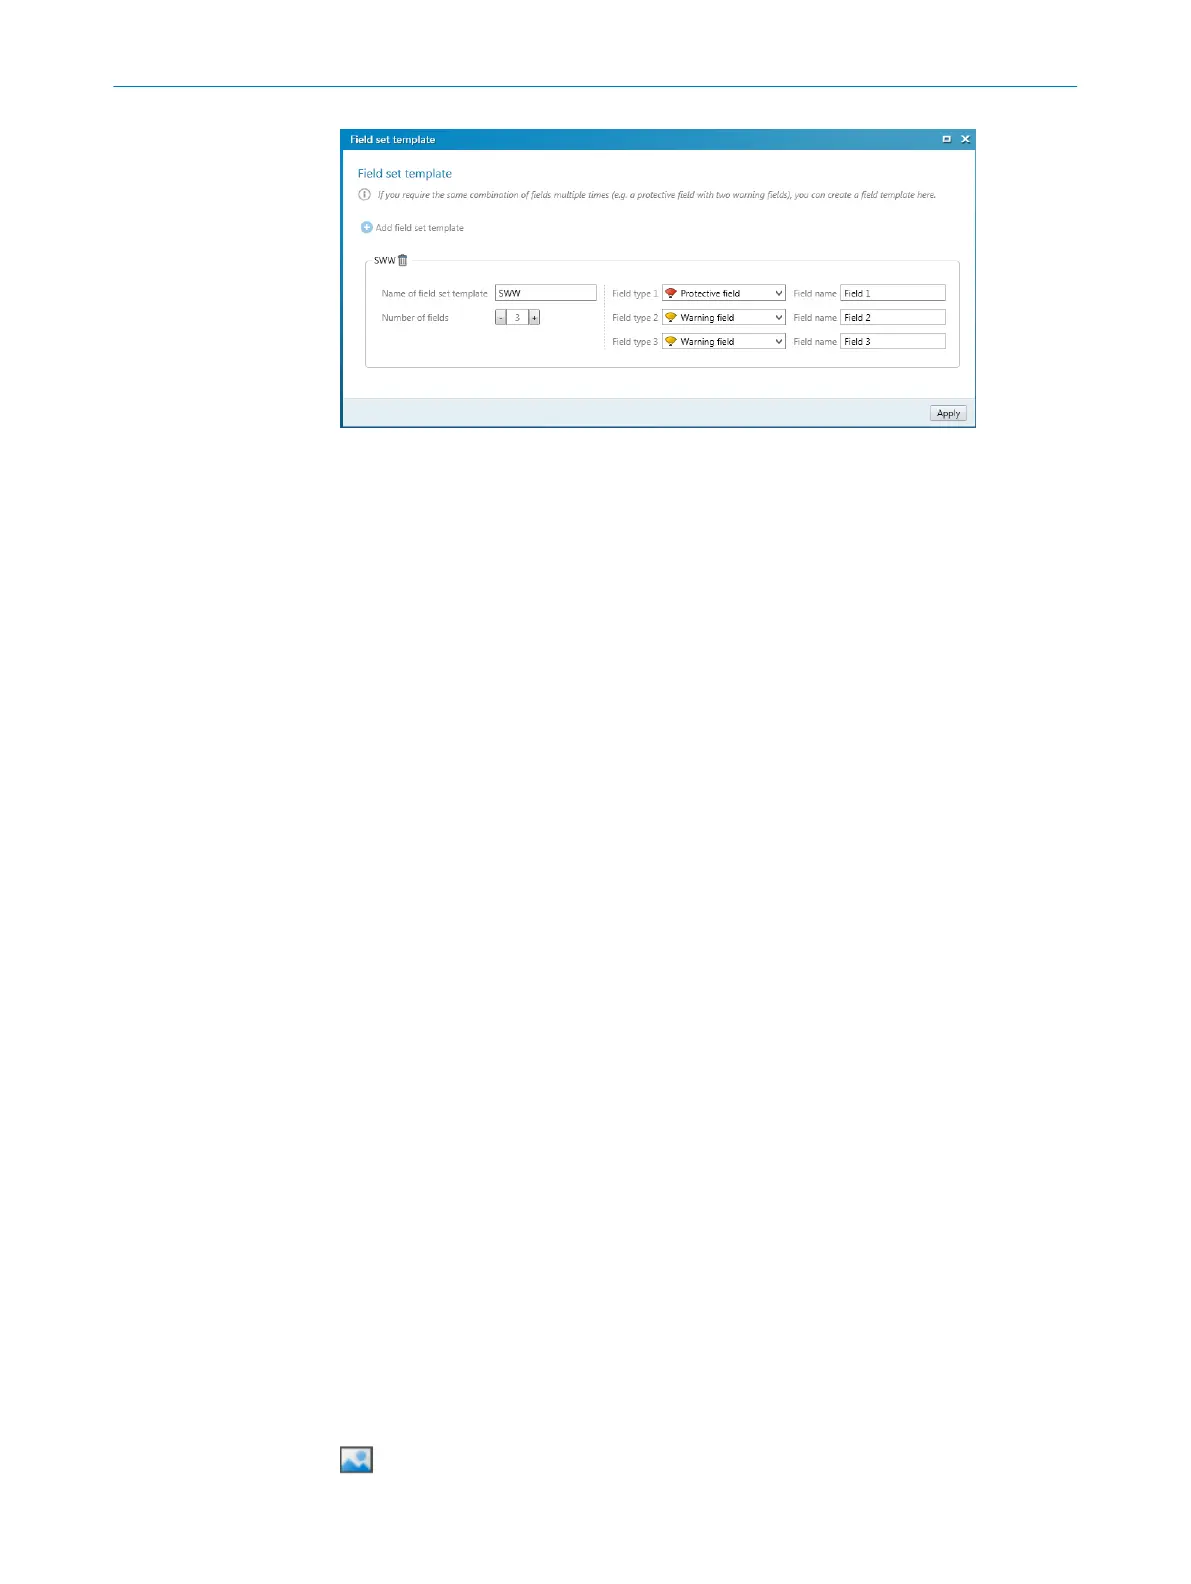
Figure 72: Field set template
Approach
1.
Click on Add field set template .
2. Enter the name for the template.
3. Define the number of fields.
✓
A selection field is shown for each field.
4. Select the Field types for the fields.
5. Enter the Field names.
6. Click on Apply.
✓
The field set template is saved.
7.11.3 Importing and exporting field sets and fields
Overview
If you need identical field sets or fields across different projects, you can export entire
field sets or individual fields out of one project and import them into another project.
Importing field sets and fields
1.
Click on Import fields and field sets.
2. Select exported file with field set information.
✓
A preview of the field sets and fields saved in the file will be shown.
3. Select the required field sets and fields.
4. Start the import.
✓
The field sets and fields will be imported.
Exporting field sets and fields
1. Click on Export fields and field sets.
2. Select the relevant folder and enter a file name for storing the field set informa‐
tion.
3. Select the required field sets and fields.
4. Start the export.
✓
The field sets and fields will be exported.
7.11.4 Background image
You can select a background image for the field editor. For example, the plan view of
the machine to be protected can be used as a sample.
The background image is saved in the project file on the PC. It is not transferred to the
device.
You can use the E
dit background image tool to choose a background image.
7 C
ONFIGURATION
122
O P E R A T I N G I N S T R U C T I O N S | microScan3 Pro I/O 8025424/1ELL/2022-01-21 | SICK
Subject to change without notice