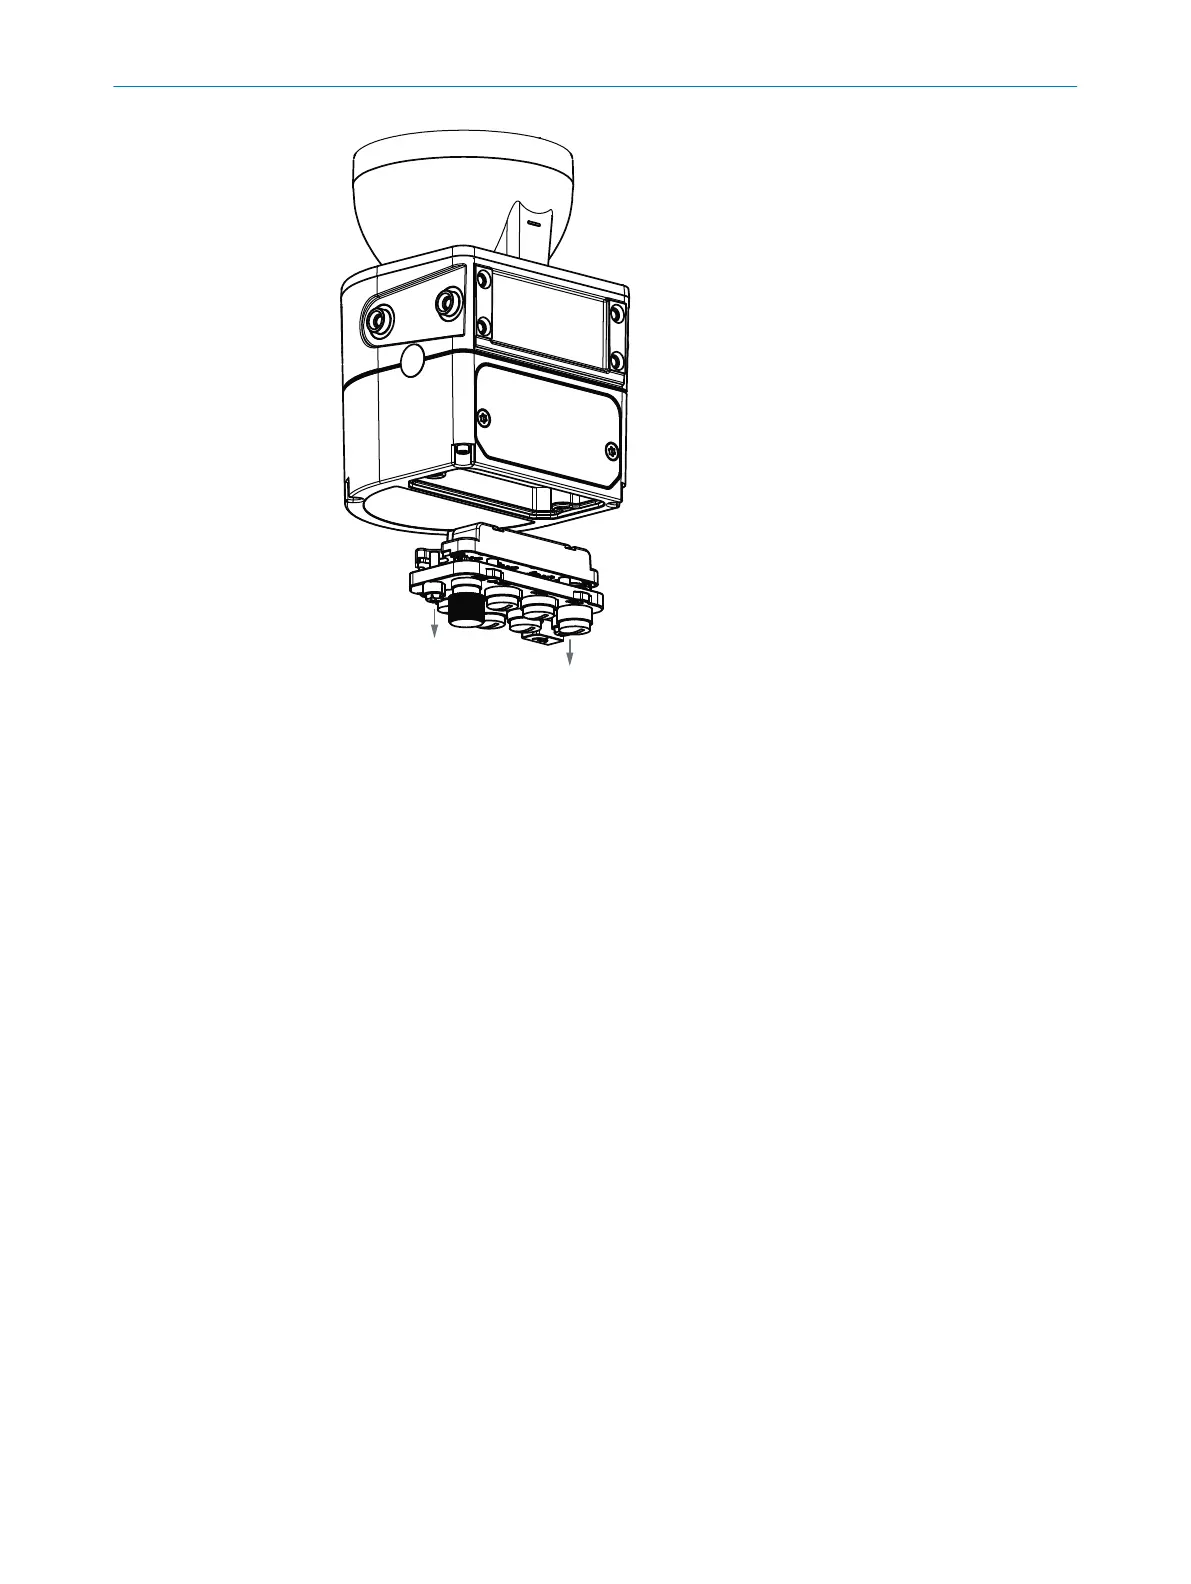
Figure 89: Replacing the system plug
5.
Carefully insert the new system plug into the safety laser scanner.
6. Screw in the system plug using the captive screws. Tightening torque: 2.25 Nm …
2.75 Nm.
7. Reconnect the connecting cables to the system plug.
8. Configure the safety laser scanner, see "Configuration", page 97.
9. Perform commissioning again, taking particular care to conduct all of the thorough
checks described, see "Commissioning", page 149.
10.6 Regular thorough check
The test is intended to ensure that the hazardous area is monitored by the protective
de
vice and any attempted access to the hazardous area is prevented.
b
Carry out the checks specified in the test plan of the manufacturer of the machine
and the operating entity.
MAINTENANCE 10
8025424/1ELL/2022-01-21 | SICK O P E R A T I N G I N S T R U C T I O N S | microScan3 Pro I/O
165
Subject to change without notice