Short instructions for configuring a reversing starter
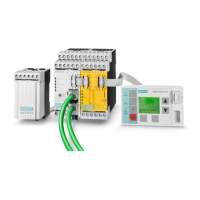
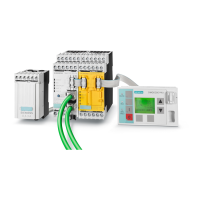
SIMOCODE pro
GWA 4NEB 631 6050-22 DS 03
2-9
Transferring parameters to the basic unit and commissioning
After creating the parameter file, you can transfer it to SIMOCODE pro and
commission the reversing starter.
Proceed as follows:
Table 2-4: Transferring the parameters to the basic unit and commissioning
Notice
Switching between "RIGHT" and "LEFT" is only possible via "OFF" after the
preset, 5-second interlocking time has expired.
Configuration with local control station completed
The configuration with SIMOCODE pro is now complete. You now have a
functional reversing starter with a local control station.
If the wiring and parameterization are correct, the contactors for clockwise
and counterclockwise rotation will be activated when the corresponding
buttons are pushed.
Step Description
1 Switch on the voltage supply of the basic unit.
2 Connect the serial interface of the PC/programming device and the system
interface of the basic unit using the PC cable.
3 Observe the status LED on the basic unit. The "Device" LED should light up
green. SIMOCODE pro can be started up.
4 Transfer the parameter file to the basic unit via the menu, e.g. using Ta r g e t
System > Download to Device. Select the RS232 interface with which
SIMOCODE pro is connected to the PC via the PC cable.
5 After transferring the data to the basic unit, you will receive the message
"Download to device successfully accomplished".